
Domain Keys Identified Mail, or DKIM, is another security mechanism available to us that allows us to prevent spoofing or forging of emails from our domain. Using public key cryptography to assure the integrity and authenticity of emails, properly configured DKIM is an excellent protection.
DKIM
The DKIM RFC is of course available online but I'm going to provide the essentials here much like I did in my blog on SPF. Essentially, DKIM allows you to use public key cryptography to assure the integrity and authenticity of emails that you send. Your mail server or provider will generate a signature of the relevant parts of the email using your private key and include it in the header. The receiver then fetches your public key from the DNS and uses it to validate the signature. If the signature checks out then the receiver knows the email hasn't been tampered with and that it came from you. I'm not going to detail how to install/setup DKIM if you're running your own mail server (there are just too many), but most of us using a hosted email service can get this setup with almost no effort. The more of us that enable DKIM, the better the email ecosystem becomes.
A simple DNS record
If you're using a hosted email service and they support DKIM (they should), setting up DKIM is as simple as creating a DNS TXT record. I'm using FastMail and much like my SPF DNS TXT record, they provide the value I need to create for my DKIM DNS TXT record too.
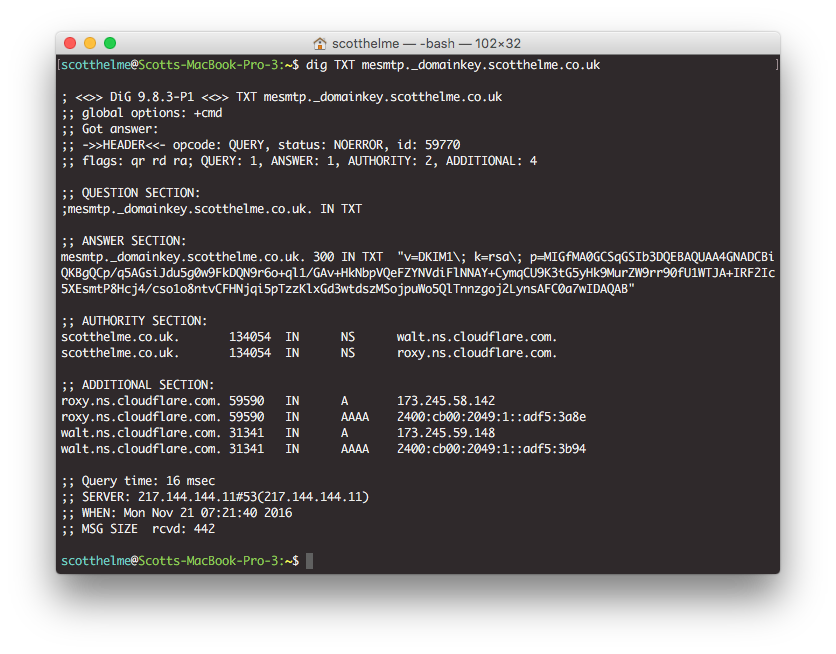
This record contains the key and other associated information that anyone receiving an email from me needs to verify the cryptographic signature present in the email. Similarly, if you're using another service like Google Apps, all you need to do is get the appropriate value to set in your DNS record by following the steps here.
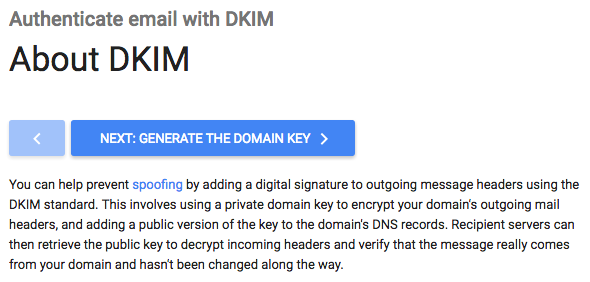
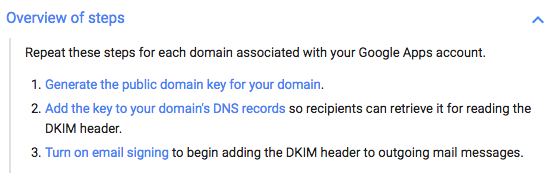
Google has a very nice overview of the steps involved in setting up DKIM if you're using them and they pretty much apply to any email provider that you're using.
How it works
The signing and verification of DKIM all take place transparently to the end users on both sides, it's all handled by the mail servers. This means there is no adverse impact on the user experience, which is great! I will give a quick run down of both the DNS record, to serve your public key, and the headers that are added to emails when DKIM is enabled.
Configuration values
To host your public key in the DNS you need to create the appropriate record. Your mail provider will give you the name and value for the record, but I will break down the components here. This is the full list of components available for use:
v | h | k | n | p | s | t
You will see these in the format v= for example and here are their meanings.
v
Version - this specifies the version of the DKIM spec we're compliant with and at the time of writing has only one value, DKIM1.
h
Hash - this is a colon separated list of hash algorithms allowed for use.
k
Key - this defines the key type being used and defaults to rsa.
n
Notes - I quite like this one, defined in the spec as 'notes that might be of interest to a human'.
p
Public Key - The base64 encoded ASN.1 DER-encoded RSA public key! Phew!
s
Service Type - This is the list of services that this record applies to, but don't worry, it defaults to '*'.
t
Flags - These are probably not relevant but if you really want, you can read the spec.
Verifying DKIM
Of course, the last thing to do is for someone receiving an email from you to verify your new, shiny DKIM setup. This will all be handled by their mail server transparently and is done by looking at the mail headers of the incoming email. You can inspect the headers of an email and look for the Dkim-Signature header.
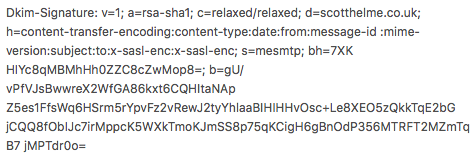
This header contain all of the information needed to verify the email.
v
This contains the version of DKIM we're using, version 1.
a
This is the algorithm used to generate the signature, RSA SHA1 in this case.
c
The message canonicalisation tells the receiver how the components were prepared for hashing. There are two values separated by a hash, one for the header and one for the body, that are either simple or relaxed.
d
The domain to fetch the DKIM public key record from.
h
These are the header fields that are included for signing so the receiving party knows which ones to include in verification and in which order.
s
The selector is used to determine the subdomain to fetch the DKIM public key. It's used in the format {selector}._domainkey.scotthelme.co.uk.
bh
The hash of the canonicalised part of the email body, limited by the l value if it's present.
b
The base64 of the signature data.
With all of these values, the server receiving your email can fetch your public key from the DNS and validate the email they have received. This makes it effectively impossible to spoof emails from your domain because you can now offer cryptographic assurances to those that receive emails from you. If you're using a hosted email service like me, you should setup DKIM without doubt. Setup is easy and the benefits are great and to top it off, there's no detriment to the end user, just better security!
Enabling DKIM
If you'd like to enable DKIM then most of the large email providers have details on how to set it up.
If you have links for other providers, please drop them in the comments below!