
I've recently migrated my blog from WordPress to Ghost and I have to say it's awesome! It's faster out of the box than my heavily optimised WordPress install, much more simple to use and very, very clean. I'm going to cover the process of migrating from WordPress to Ghost and how I ironed out some of the minor kinks along the way.
Getting data out of WordPress
Getting your data out of WordPress is really easy, requiring only a simple plugin installation to allow you to export everything in the format you need. Grab the plugin here or just install directly from your WordPress plugins menu. There's a great post over on Ghost for Beginners that will take you through everything you need to do so there's no point in me duplicating information here. The only thing I would advise differently is what to do with your images. A lot of guides online seem to advocate exporting them to a hosting service like Cloudinary but I decided I wanted to keep things just as they were and continue to host them myself. Not only does it keep me in control but it also means that I can avoid additional fees for hosting my blog as my existing package is more than adequate. Lastly are your comments. I already used Disqus for my comment system so there was nothing for me to do in this regard but I can recommend it and it's another easy way to port your data across.
Setting up a new VPS
My blog is hosted on a DigitalOcean droplet (their term for a VPS) and I have had great experiences with them so far so I decided to stick around and create a new droplet to setup Ghost on. Create an account (referral link to get you $10) and hit the Create Droplet button.
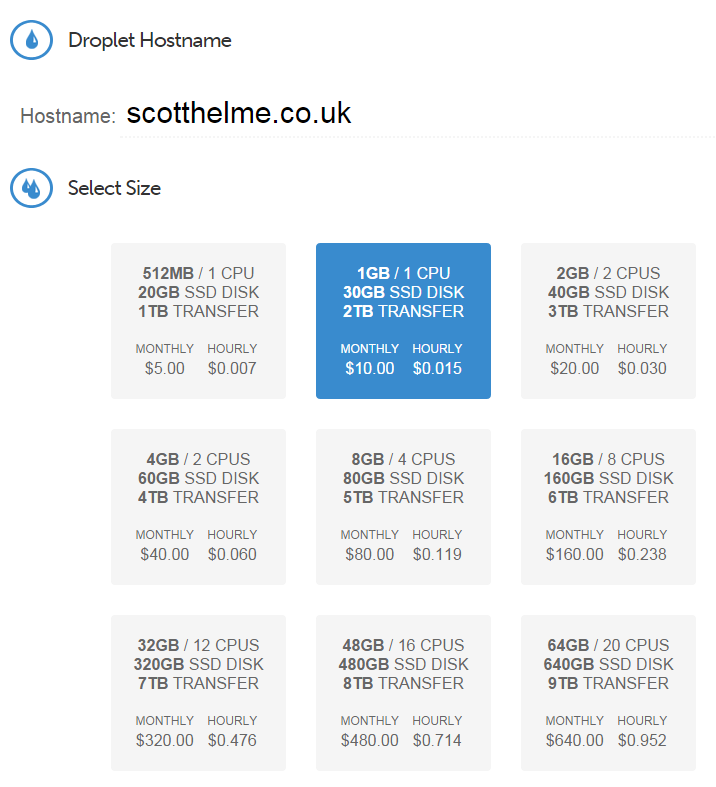
Give your droplet a hostname and select the size of droplet you want. I run my blog on the $10/mo droplet and it uses only a tiny portion of the resources. The main reason is for the extra 10Gb of SSD space and the horsepower is there should it ever be needed (like if I get hit by a DDoS again).
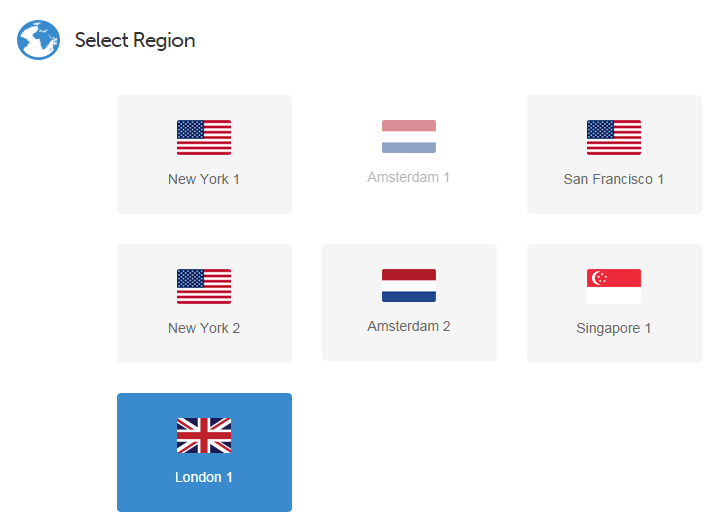
Next up, select a region that is most suited to your audience.
Obviously we want the latest and greatest version of your chosen OS, for me it was Ubuntu.
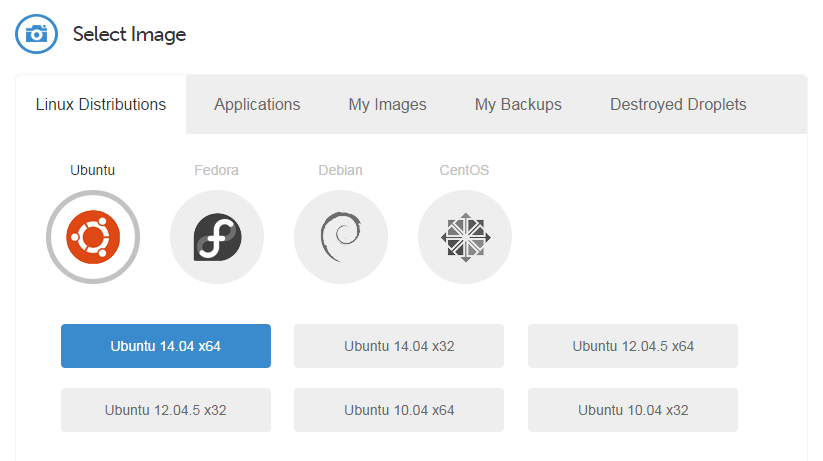
Then switch over to the applications tab and select the latest version of Ghost that's available.
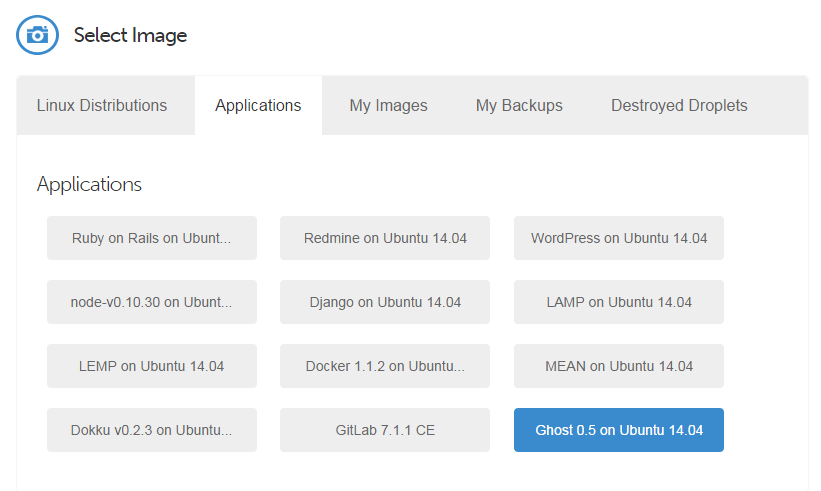
The 0.5 release of Ghost became available a short time after I created my droplet running version 0.4.2 of Ghost. Fortunately, it's really easy to upgrade thanks to a great script created by All About Ghost. If you're like me and have a 0.4.2 install, use this script to upgrade to the 0.5 version once you SSH onto the box.
sudo wget -O - https://raw.githubusercontent.com/howtoinstallghost/updateghost.sh/master/updateghost_digitalocean.sh | sudo bash
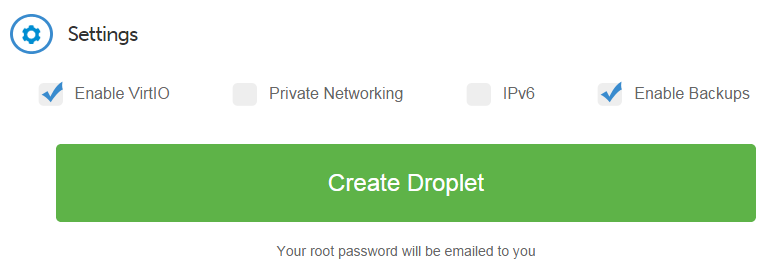
Last but not least are the settings for your droplet and I'd highly recommend the backups option. DigitalOcean charge you a 20% fee of your droplets monthly hosting cost to have it automagically backed up regularly (mine seems to be daily). On a $10 a month hosting plan, that's $2 a month for the knowledge that all your important stuffs is being backed up for you. To me, that's worth it.
Importing your data
Now that you have everything out of WordPress and your new Ghost droplet is setup and ready to go, it's time to import your data. Navigate to the IP address of your new droplet and you should be greeted with the Ghost homepage. If everything is working as expected then all you need to do is append /ghost/ to the IP address and you will be at the admin login. Create yourself an account and login to Ghost. All sorted? Good. To import your data you need to append /ghost/debug/ to the server IP address to bring up the "Ugly Debug Tools" menu!
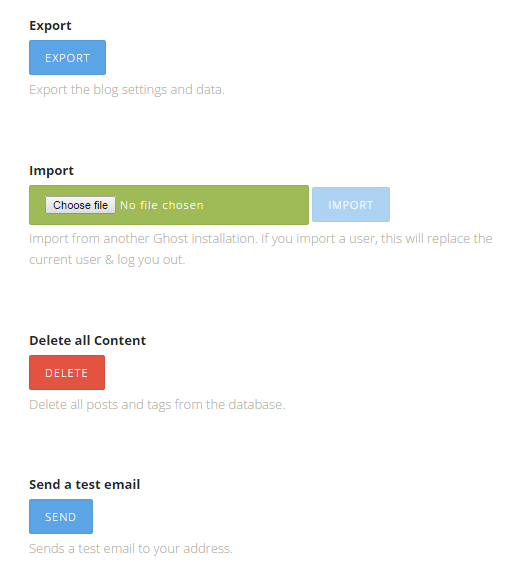
From here, simply hit the 'Choose file' button and navigate to your export from WordPress, hit the 'Import' button and ta daa! All of your WordPress data is now in Ghost!
Tidying up
As with any migration from one platform to another, there will always be those tiny issues that you can't avoid. For me, the caption tags of my images on WordPress didn't migrate over so I did have to skim over my blog posts and do a quick round of tidying up. It's a bit of a pain but they did also need some slight layout changes to suit the new blogging platform, things look a little bit different on Ghost. Navigate to the Ghost admin section, /ghost on the end of the URL, select the post in the content list on the left and then the edit icon in the top right corner of the viewing pane on the right.
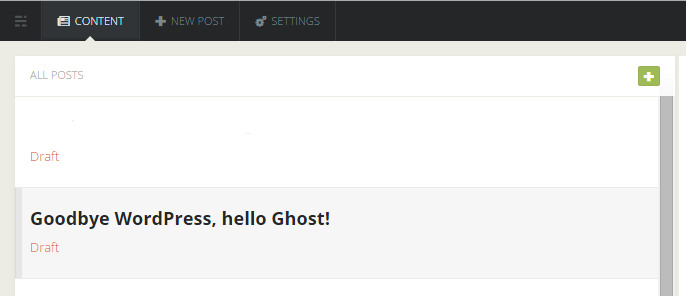
In the Markdown editor, the pane on the left, you can make changes to the content of your blog post and see the changes updated live in the viewing pane on the right. This is incredibly handy and saves me having to save drafts and switch to another tab to see how things look when I was using WordPress.
Working faster with Ghost
All of your imported WordPress posts will have html markup for things like paragrpahs, headings, blockquotes etc... In Ghost, using Markdown is a whole new world of efficiency. You can easily create headings by simply placing a # at the start of a line. H1, H2 and H3 are all easily created with #, ## and ### respectively. Want to hyperlink something? Just select it and hit Ctrl+K. Insert an image is as simple as hitting Ctrl+Shift+I. One of my real favourites is Zen Writing Mode, Alt+Shift+Z. You will have to try it out to see what that looks like!
If you want to get the most out of Ghost, you need to use the great features it has to offer that will make your life so much easier. There are far too many things for me to list here, but to get you started take a look at the Markdown Guide and the Keyboard Shortcuts listing. Once you pick up a few tricks, writing content gets a whole lot easier.
Fixing your images
During the WordPress export, I decided not to move my images to another hosting solution and to continue to host them myself. You will need to download the uploads folder containing all of your media which is located in /wp-content/uploads of your WordPress install. Next, you need to place the uploads folder on your new droplet. I chose /usr/share/nginx/html, the default location, and you will need to create a wp-content folder there and put uploads in it. Now all you need to do is add a new location block to your nginx config to tell nginx where to find these assets when it needs to serve them.

Now, if nginx receives a request for anything in the /wp-content/ directory, which is all of your old assets, it will serve them out of the specified folder. Sorted!
Hit the big DNS button
Once you've tidied up your posts and migrated your images, you're pretty much ready to move over to Ghost. All that I had left to do was copy over my SSL certificate and key files and paste the relevant lines into my nginx config and it was time to take the plunge. You can test everything out using the IP of the server, but at some point, you have to flip the DNS records. Fortunately, everything went just fine and once my DNS changes had propagated, which was about 30 seconds thanks to CloudFlare DNS, my Ghost site was live! Right away you will notice just how fast Ghost is compared to WordPress. That's not a criticism as such, Ghost was designed to be cut down and lightning fast whereas WordPress has grown to be much, much more than 'just a blogging platform'. I think the site looks and feels much better, let me know what you think in the comments.