
Apple announced some awesome, new security features last year and they were due to land in 2023. Well, it's 2023, and they've landed!
Apple are bringing some mega security features in 2023! https://t.co/iYi020xt53
— Scott Helme (@Scott_Helme) December 7, 2022
If you want to read the full announcement you can head over to the link in that tweet and check it out, but I'm going to summarise them here for everyone.
Security Keys
Hardware keys can now be added to your Apple ID for better 2FA! Physical keys, like a YubiKey, that plug in to the phone or NFC keys for that extra convenience.
Advanced Data Protection for iCloud
Finally, the ultimate, fully encrypted iCloud backups. You can now use iCloud backup and nobody, not even Apple, can access any of your data.
iMessage Contact Key Verification
Get notified if another device is added to your account and party to your iMessage chats. You can also validate a ‘Contact Key Verification’ with people that you chat with to know it’s definitely them.
Getting Started
Adding 'moar security' to your accounts always sounds like a great idea that you should blindly follow, but for some of the security measures I'm going to be enabling here, you should consider if they're right for you and if you need them. You should also balance them against the risk, like permanently losing access to your account if things go wrong!
Setting up Security Keys
The first thing I wanted to do was add some security keys to my Apple account. This is something I do across the board on any other service that will support hardware keys, and for the remaining services, like my Apple account, I use a 2FA code generator option.
To get started with adding a Security Key to my account, on my iPhone I went to Settings -> Apple ID (click your name at the top) -> Password & Security -> Add Security Keys, then follow the prompts.
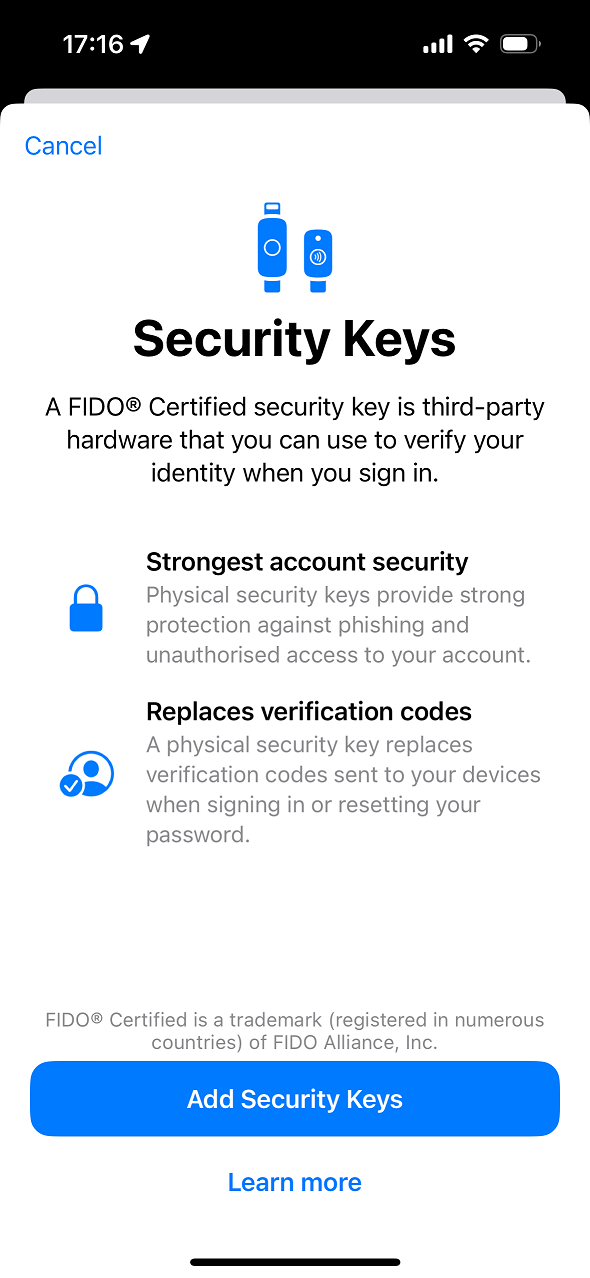
Then there's an important snippet of information which makes a heap of sense once you think about it. This is the next screen.
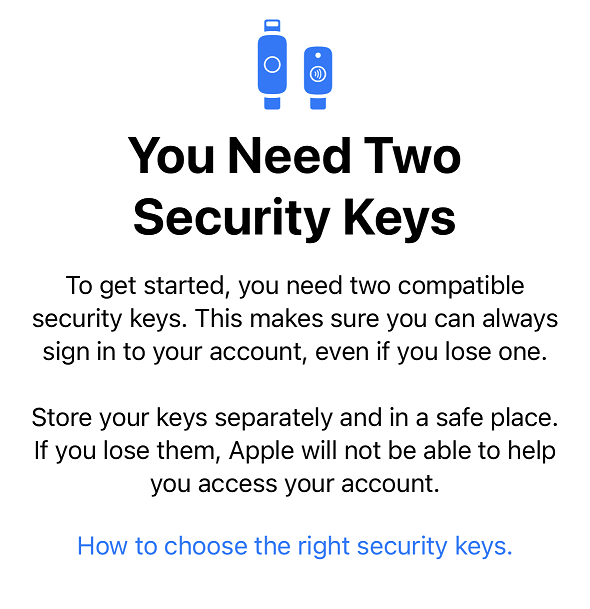
As explained, you need a minimum of two Security Keys as you absolutely must have at least one backup Security Key. If you lose all of your Security Keys, you won't be able to gain access to your account again.
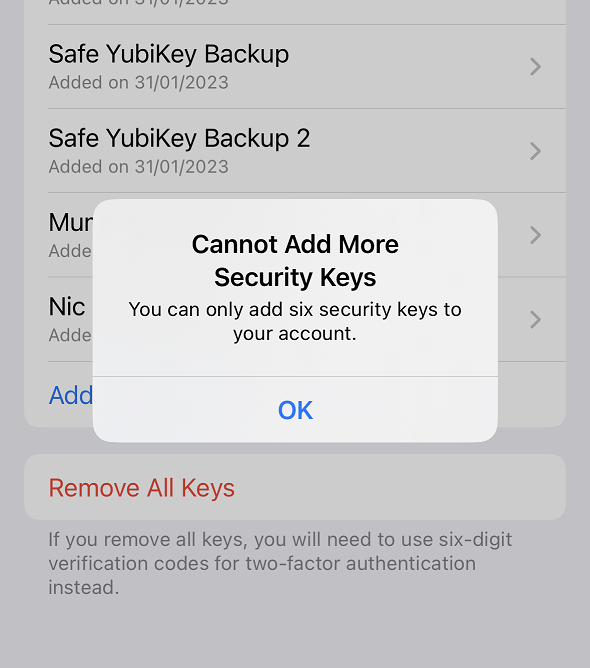
I'm using a combination of the Yubico Security Key NFC and the YubiKey 5 NFC as my keys and I have some backup keys too. For example I keep one in my travel bag, one on my desk at home, a pair of backups in our safe and a spare with a family member so it's not stored in my house with all of my other keys in case my house burns down! The final key I added was my Wife's YubiKey as that was the sixth key and that's all you're allowed to add to your account.
It may seem a little overkill to add so many keys to my account, but as I said above, if you lose all of your keys, you lose your account... This is something that I'm simply not prepared to risk, so using the maximum allowance of keys seems like a wise move. I will always have a key handy at home on my desk, my laptop bag travels with me always and if everything else fails and my house burns to the ground, I have another key to be able to gain access to my account. Hopefully, I've got everything covered!
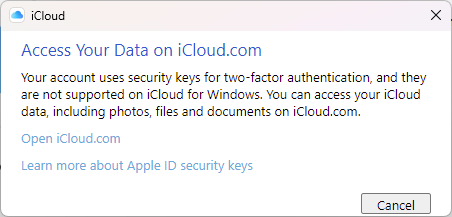
A quick note for the reader though, if you use iCloud for Windows, it seems that it doesn't currently support a Security Key. It could be a problem if you use it, but for me, I really can't say I do.
Setting up Advanced Data Protection for iCloud
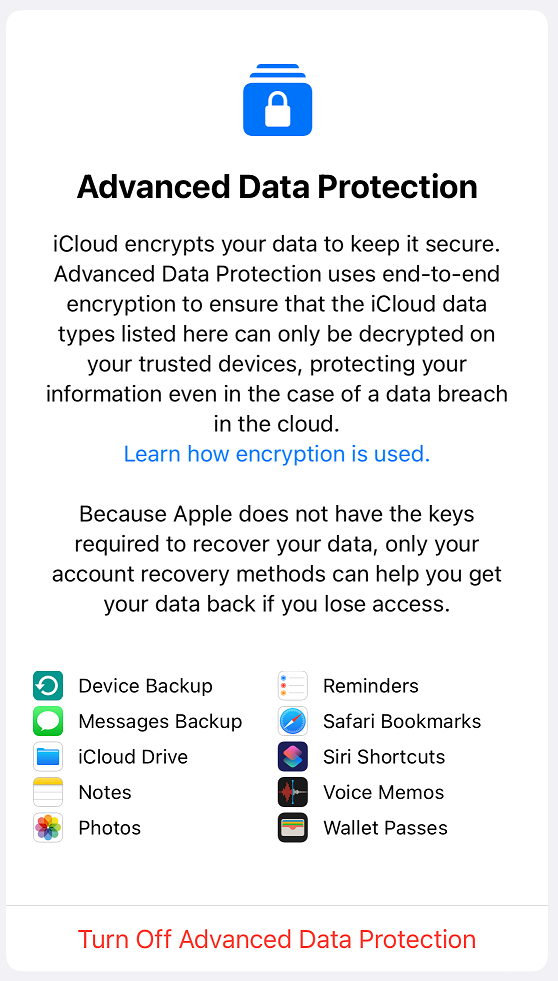
The second task I wanted to complete was adding some extra protection to my iCloud backups. To enabled Advanced Data Protection, on my iPhone I went to Settings -> Apple ID (click your name at the top) -> iCloud -> Advanced Data Protection, then click Turn On Advanced Data Protection.
The first prompt I got was that I needed to go and update my Apple TV devices! 😂
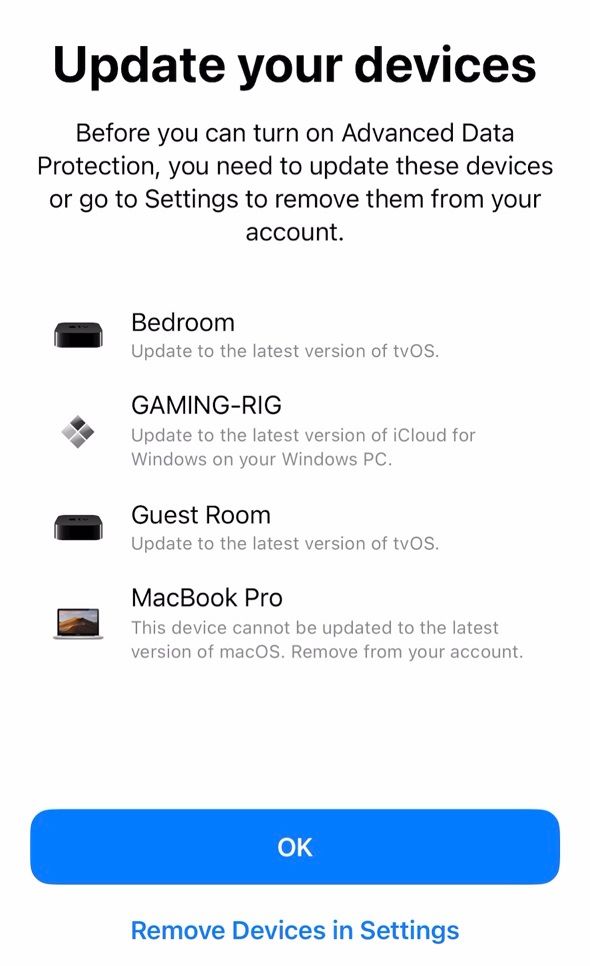
On a serious note though, I really did need to update them because the Apple TVs in our bedroom and the guest room don't get much use and had fallen behind. For my PC though, that was a version of iCloud installed on my previous Windows 10 installation that could be removed and sadly for my MacBook Pro, it's so many OS versions behind now, there's no saving it.
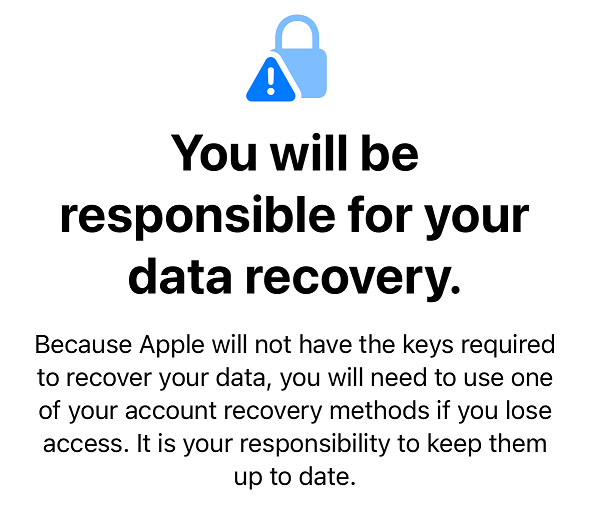
With that all sorted, you're then taken through your recovery steps to make sure you have options for getting back in to your account. I have a nominated recovery contact and I've got my recovery code safely stored, which you're also prompted to enter during the process. You will have to setup a recovery method if you don't have one. Once that's complete, it takes just a minute to activate Advanced Data Protection!
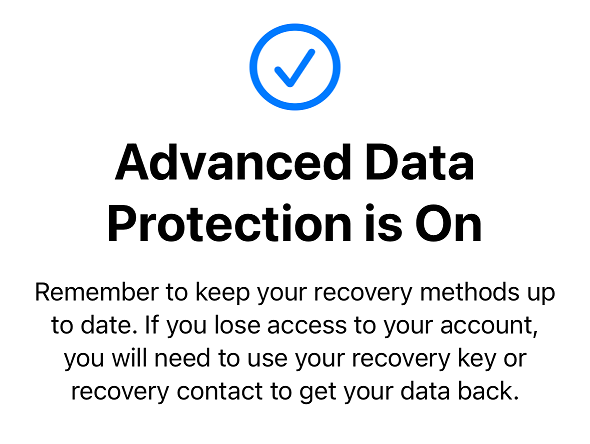
You can now see that Advanced Data Protection is active and you're presented with the option to disable it, should you ever need to.
There is one thing to consider though, and it depends on how often you access your iCloud data on the Web at icloud.com, but at first, it won't be accessible.
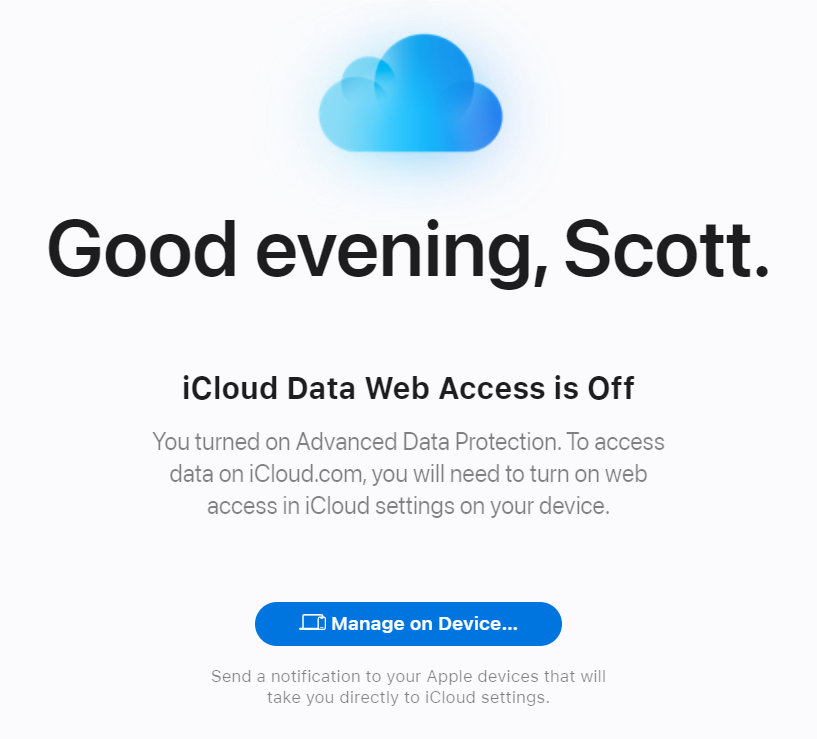
There is a setting you can change on your device though, go to Settings -> Apple ID (click your name at the top) -> iCloud -> Access iCloud Data on the Web, and enable it. You can also click the 'Manage on Device...' button above and it will send a notifcation to your devices to turn the setting on.
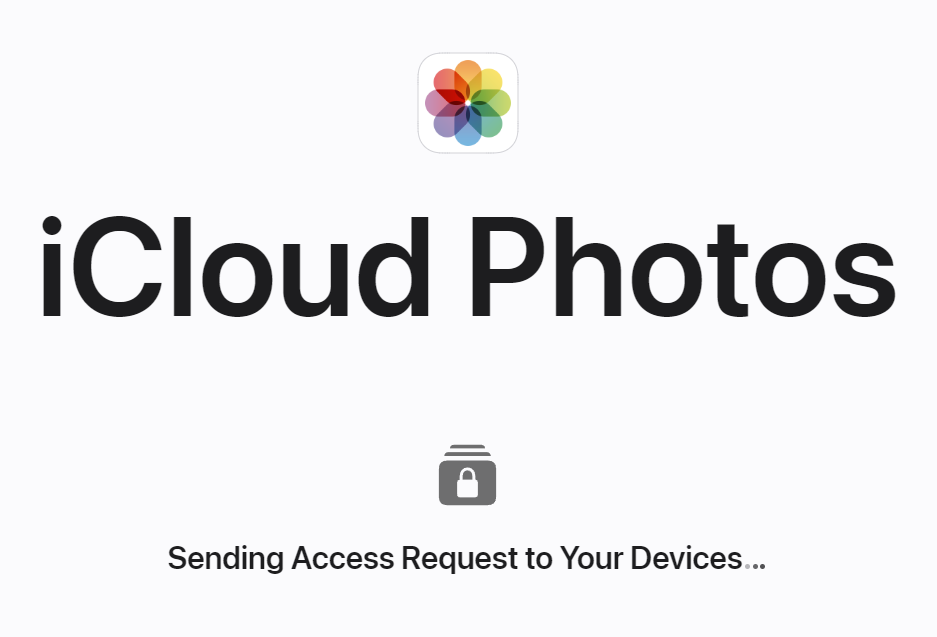
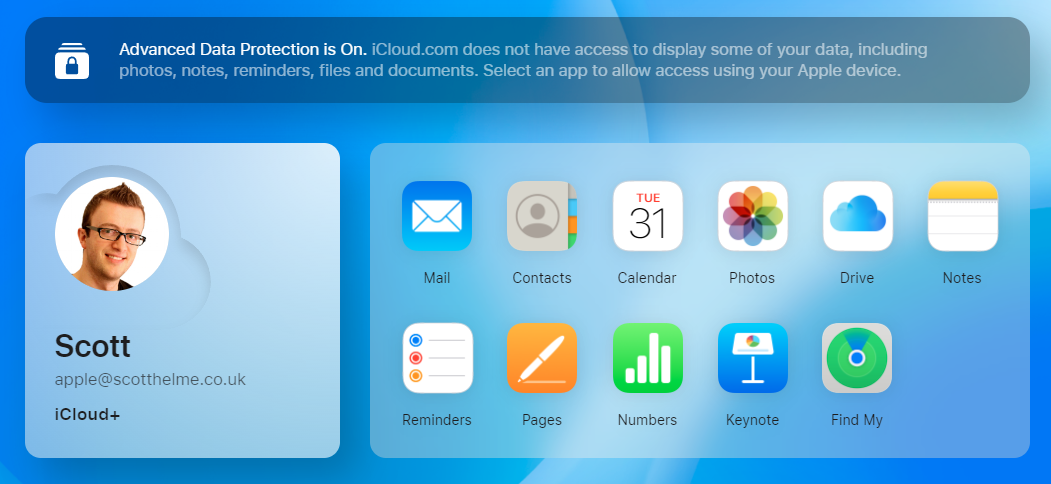
Once that's done, each time you login to icloud.com in the browser, you will get a request to approve the access on one of your devices, but everything will work as it did before.
Setting up iMessage Contact Key Verification
At the time of writing, I'm on the latest version of iOS, 16.3, and I don't see any way to enable iMessage Contact Key Verification. I also can't find any details online about the feature, so for now, I'm presuming that it's simply not available yet and I'll keep an eye out for future announcements. If we look at the details in the original press release, we can see a hint that iMessage Contact Key Verification will maybe take a little longer:
- iMessage Contact Key Verification will be available globally in 2023.
- Security Keys for Apple ID will be available globally in early 2023.
- Advanced Data Protection for iCloud is available in the US today for members of the Apple Beta Software Program, and will be available to US users by the end of the year. The feature will start rolling out to the rest of the world in early 2023.
As soon as the feature is available, I'll update this blog post with details on how to enable it! For now though, I hope the above contributes towards better security for everyone out there! 🔐