
Part 10?! When I started writing this series I did not expect to hit Part 10 and the good news for those appreciating these blog posts is that there's probably another few parts left to come too!
The Series
In this part of the series I'm going to be making some modifications to help with the operation of the engine under load. When being driven hard, a tuned engine is operating outside of normal parameters and there are certain precautions you can take to help maintain some reliability and longevity of components. Once that's all done, I'll take a look at the first time I took the M140i out on track!
Oil Catch Can
Explaining the value proposition of an OCC is quite difficult to do in few words so I'm going to show the following video from Engineering Explained.
For those of us who are technically inclined when it comes to engines it can be summarised as a device to catch contamination like oil/water/fuel in blowby when it leaves the crankcase and before it enters the intake tract. Having combustion byproducts pass through your intake is a great way to get your boost pipes/throttle body/intercooler/valves and other components covered in soot, carbon and oil deposits. If these deposits get bad enough they require cleaning off which is a common thing on high mileage cars. For those that have never heard of it before, walnut blasting is a thing that we do to cars and it's exactly what it sounds like. You have to strip away quite a few components of the engine and then using compressed air and crushed walnut shells, you blast parts of the engine to remove the deposits without causing any damage! The following picture shows what the intake/valves can end up looking like on the left and the right hand side shows after they've been cleaned with walnut blasting.
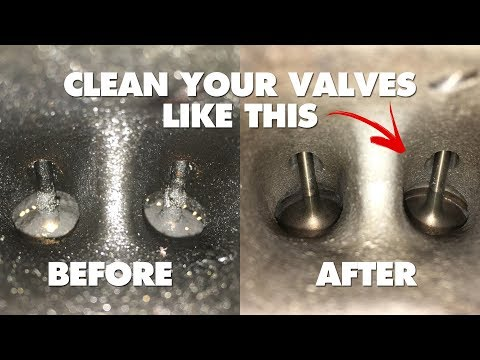
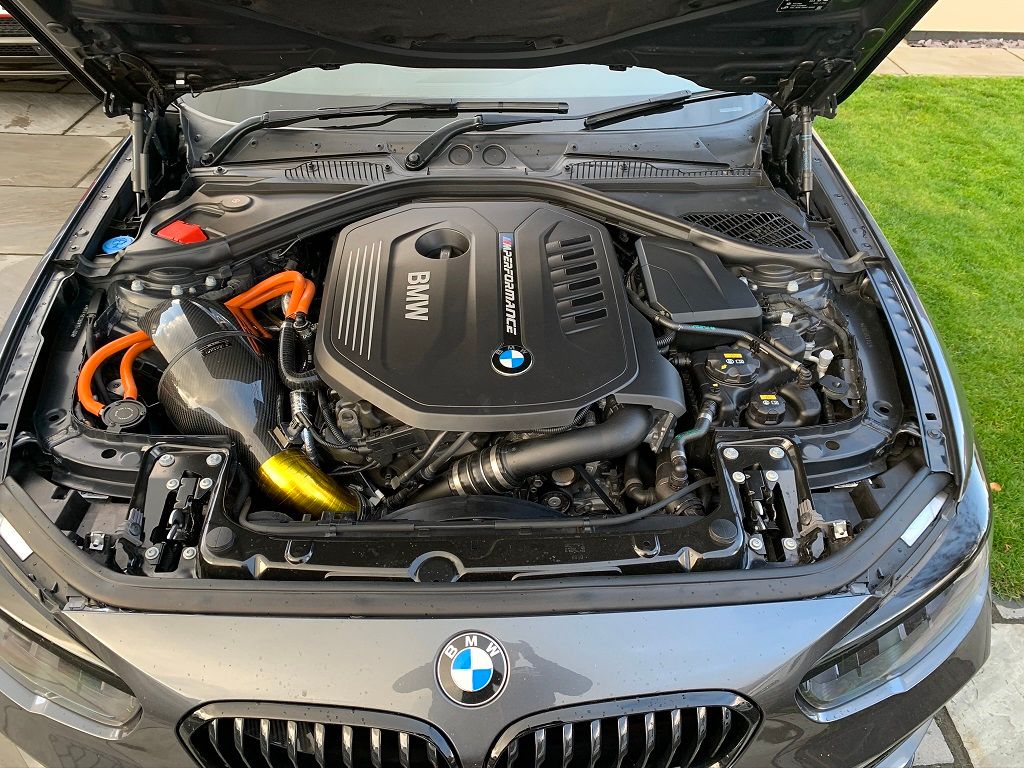
I've always firmly believed that prevention is better than a cure and an OCC properly installed and maintained should make sure my intake valves always end up looking like the ones on the right in that picture and not the ones on the left. I also have another little trick up my sleeve that I will show you in a subsequent blog post that will help out quite significantly in this regard too. But first, the OCC installation! To give a brief overview, we're basically installing a filter in pipe #1 shown here:
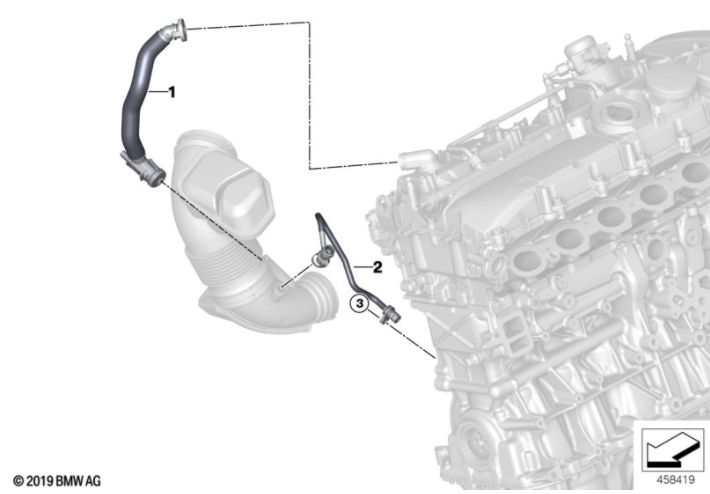
This is the crankcase ventilation pipe and takes dirty/contaminated air from the crankcase and pushes it into the air intake just after the air filter. The dirty air then goes back through your intake, turbo and engine to get burnt off. By installing our own filter here we're going to stop that dirt and contamination going back around the system. First thing is to pop the hose off and I needed to adapt the end of the hose, which is a fancy term for chopping a bit off!
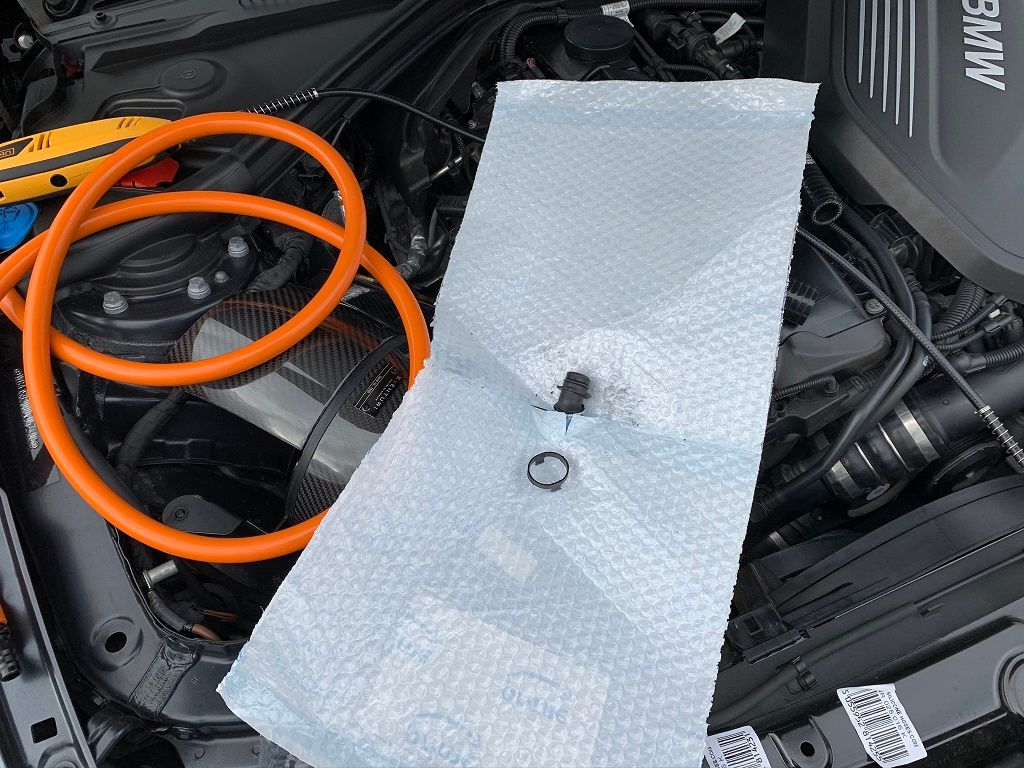
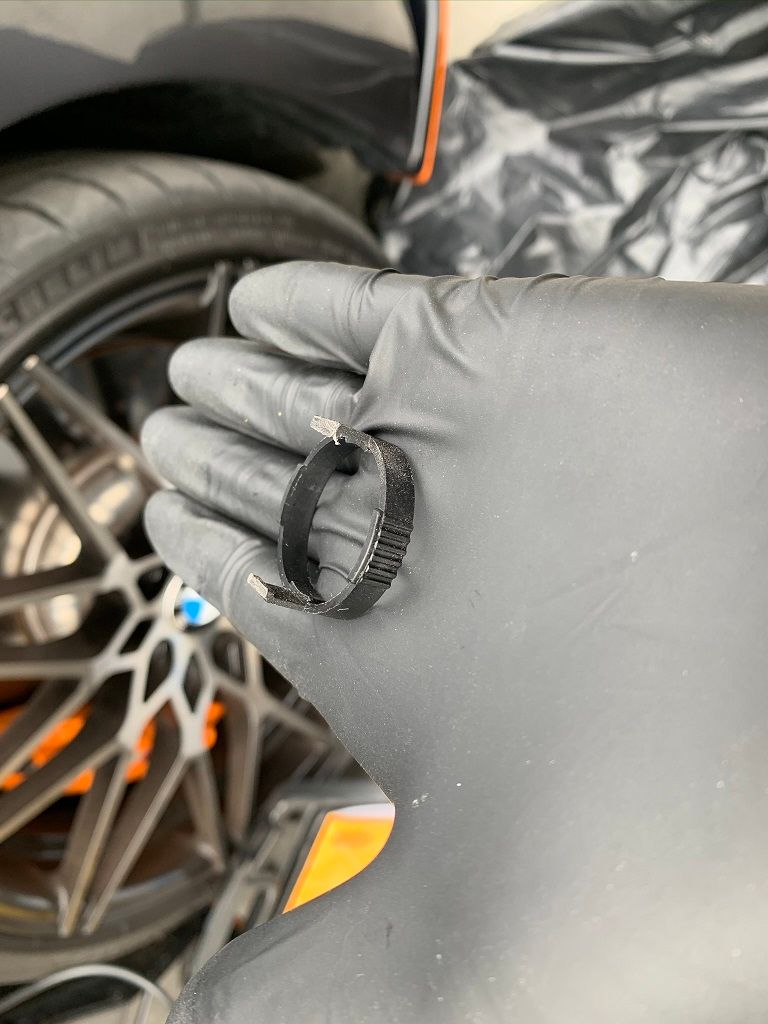
This special clip is quite BMW specific and won't fit well with the aftermarket parts I bought, so off it came. You can buy systems that don't require modification, but they didn't come in the colour or style I wanted and I wanted flexibility in how and where I mounted it. With the clip modified I can now fit my custom reducers that will take the larger OEM pipes and reduce them down to something easier to work with. You can see one fitted to the crankcase breather port on the top of the engine and the other comes up from the pipe that goes down to the intake.
These will eventually need cutting down to size but for the test fitting I'm going to leave them full size and I did the same thing with the new hose extensions for now. I put the OCC filter housing where I wanted it to be and started to route the new pipes.
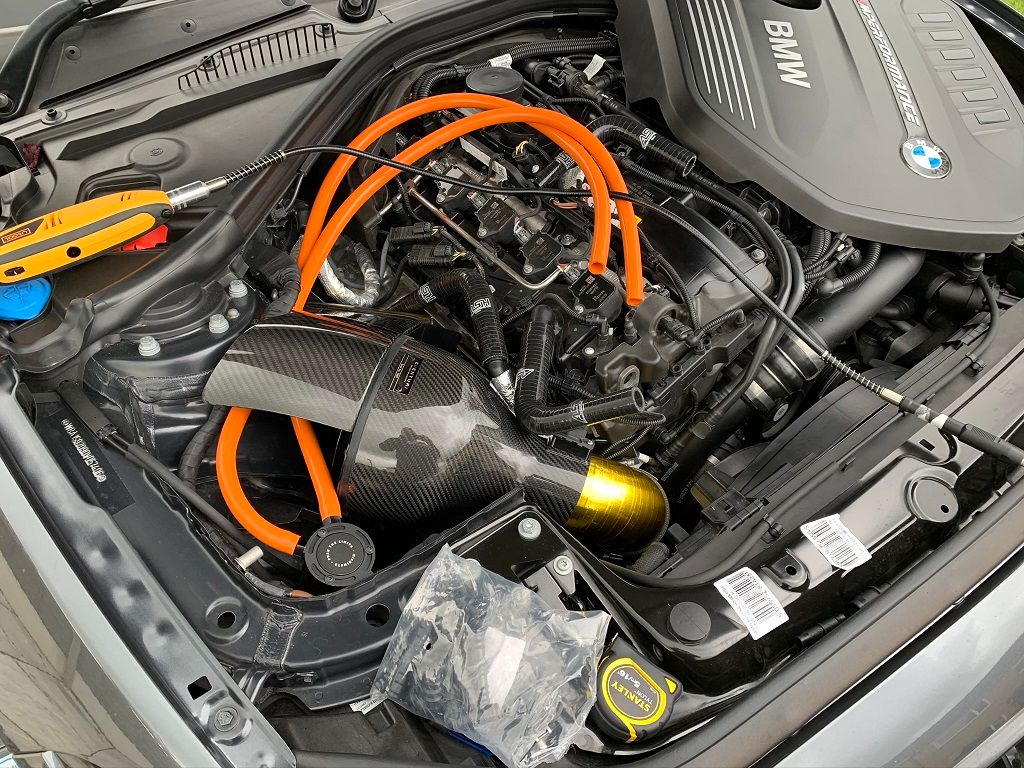
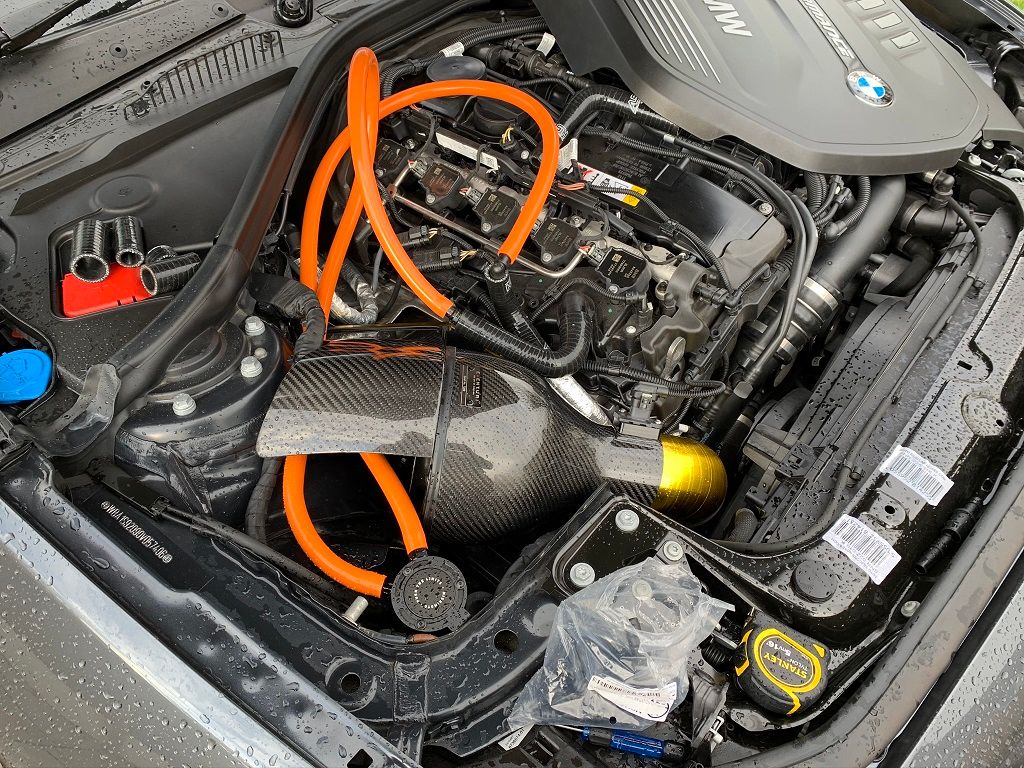
The initial test fit looks good and there's a lot of excess hose to trim down, but it seemed to fit almost perfectly where I wanted it to fit! There was even this handy little notch in a panel to hang the OCC from!
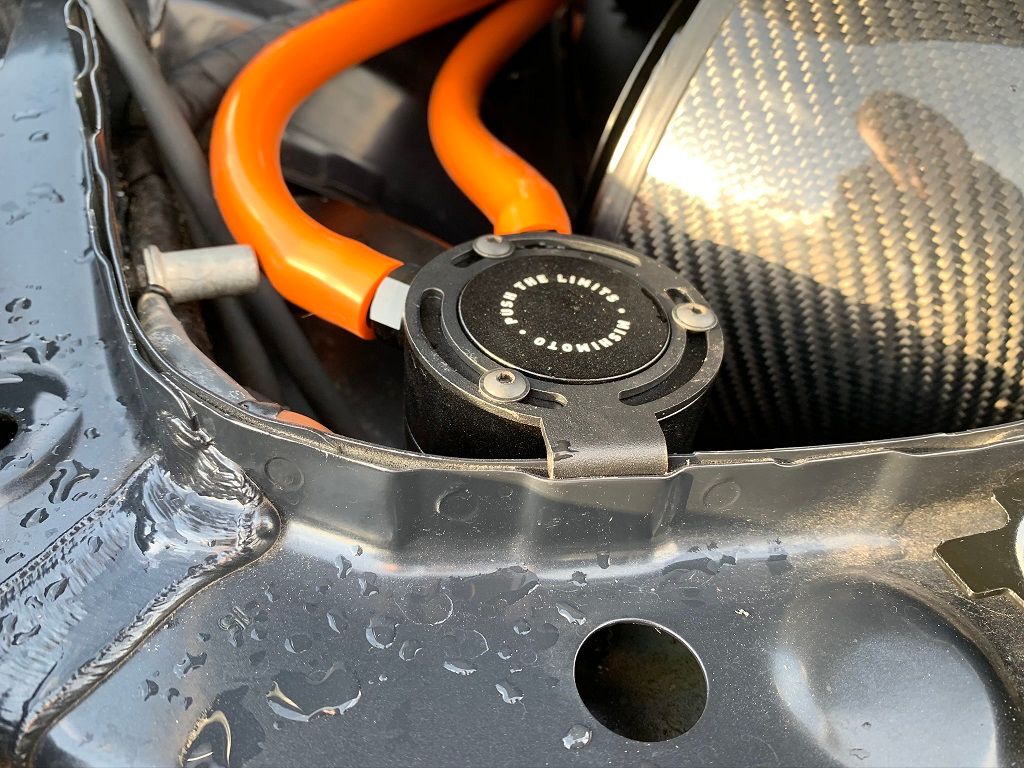
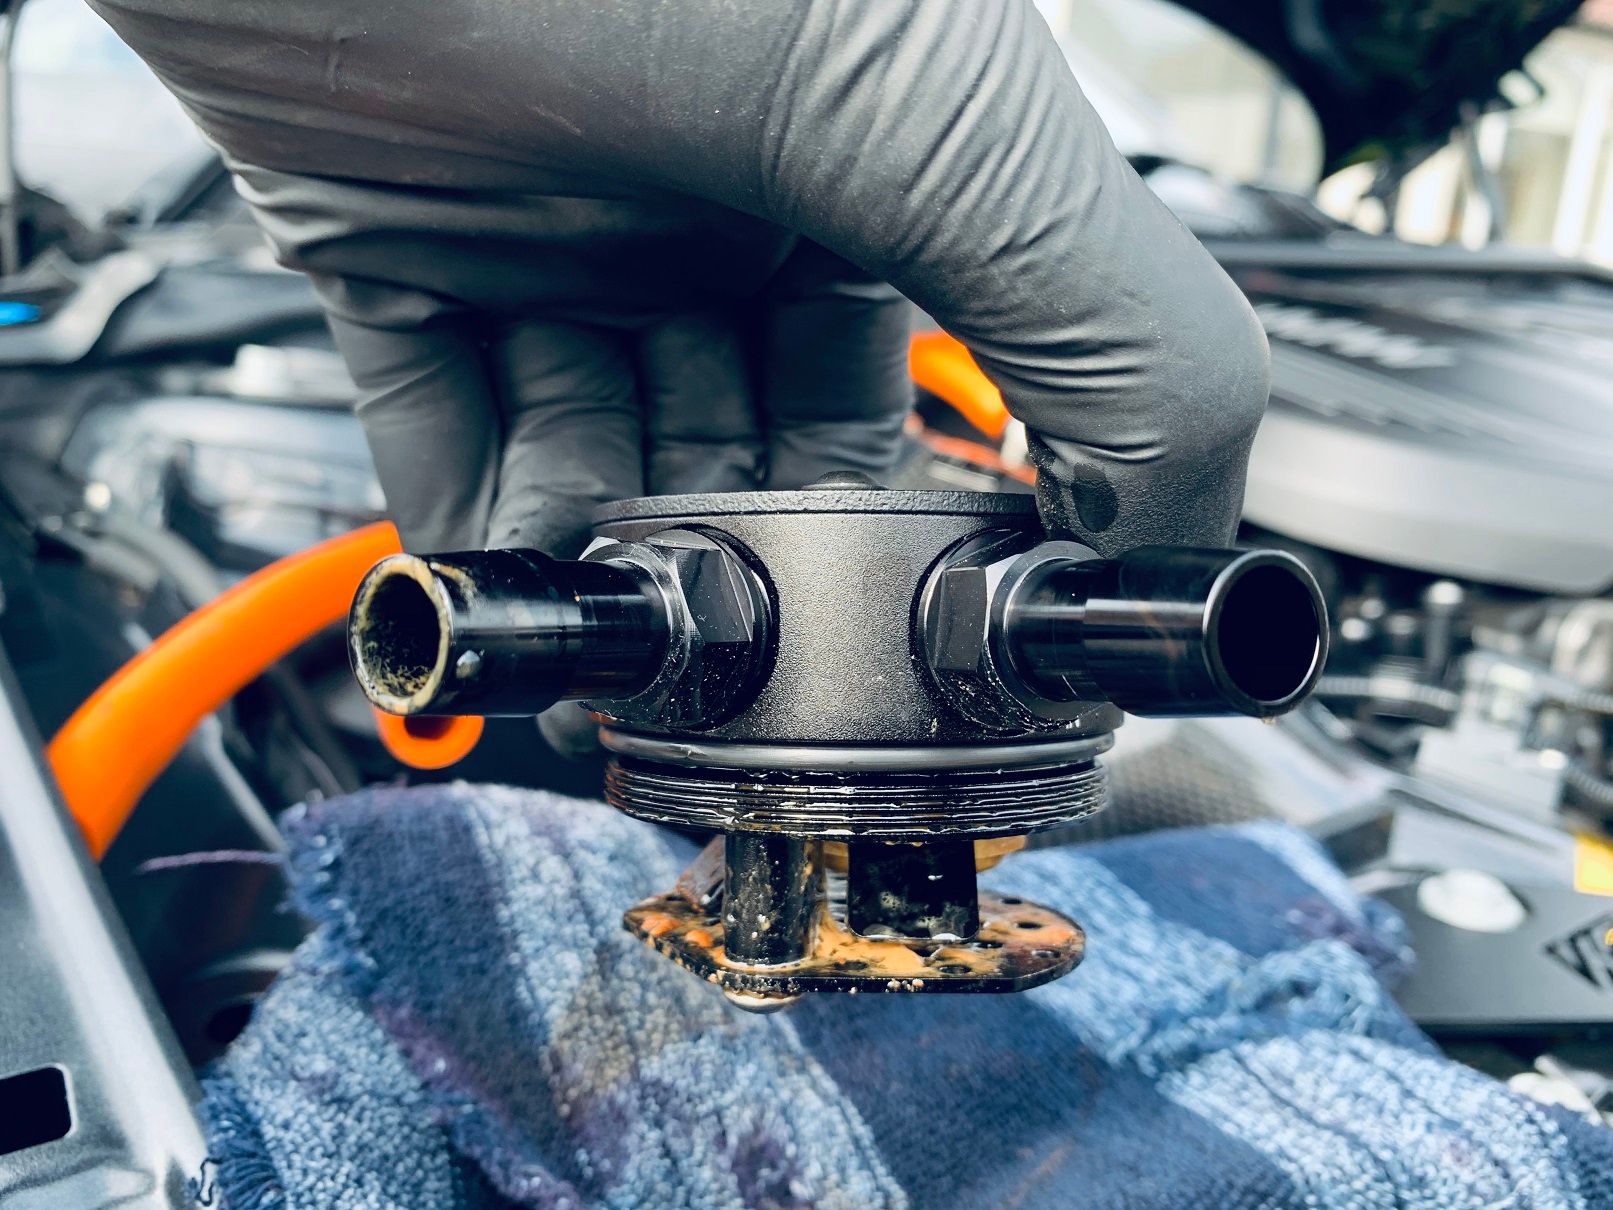
With everything in place I trimmed the hoses down to size and mounted everything back in place and the OCC was ready to go.
Now, if you've ever interacted in car forums or groups you will know there's always someone happy to complain or tell you that something you did was pointless. Using an OCC is no different (I actually think it's just certain people that are the issue) but people are divided on how useful they really are. To determine that, I ran mine for a few thousand miles and decided to empty it and check. Here are the results.
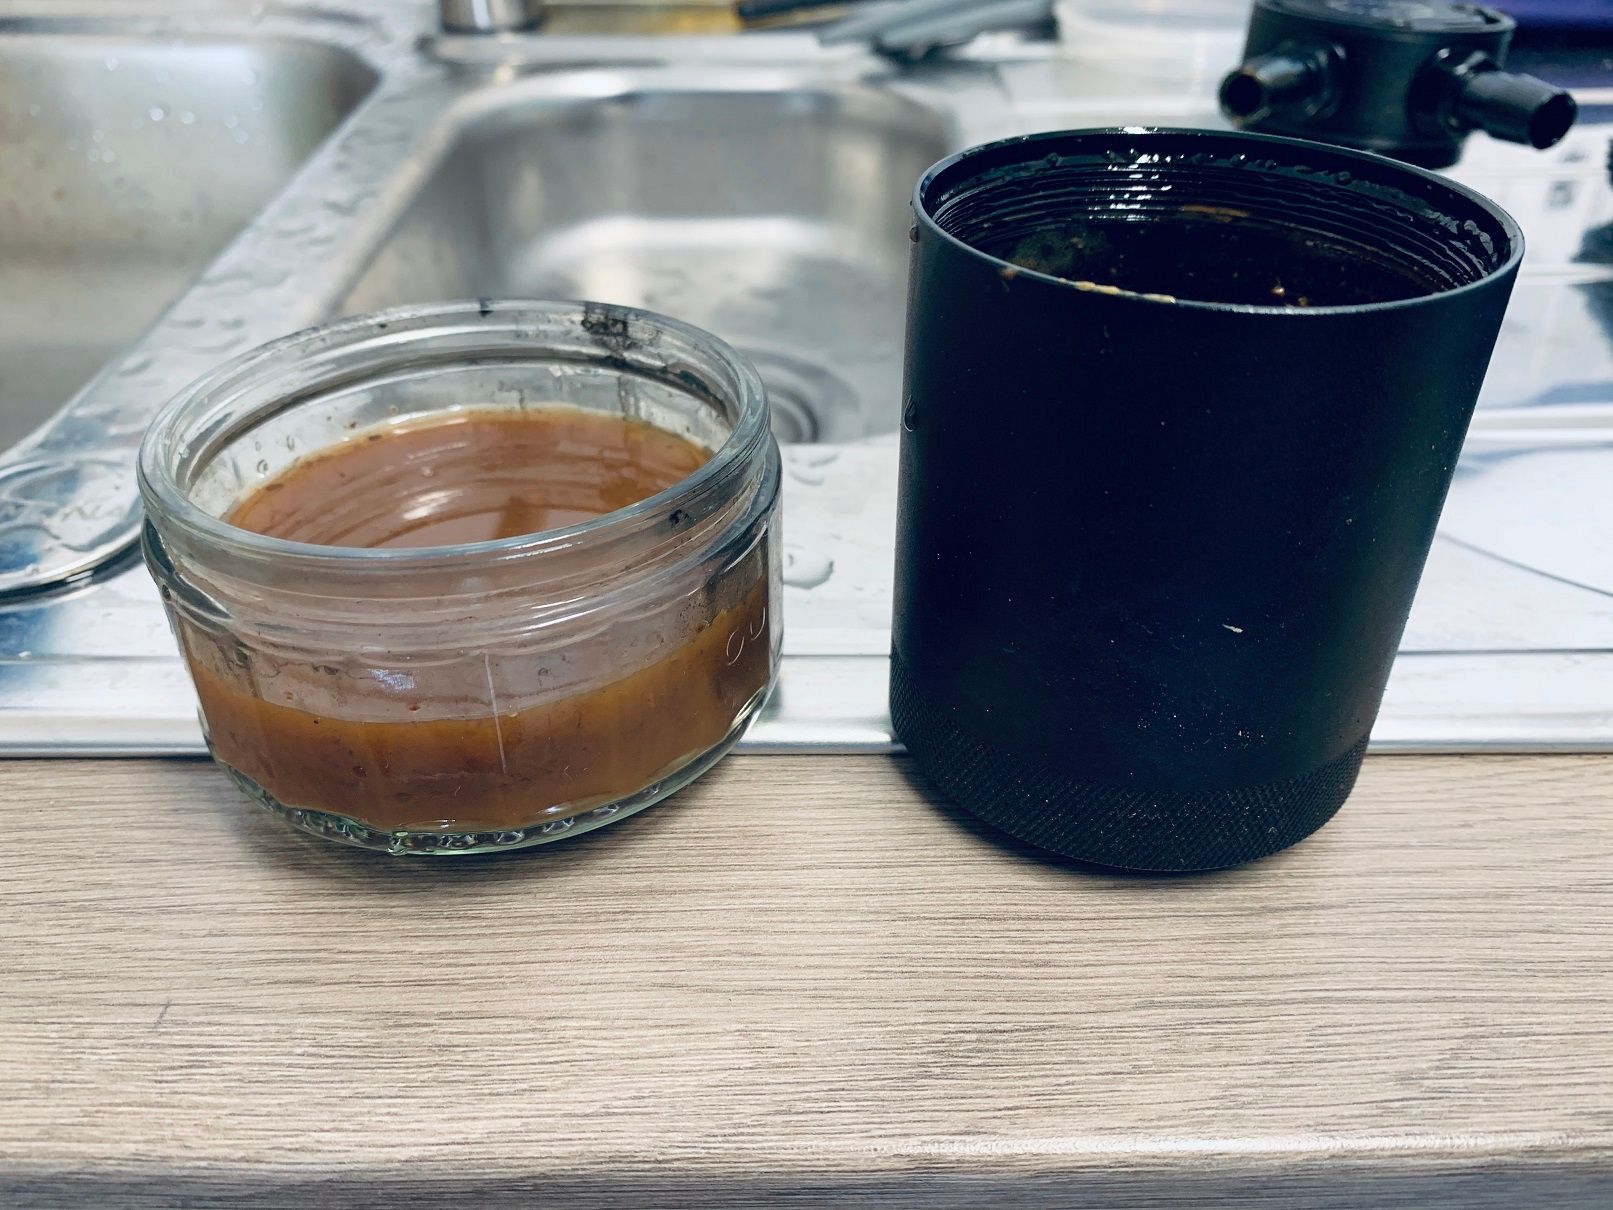

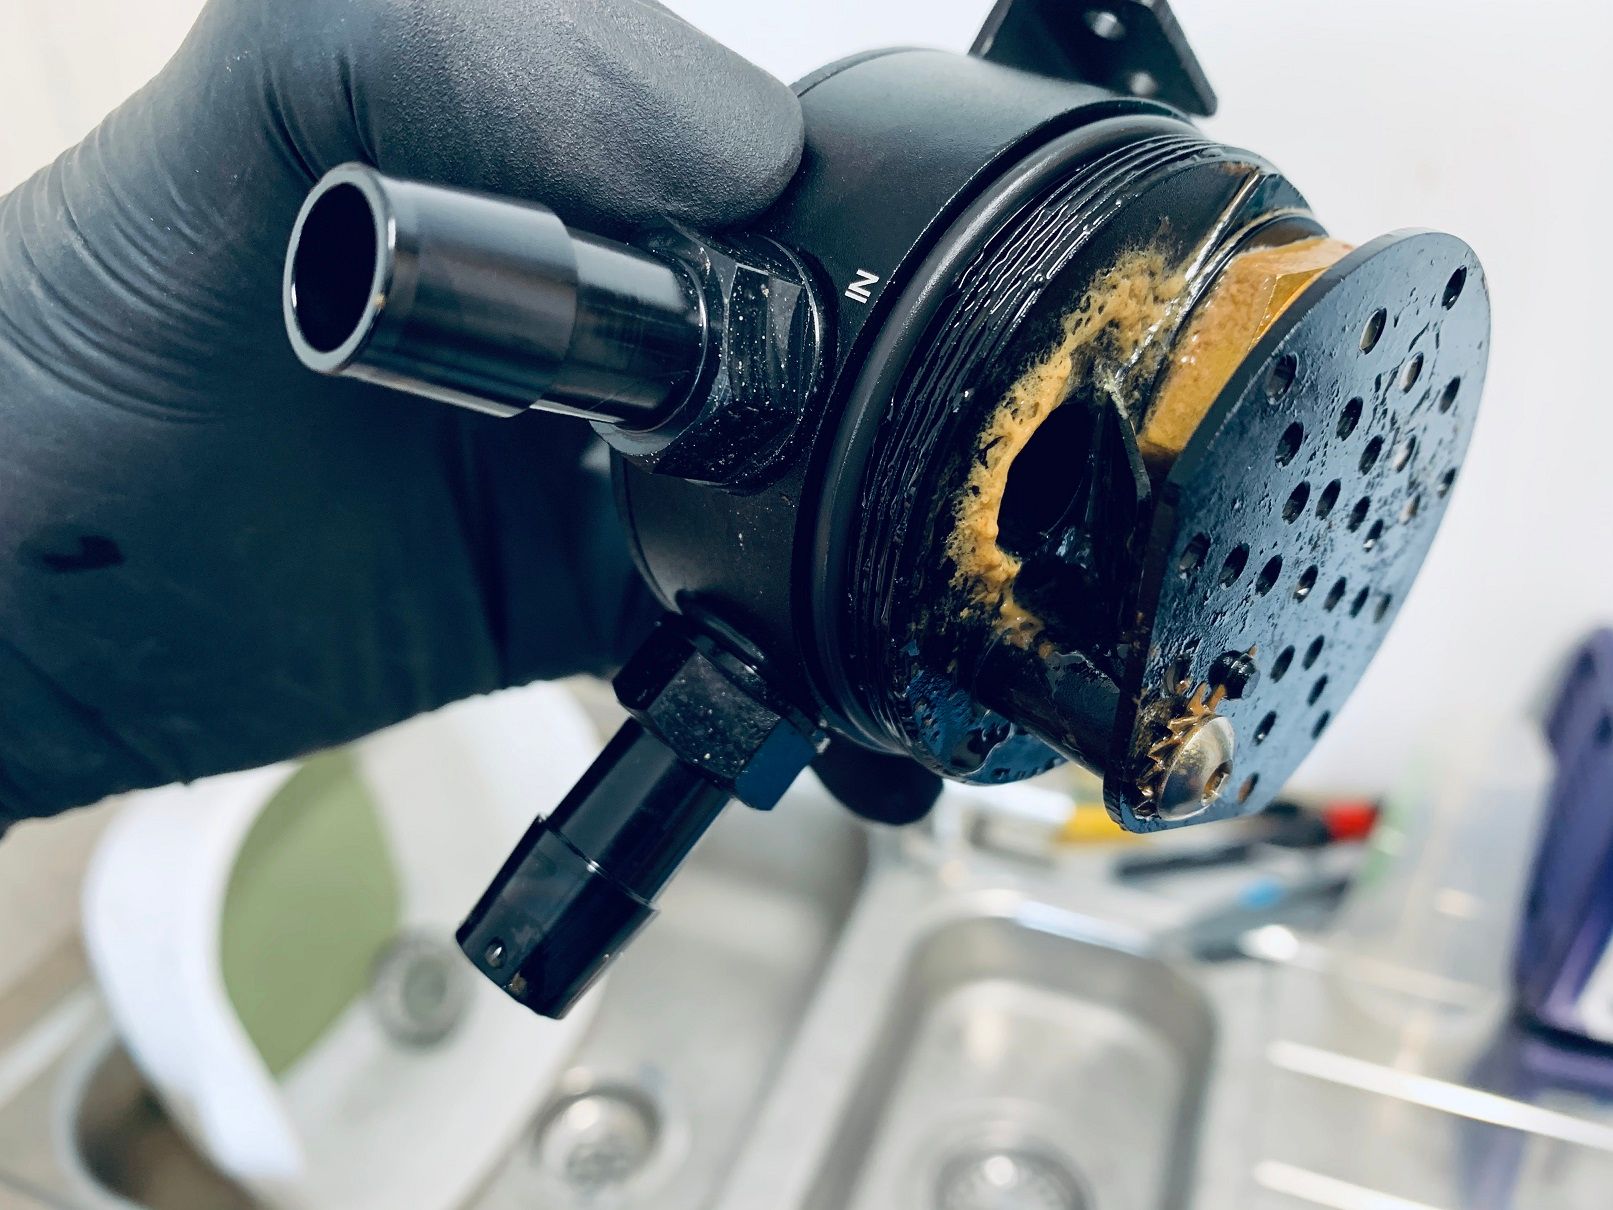
So first of all, yes it's supposed to look like that! This is a mixture of fuel, oil, combustion byproducts and mostly water (condensation) all gathered together in the OCC which is precisely the point of it. Without the OCC all of this would have been circulated back through the intake system, which is something I don't really want. Yes the car may be designed for that to happen, yes it might have been just fine had I let it happen, but I didn't want to and I'm glad that I don't. For the minor inconvenience of having to empty the OCC a few times a year I'm more than happy that this was a worthwhile addition to the car.
Heat management with gold!
That's right, I'm going to be putting some gold in my engine bay! It's not for the added bling, although it does look pretty awesome I have to say, but it's actually to help reduce the amount of 'heat soak'. With so many hot components in the engine bay, especially the turbo and exhaust manifold, they radiate heat to components around them and start to heat them up, so called 'heat soak'. Once the engine bay continues to heat up it can start to have a serious impact on the performance of the engine and if things get really hot, it can possibly cause damage. Because a tuned engine will generate more heat, and I'm going to be pushing the car a lot harder than most, I wanted to show the first steps I've taken to add some extra heat management.
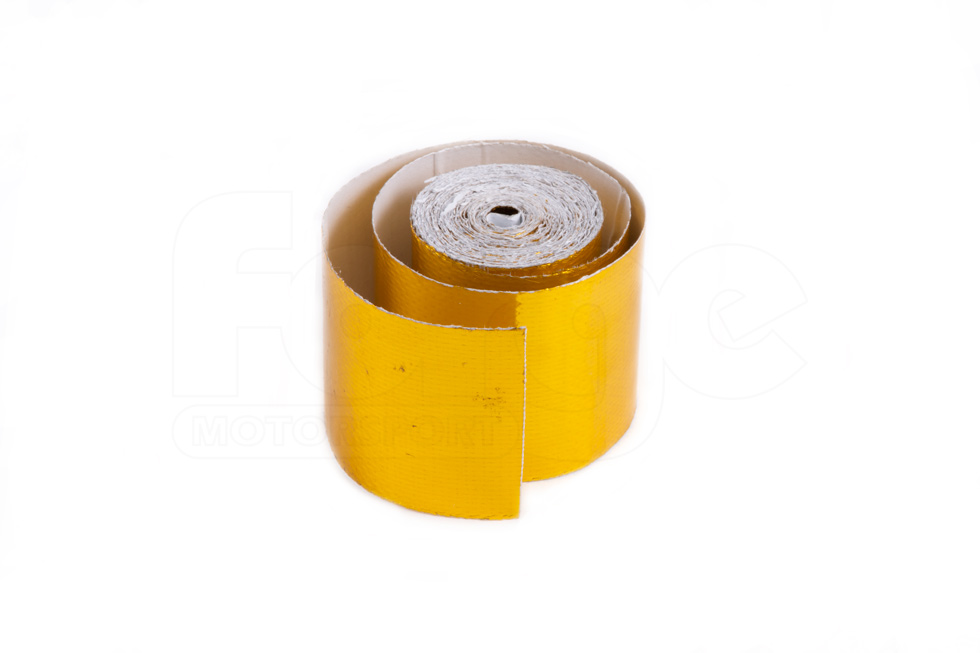
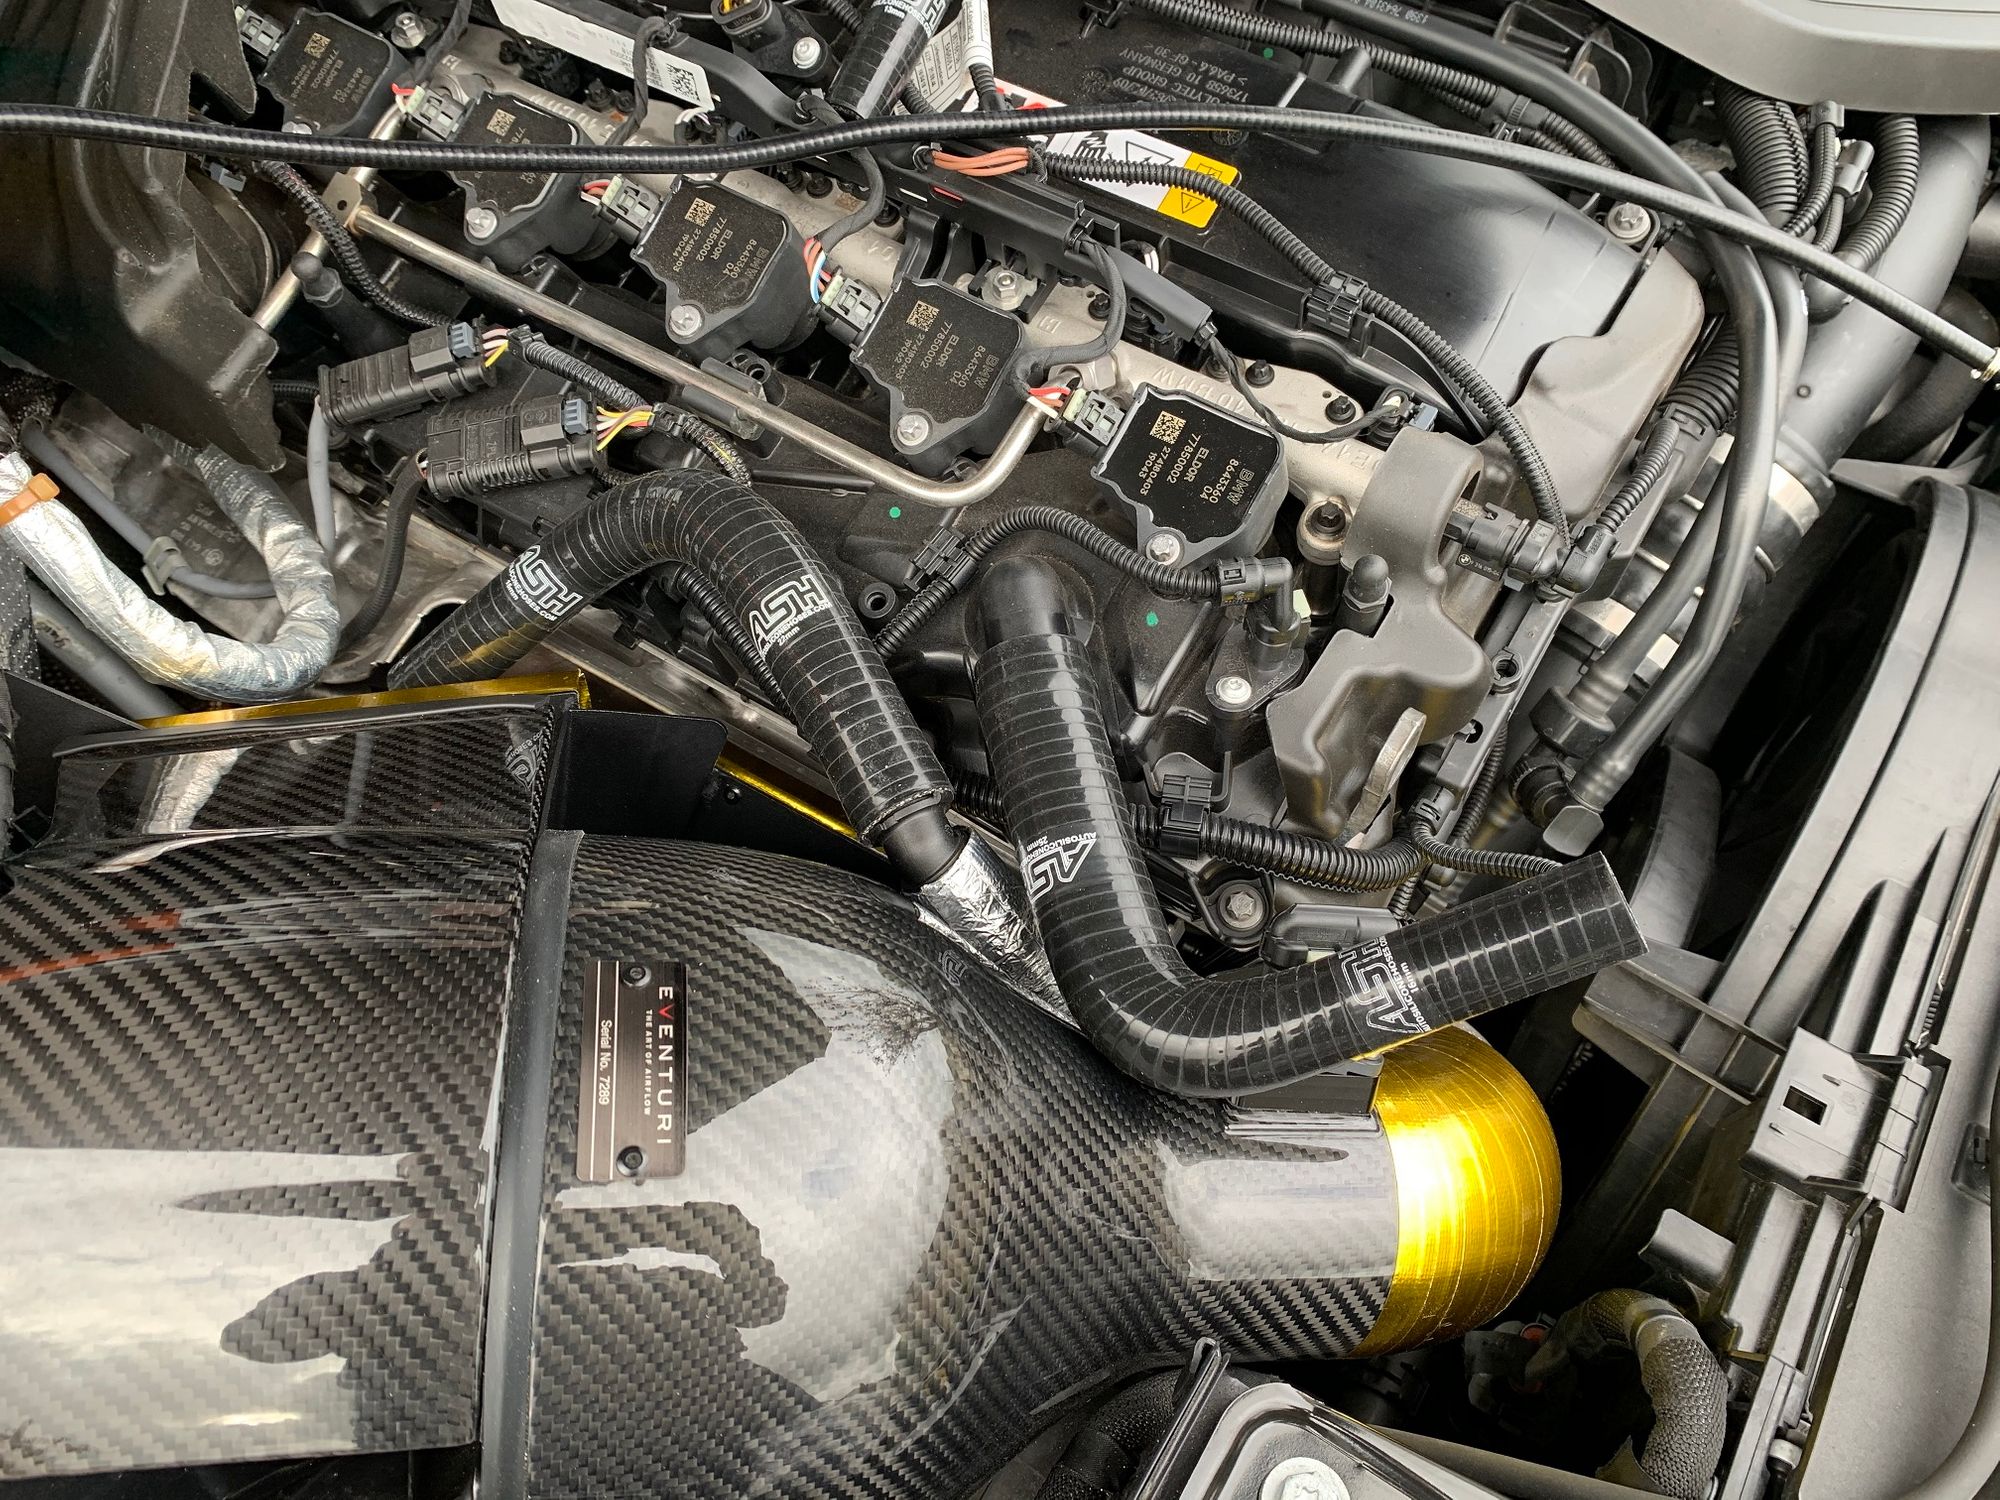
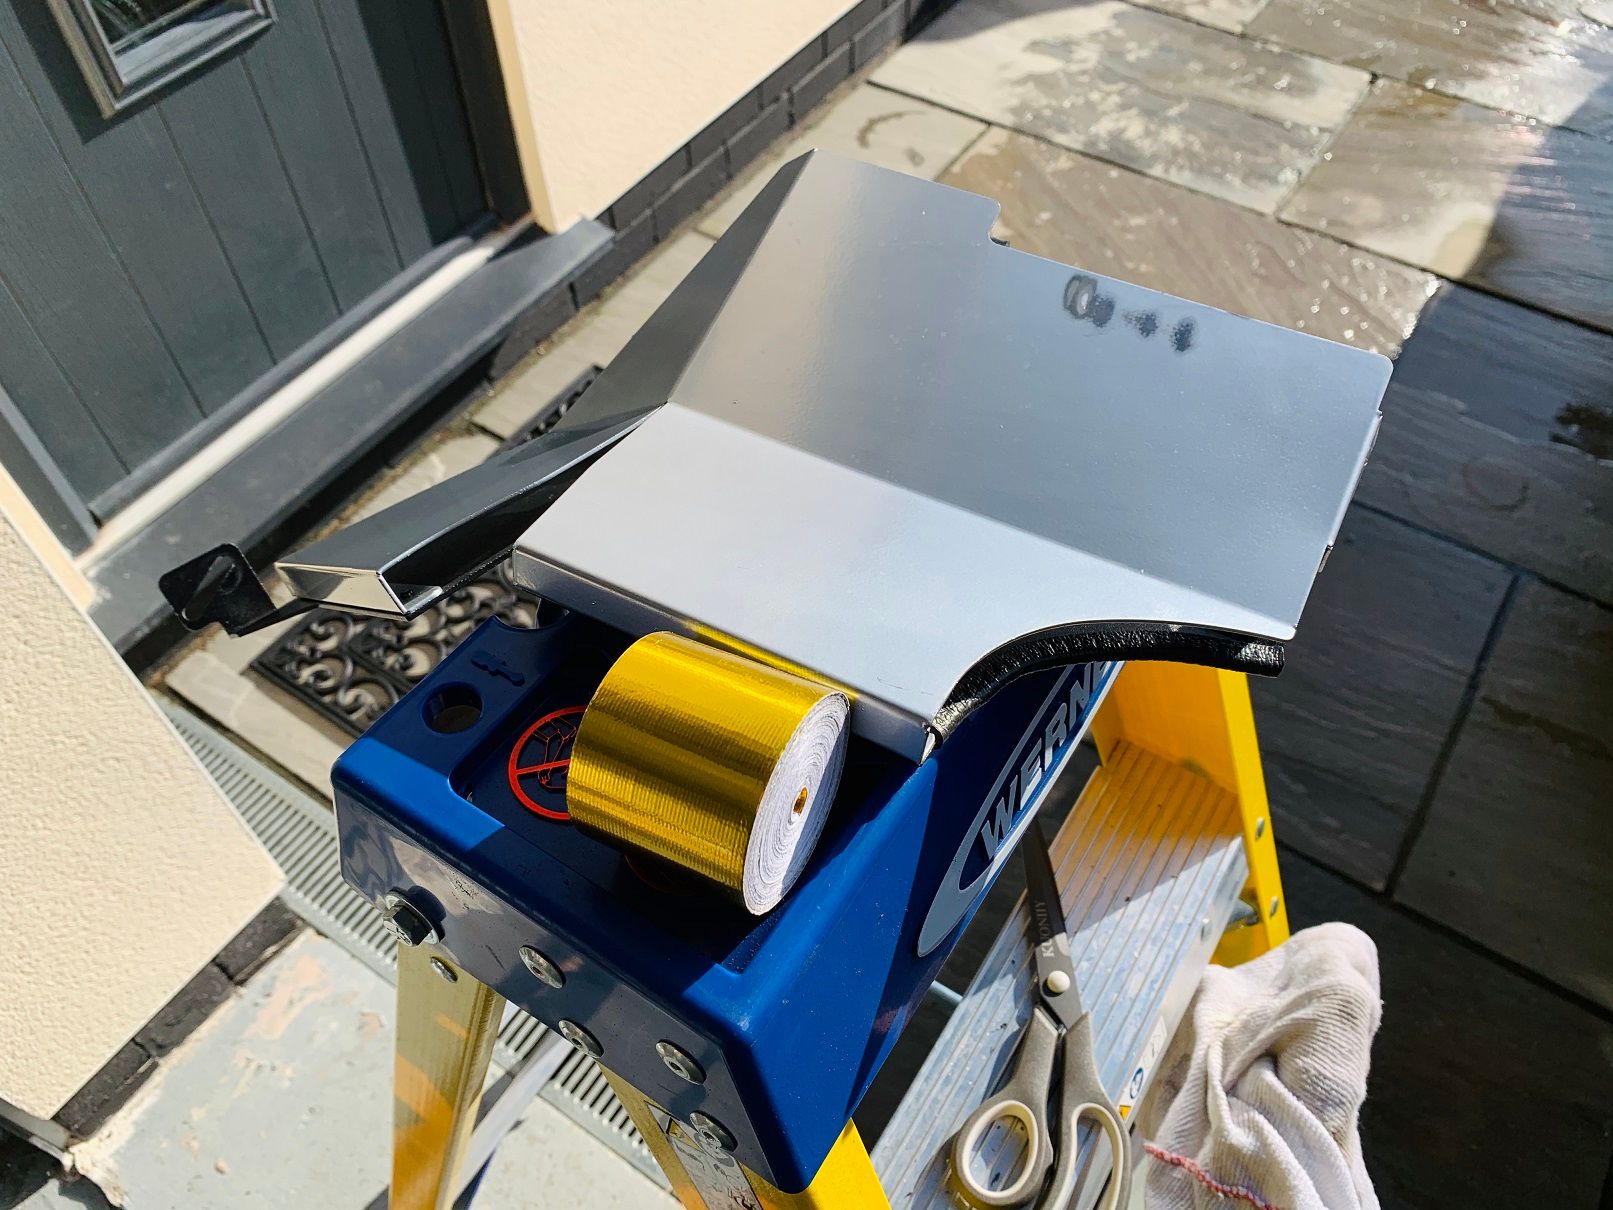
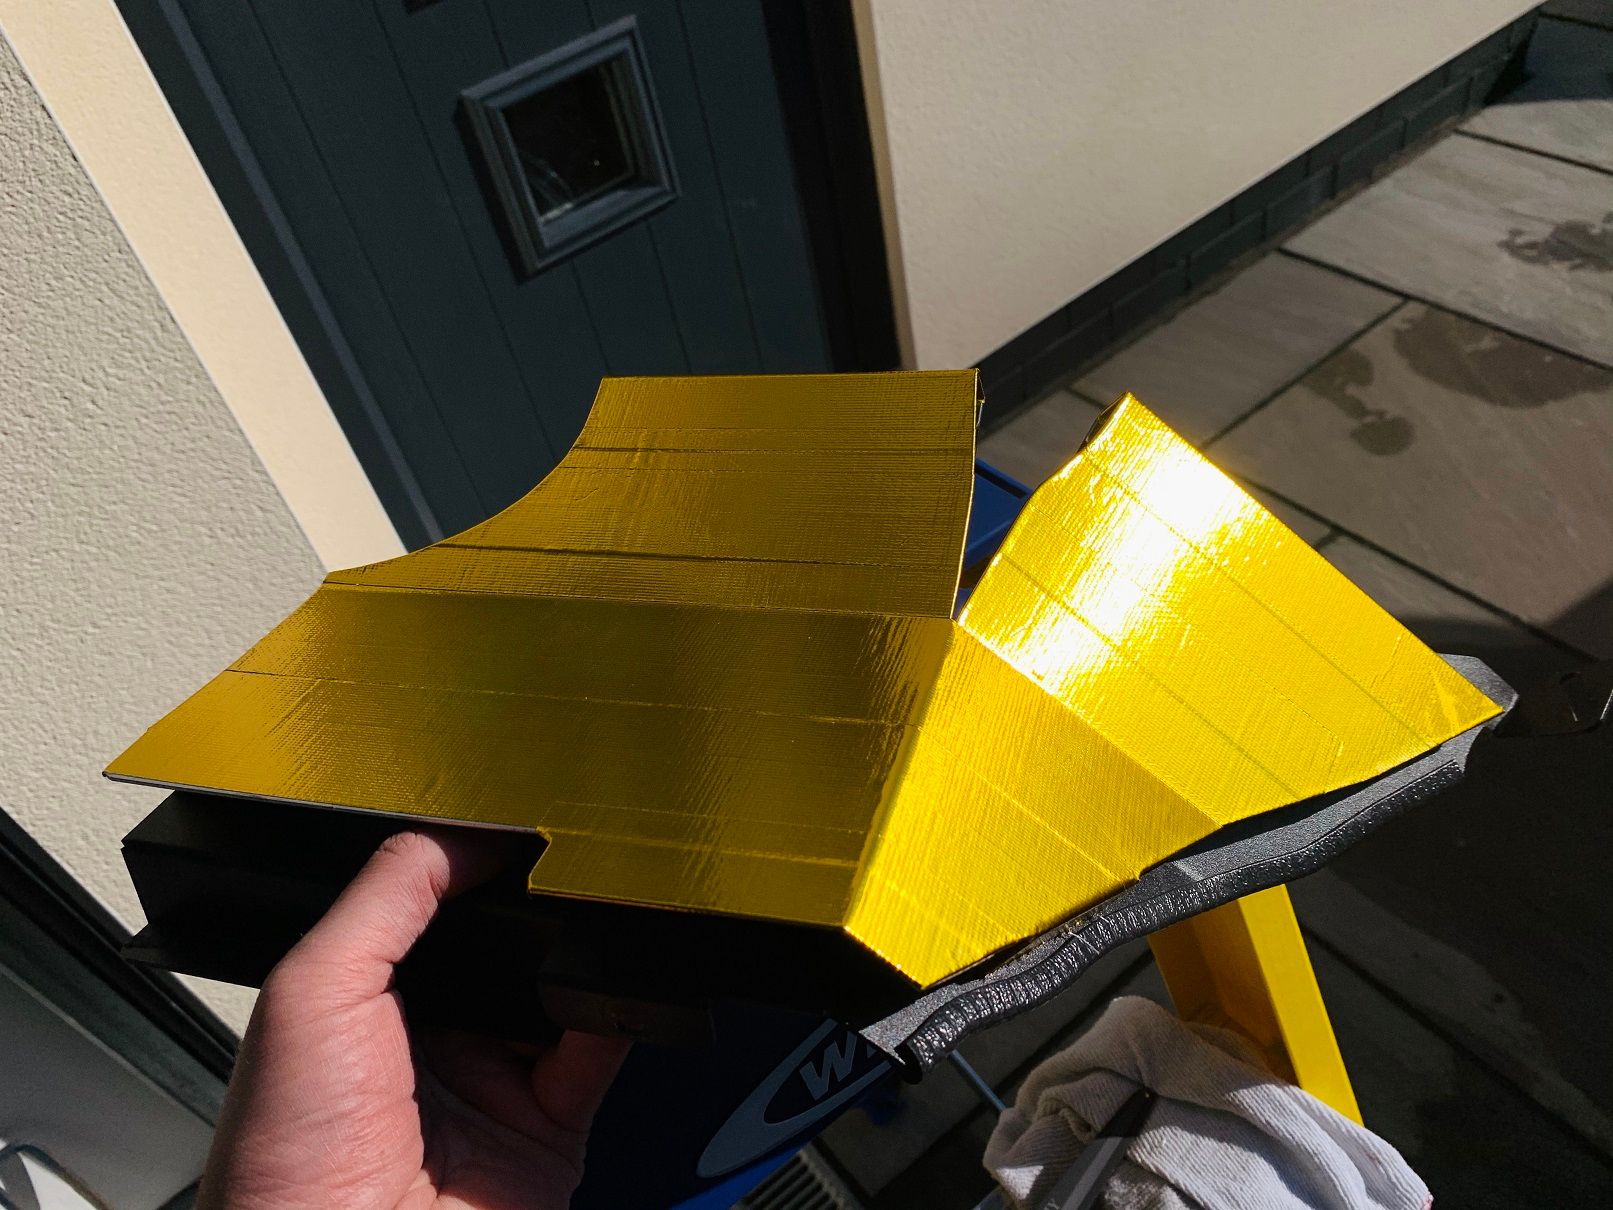
This gold, heat resistant wrap it placed onto surfaces that you want to reflect heat rather than absorb it to help keep them cool. The air intake on my car already has a double-skinned heat shield as it sits right above the exhaust manifold and turbo. Not a great design but there's nowhere else for it to go so good heat shielding was necessary. I wanted to take it a step further and add a layer of reflective gold tape to reflect even more heat so here you can see the original heat shield and then the improved gold version!
With the heat shield removed from the engine bay you can see what it sits above, which as I said is the exhaust manifold and turbo. After a period of extended heavy use, and this is no exaggeration, there is a slight red glow coming from this area of the engine bay!
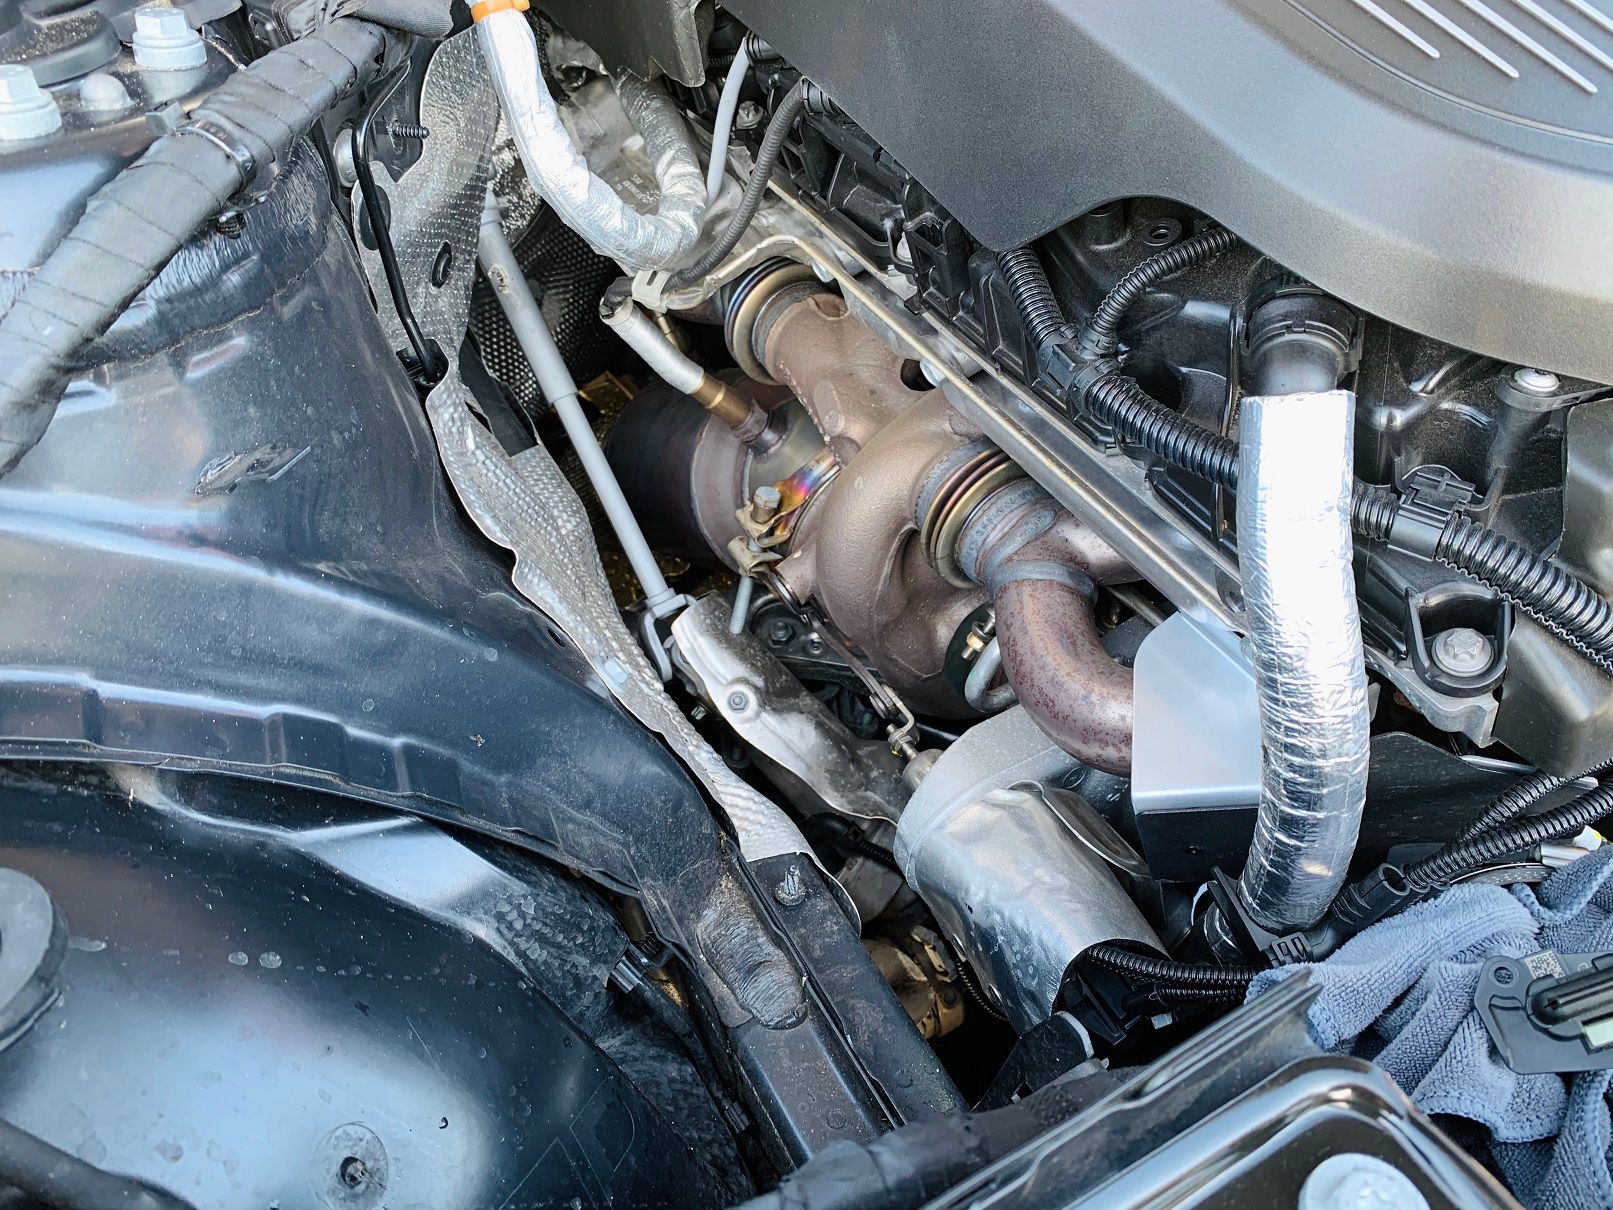
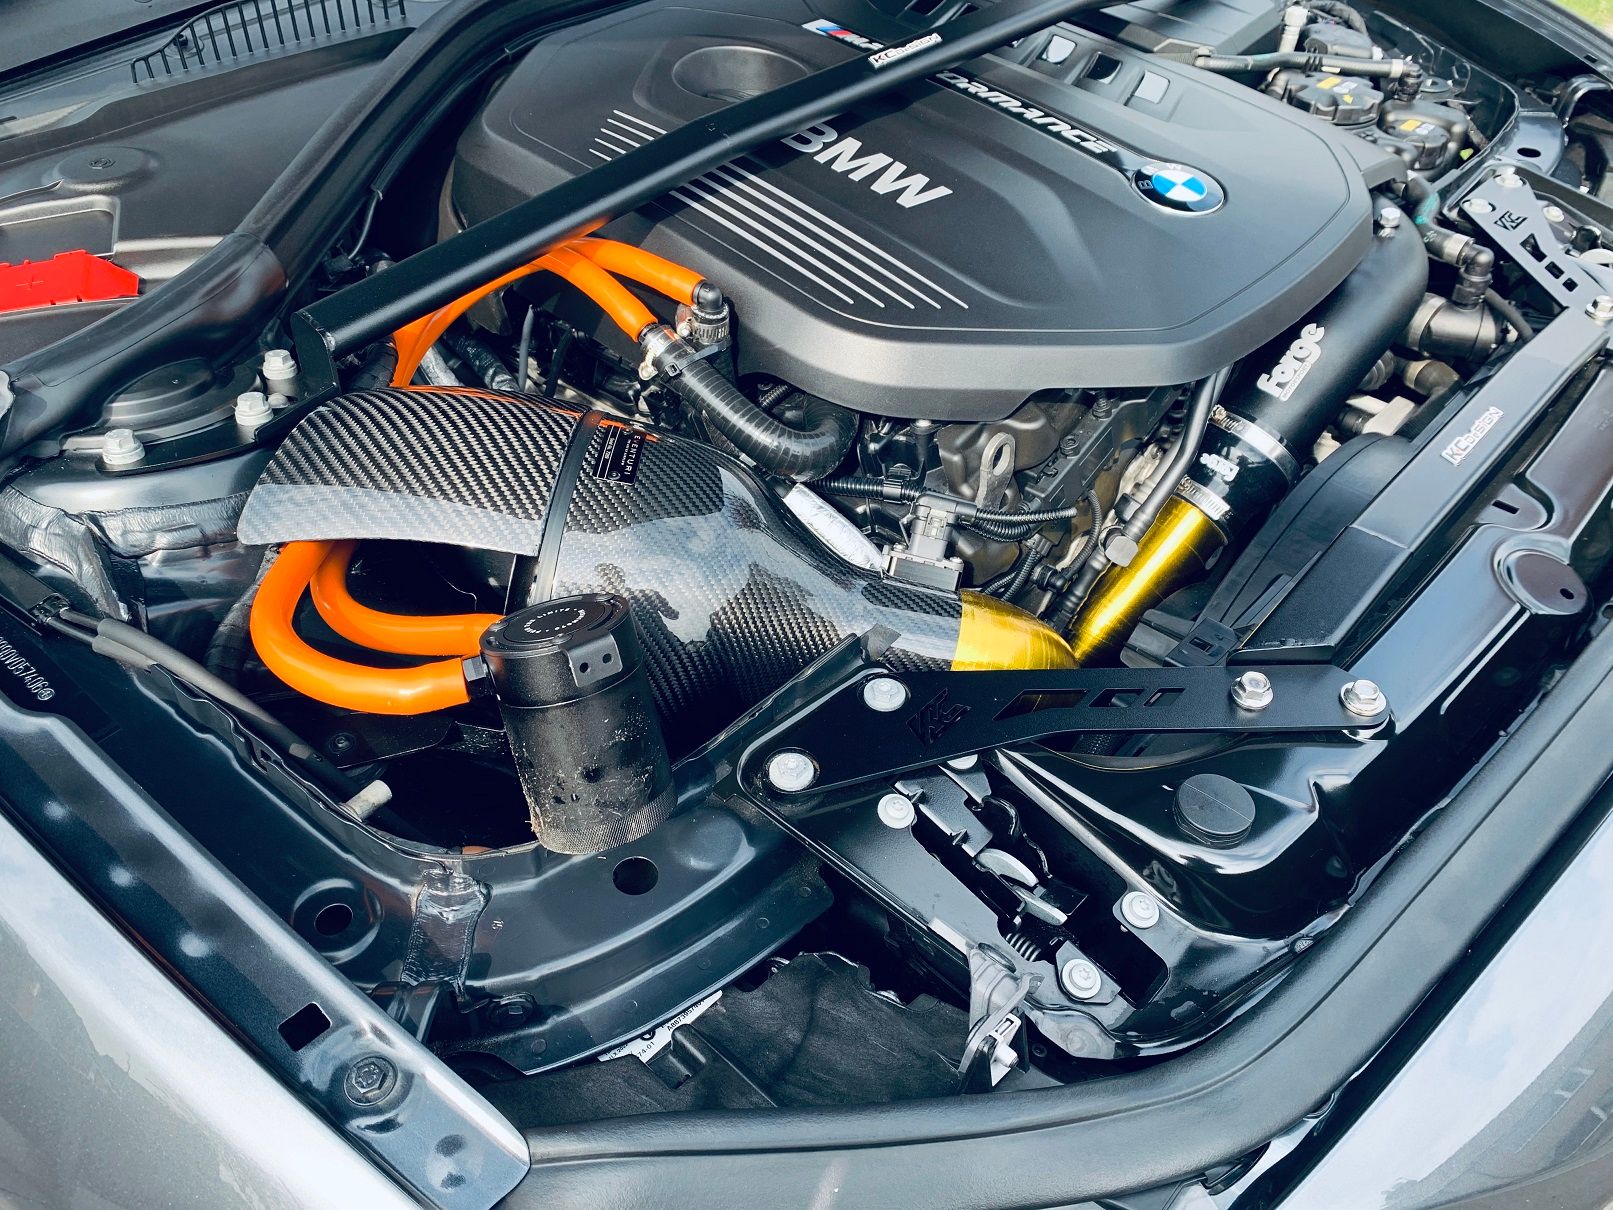
In that picture you can also see the crankcase breather hose that I modified earlier in this post which is the silver wrapped pipe on the right hand side. That's also thermally insulated as it can pick up a lot of heat in this area which you don't want going into your intake either. Here is the heat shield re-installed.
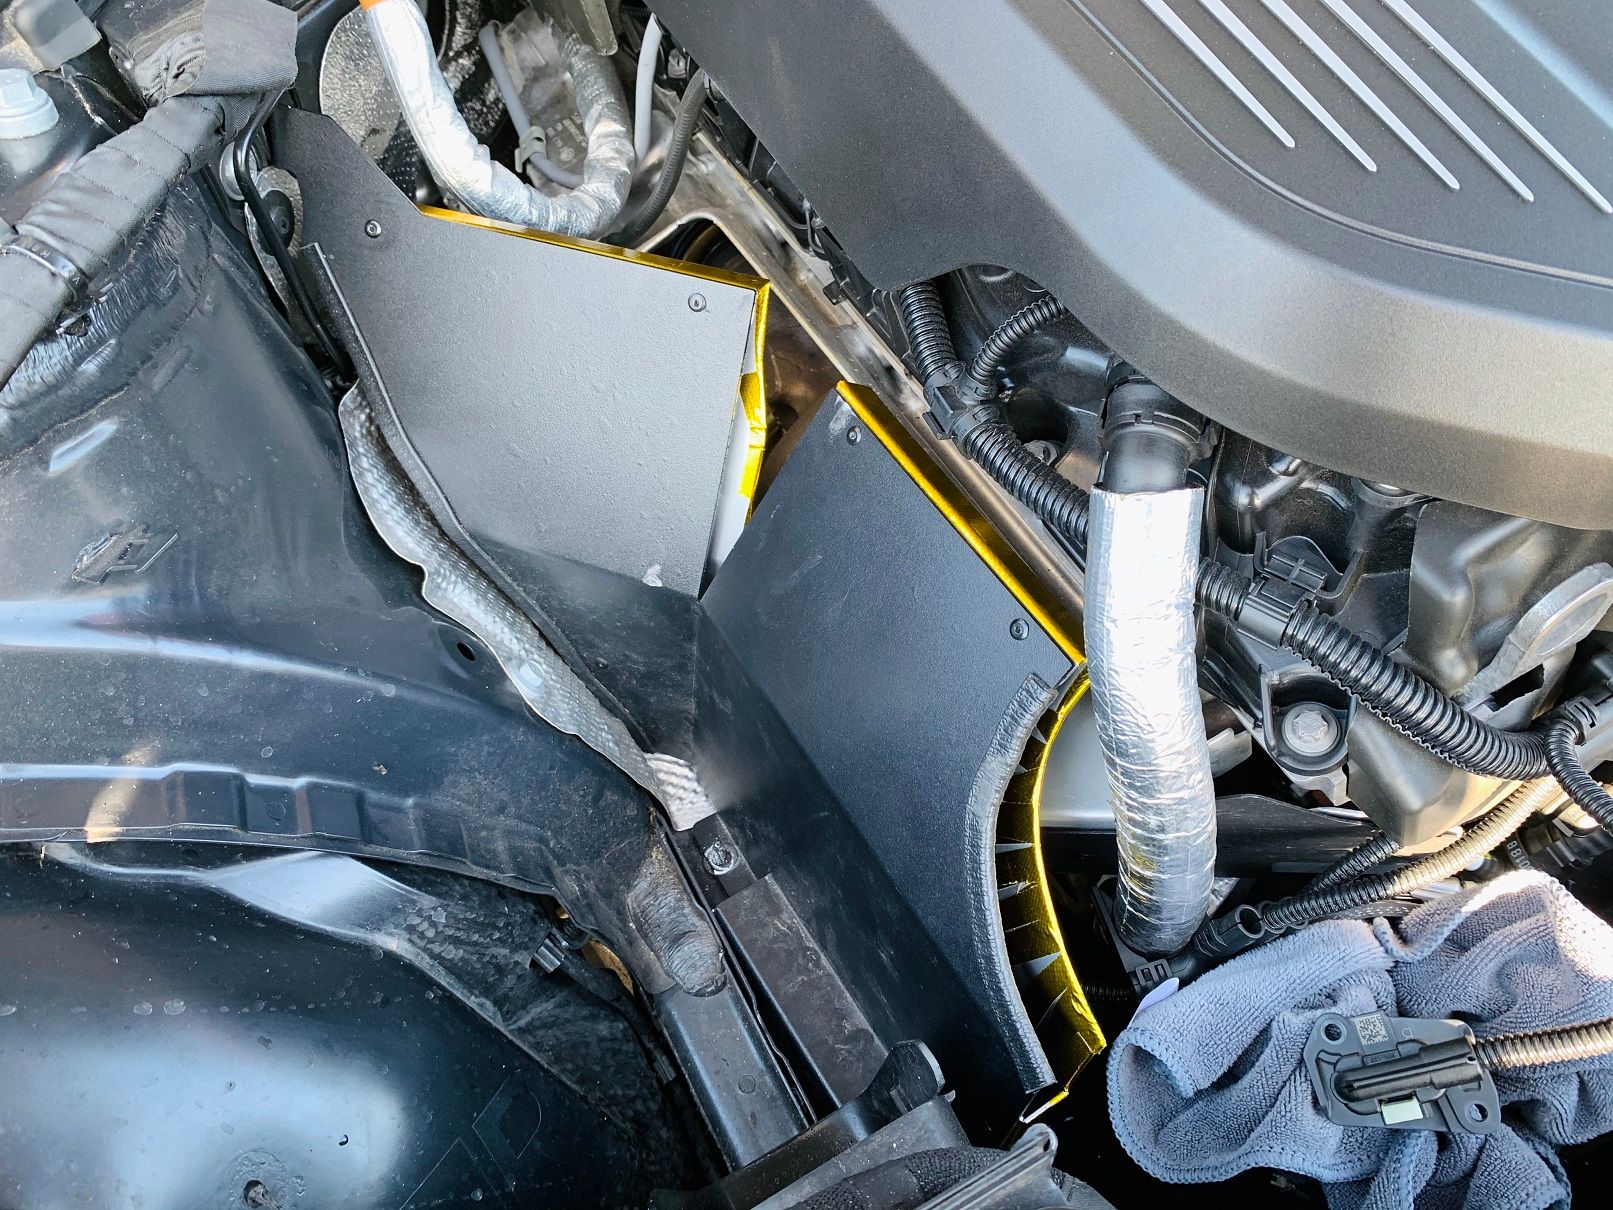
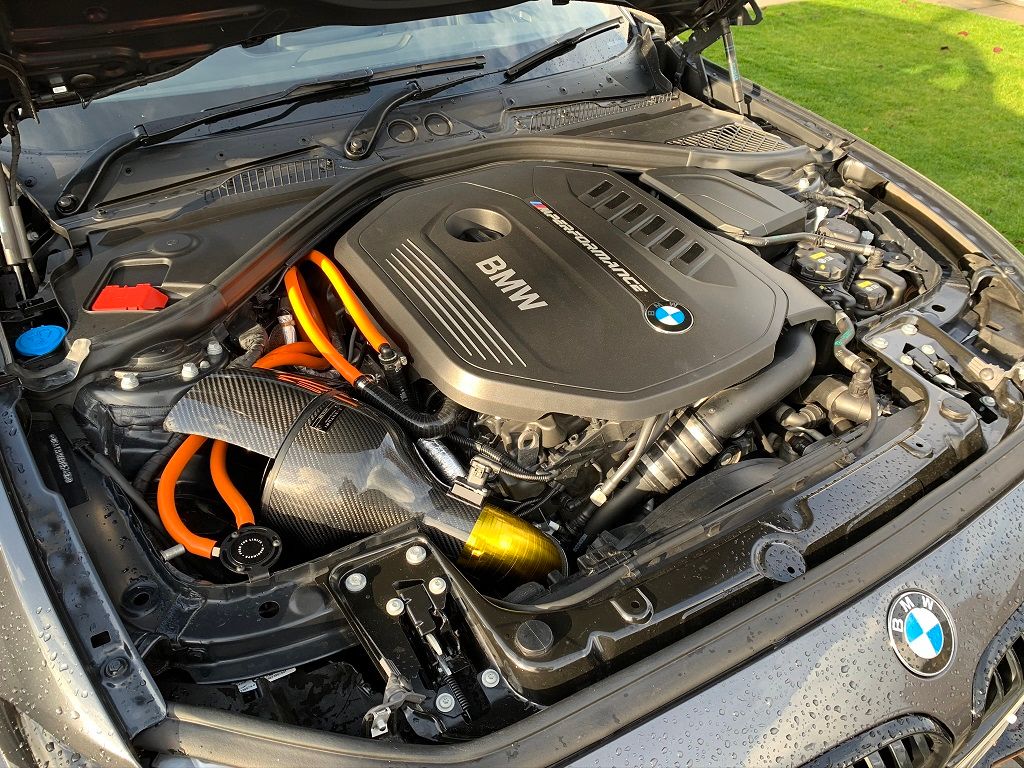
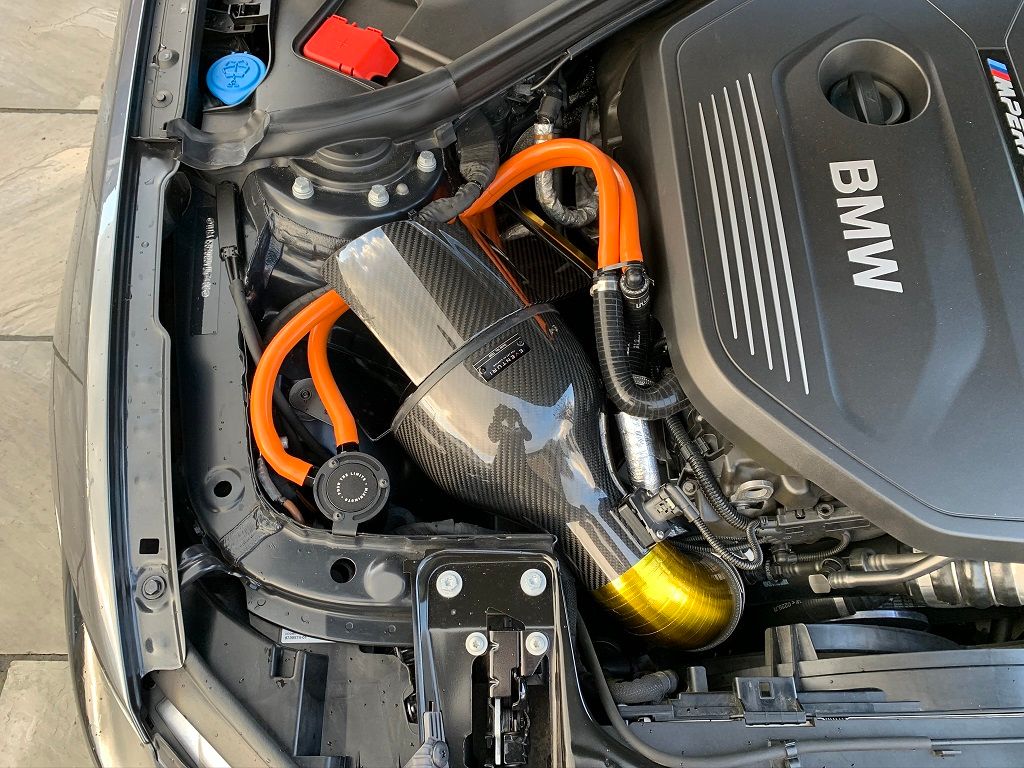
As you can see, all of that gold is now facing the exhaust manifold and turbo to reflect the heat back rather than let it soak through into the intake. In the lower right of that picture is the air intake pipe, currently blocked up with a cloth so nothing falls in, and that's also susceptible to picking up unwanted heat down there so a couple of extra bits of piping got the gold treatment too and I even wrapped the lower boost pipe.
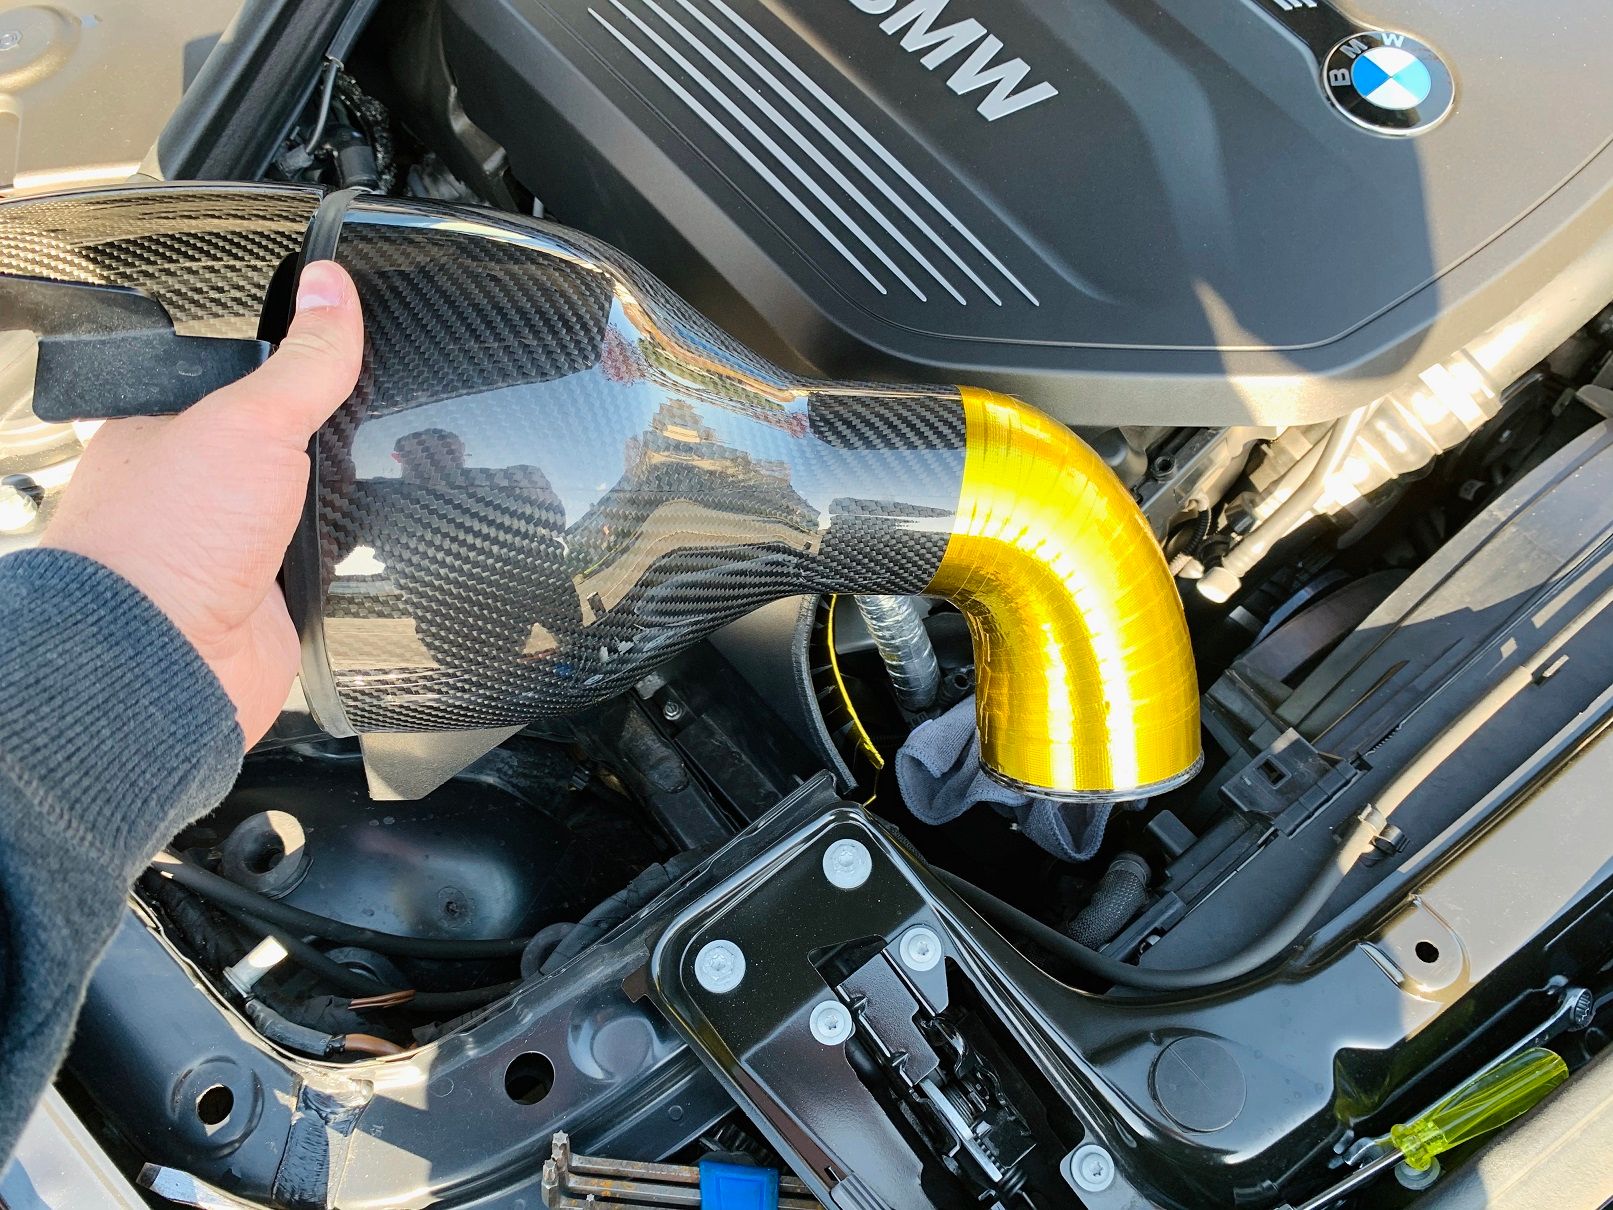

This should help keep the temperatures on the air intake lower and lower temps means denser/more air, thus more petrol and of course, more power!
Forge Motorsport Boost Pipe
Yep, that's right, as you may have guessed from the picture just above that's a brand new boost pipe and certainly not the OEM BMW boost pipe! The original boost pipe looked like this.
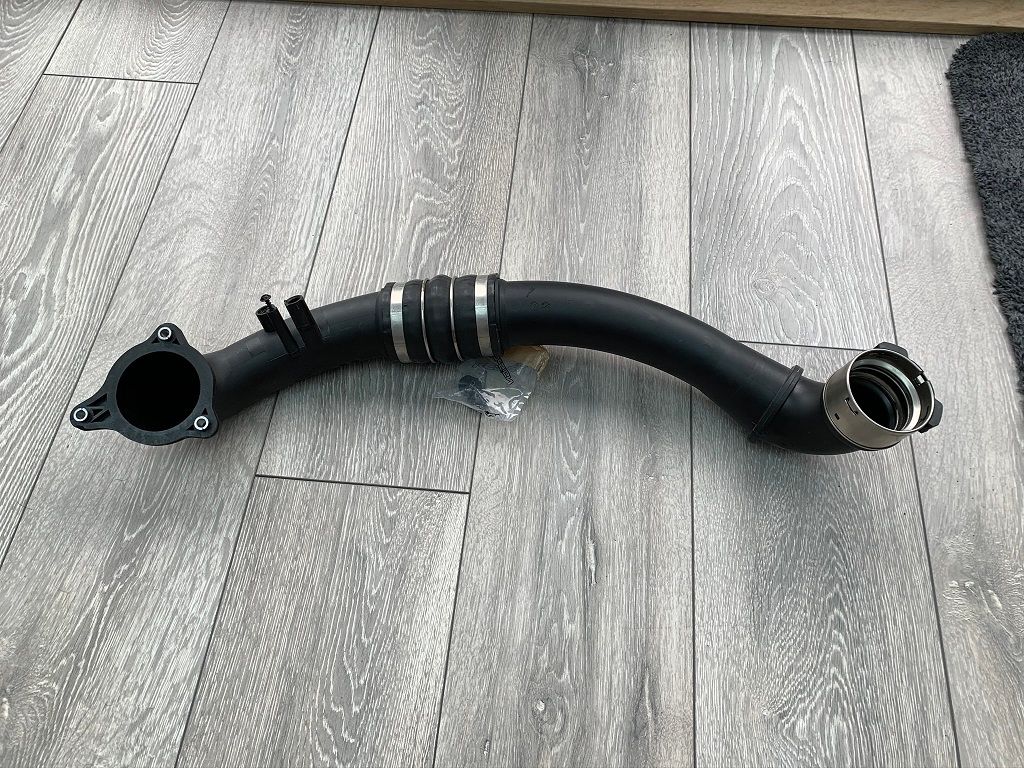
This pipe goes from the compressor (cold) side of the turbo and feeds the boost into the throttle body up at the top of the engine and is a simple plastic pipe. The car isn't running crazy boost levels and nobody has reported any problems with these yet, but previous generation cars had issues where the plastic became brittle and cracked, leaking boost and causing issues. I didn't replace it because of that, although it is a nice safety net in the long term, but I needed it for something else. Here's the replacement from Forge Motorsport.
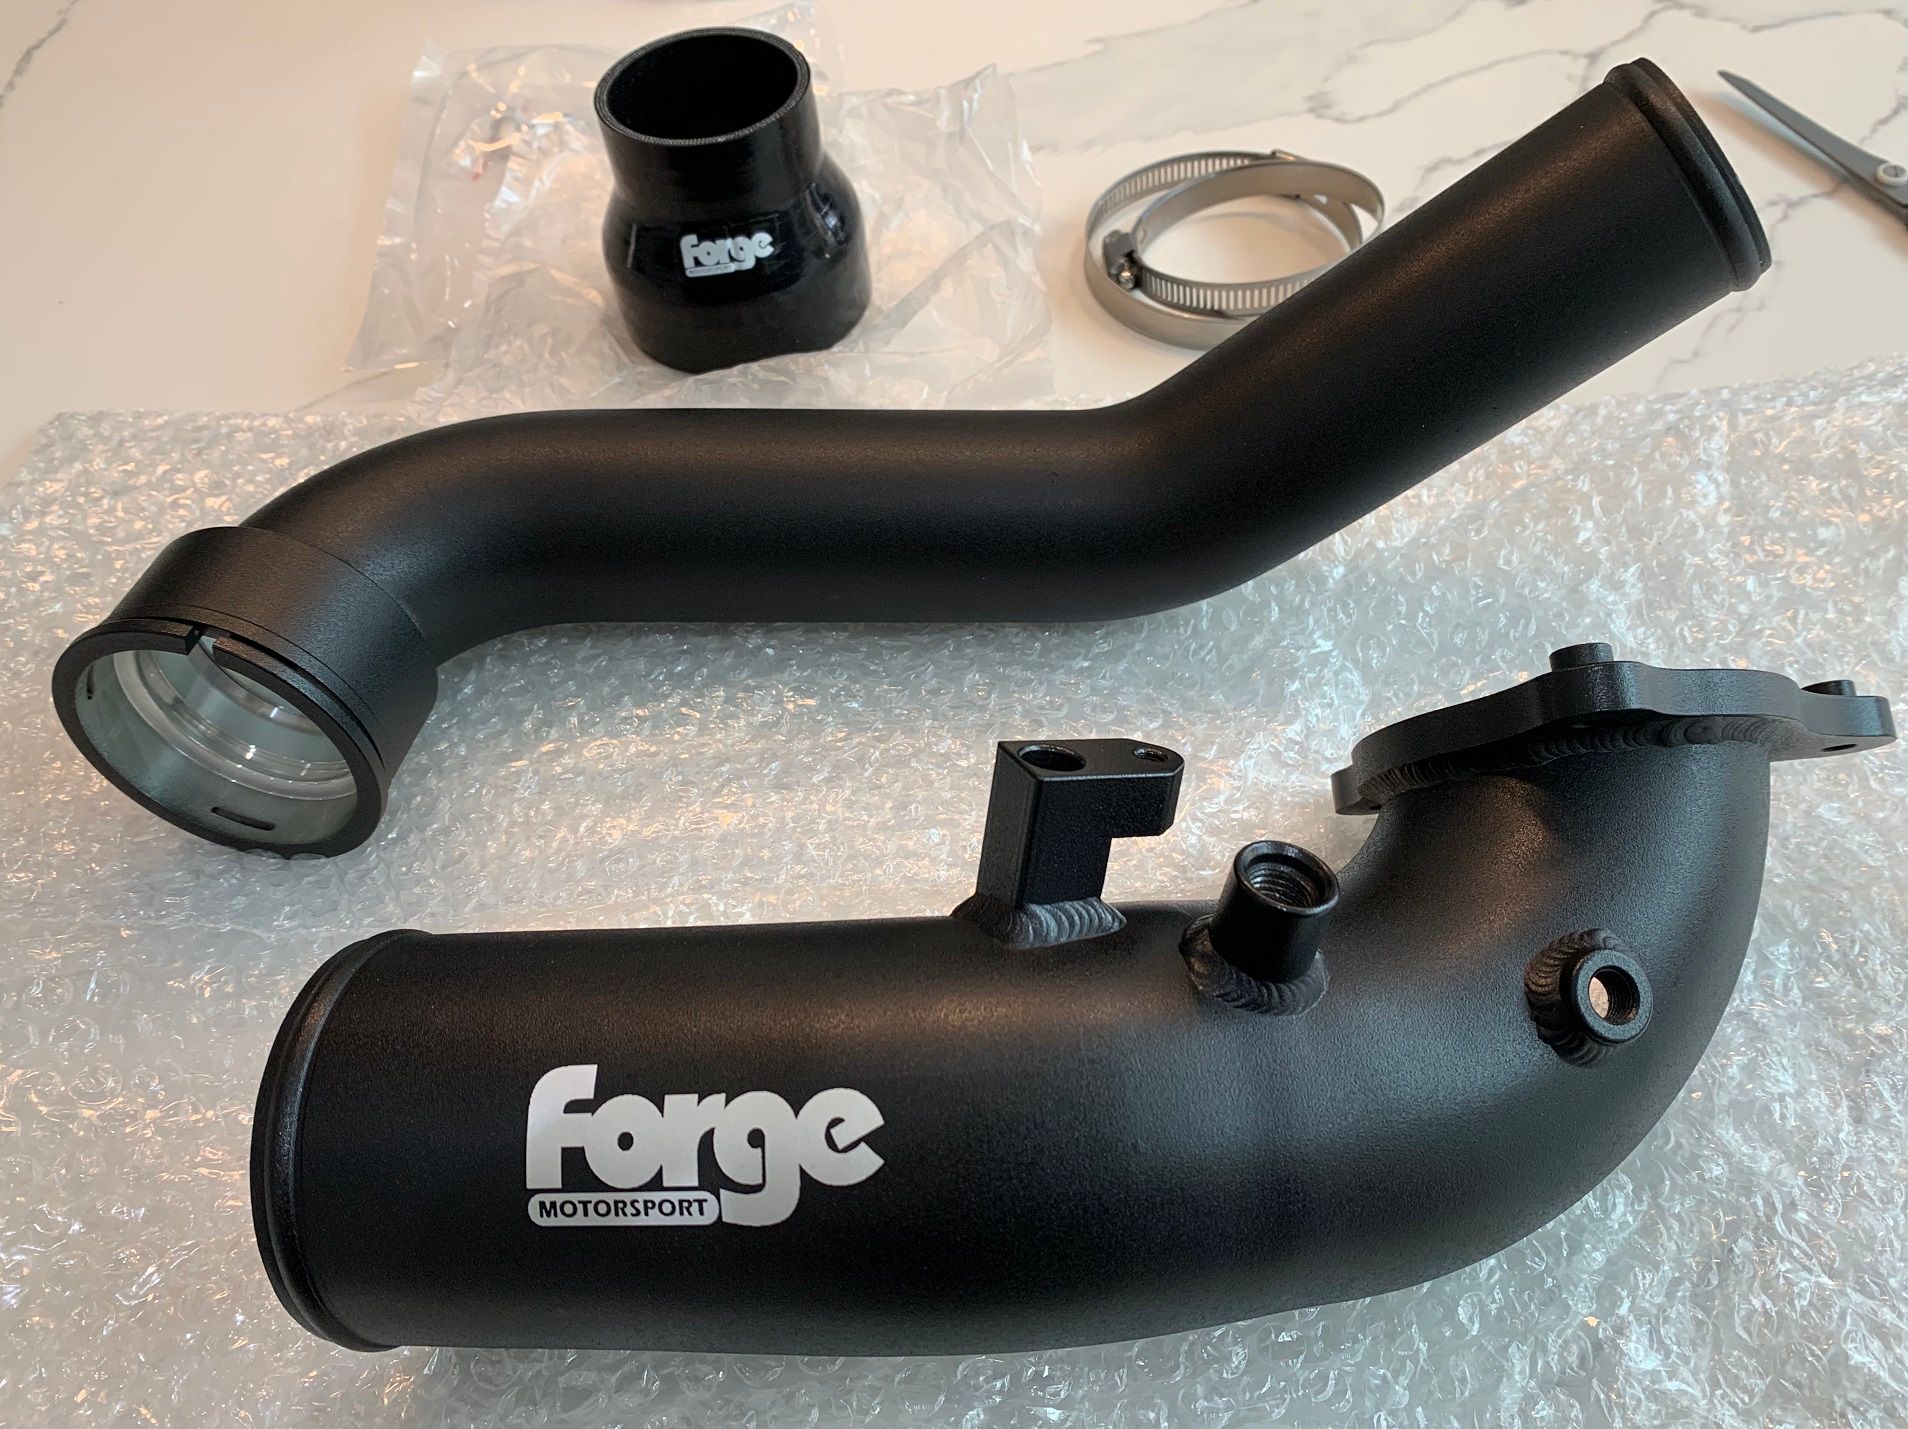
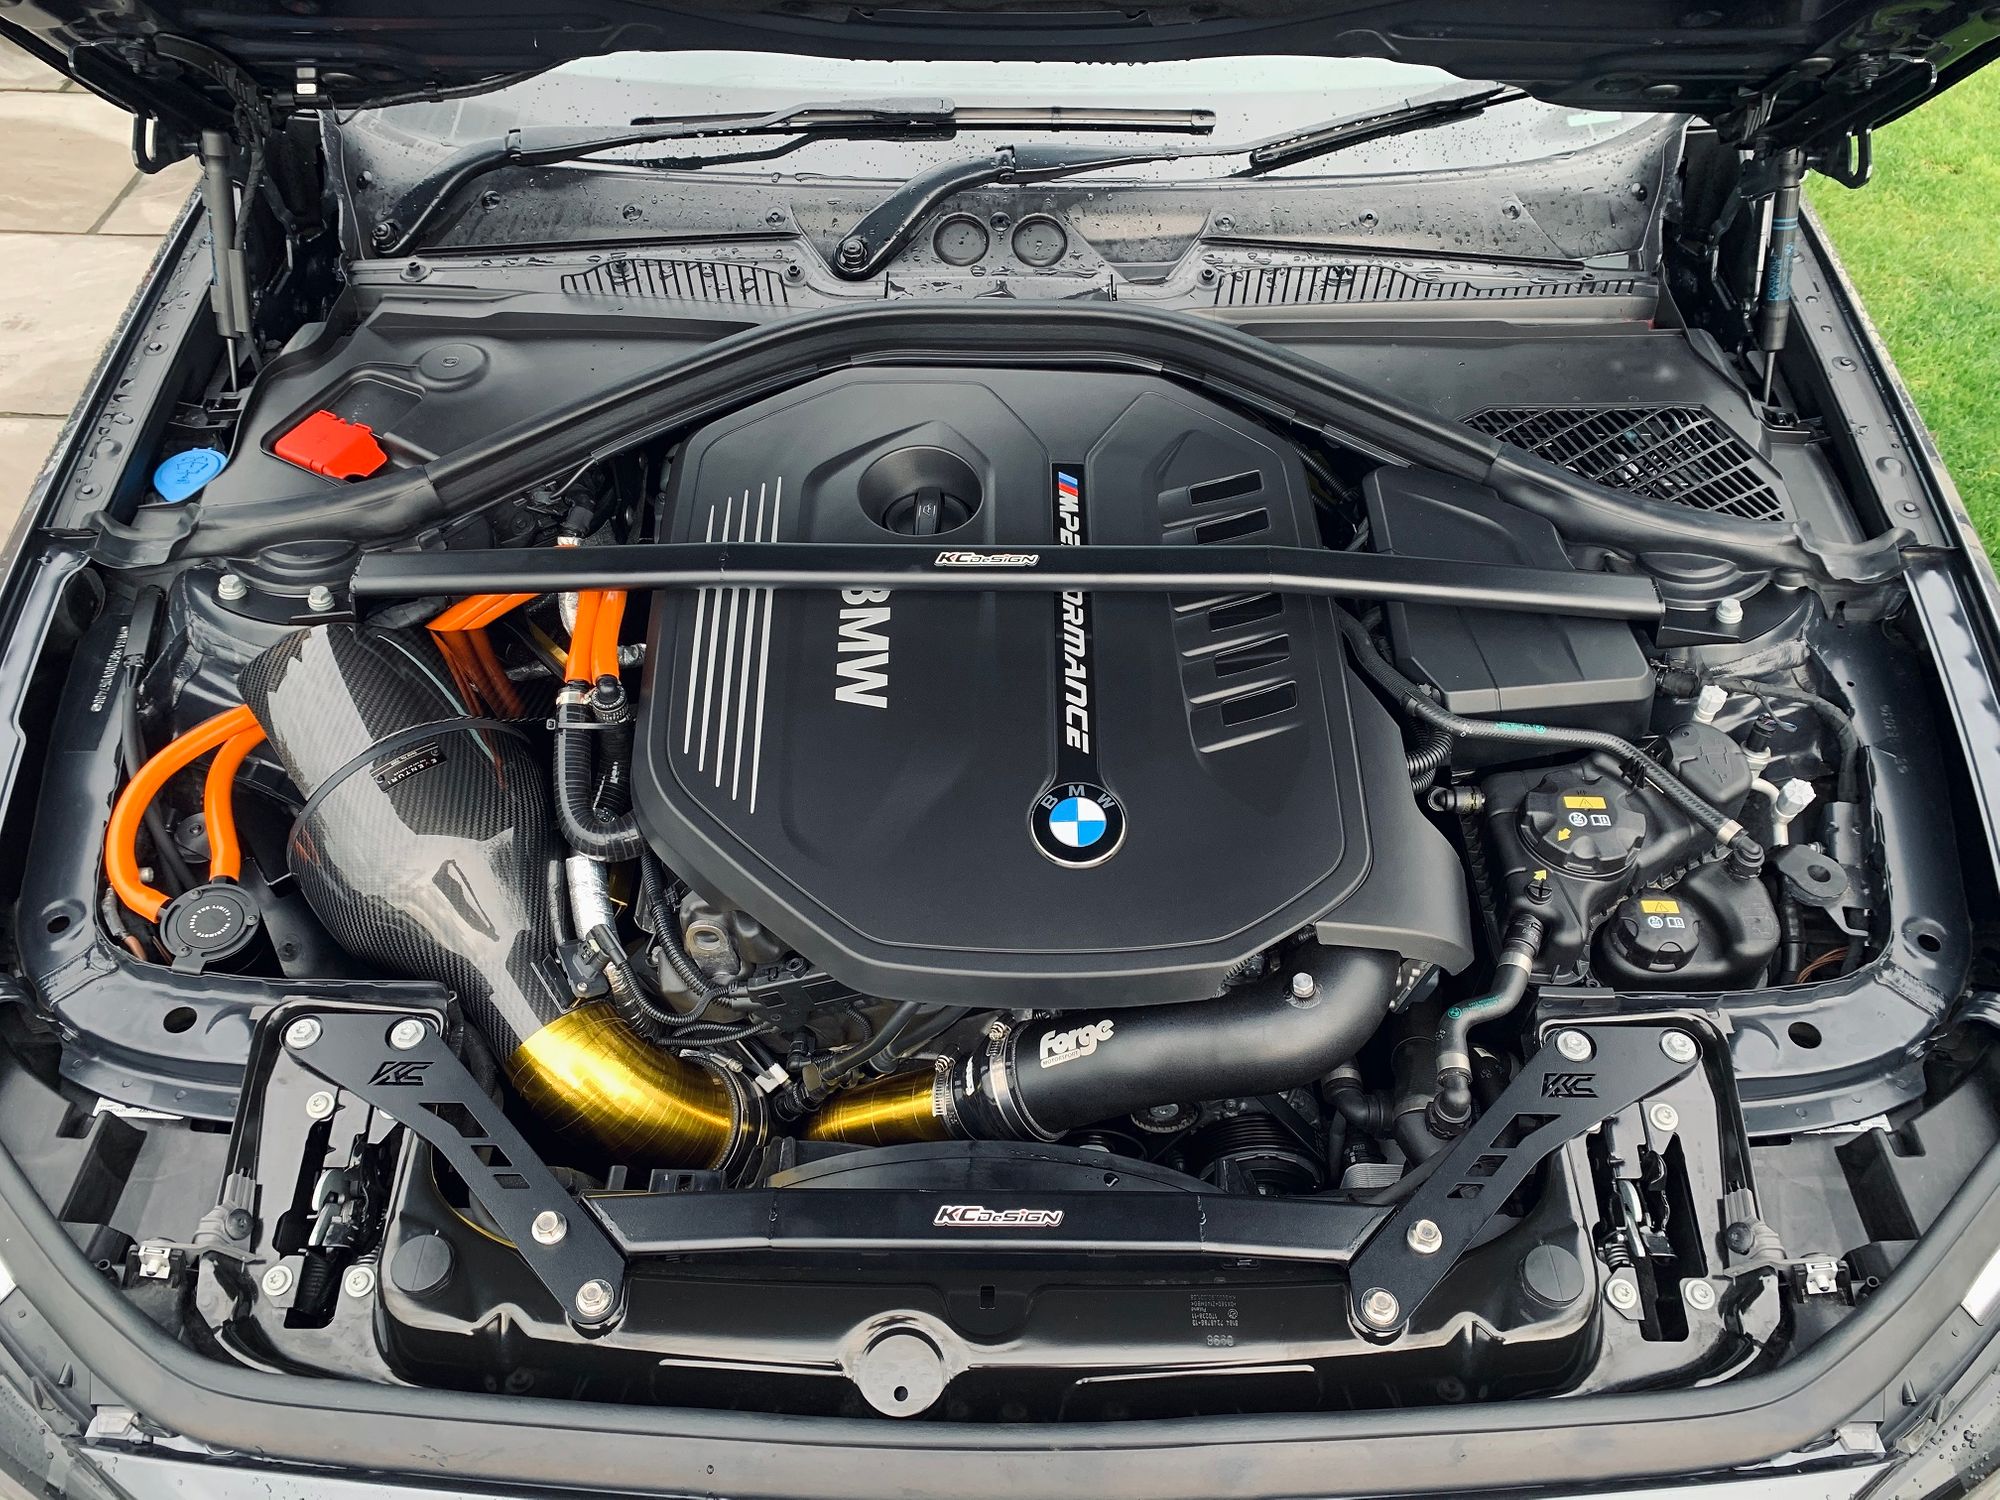
The pipe at the top is the first section that connects to the turbo and comes about 50% of the way up the front of the engine and the bottom pipe with the logo comes the rest of the way up to the top and into throttle body. On that section of pipe you can see three connections where the OEM pipe only has two. From left to right they are the charge air pressure sensor, the charge air temperature sensor and the little one on the right is a secret for another dedicated blog post! Here it is all fitted so you can see where it sits in the engine bay.
Track Day
I was so excited to get my car on a track for the first time and really put it through its paces and drive it hard. If you've never done a track day I'd highly recommend it, you'll never get to drive your car like this either safely or legally on the road. So many people constantly ask if I'm worried about crashing my car on track and I'm no more worried about crashing on track than I am on the road. You should always be driving within your limits and remember that driving on a track is much safer than driving on a road in many scenarios. On a track there is no oncoming traffic, there are no pedestrians, there are no defects in the road surface. Also, we have marshals all around the track with various flags to indicate various problems ahead so you can take risks you wouldn't normally take on the road like travelling at 100mph+ around blind corners or over blind brows. You don't have to go on a track and push everything to the limit, you can just enjoy driving a lot faster than you can on the road.


The particular track I went to was Mallory Park Racing Circuit which is a shorter and less technical circuit making it great for getting started. It was an open pit-lane day which means you do a safety briefing in the morning and then you can do as much driving as you and the car can handle, coming on and off the track at your own leisure. Of course, being a track day here in the UK, it wouldn't be a day if it didn't rain at some point would it?!


Even on my first go I'd comfortably hit 120mph+ on the main straight and the back straight, even in the soaking wet! So many people seem to avoid track days when there's likely to be bad/wet weather but to me, learning how to operate and control a vehicle in bad conditions makes you an even better driver in good conditions. I certainly wouldn't ever let inclement weather put me off taking my car out on track! Depending on where in the World you live the price may vary but here in the UK you can expect to pay anywhere from £150 - £600 to take your car on the track for the day depending on the time of year and the popularity of the particular race track. You also need to remember, at least here in the UK, that your normal car insurance will not cover you on the track so you need to take out additional track insurance if you want your car covered. Now, onto the last thing!
Camera Mount
This was a rather last minute creation because it was the day before the track day and I decided I wanted another internal camera angle and had to... fabricate... an additional mount. Using some spare plumbing pipe, a drill and a couple of pieces of vinyl wrap, I made this!
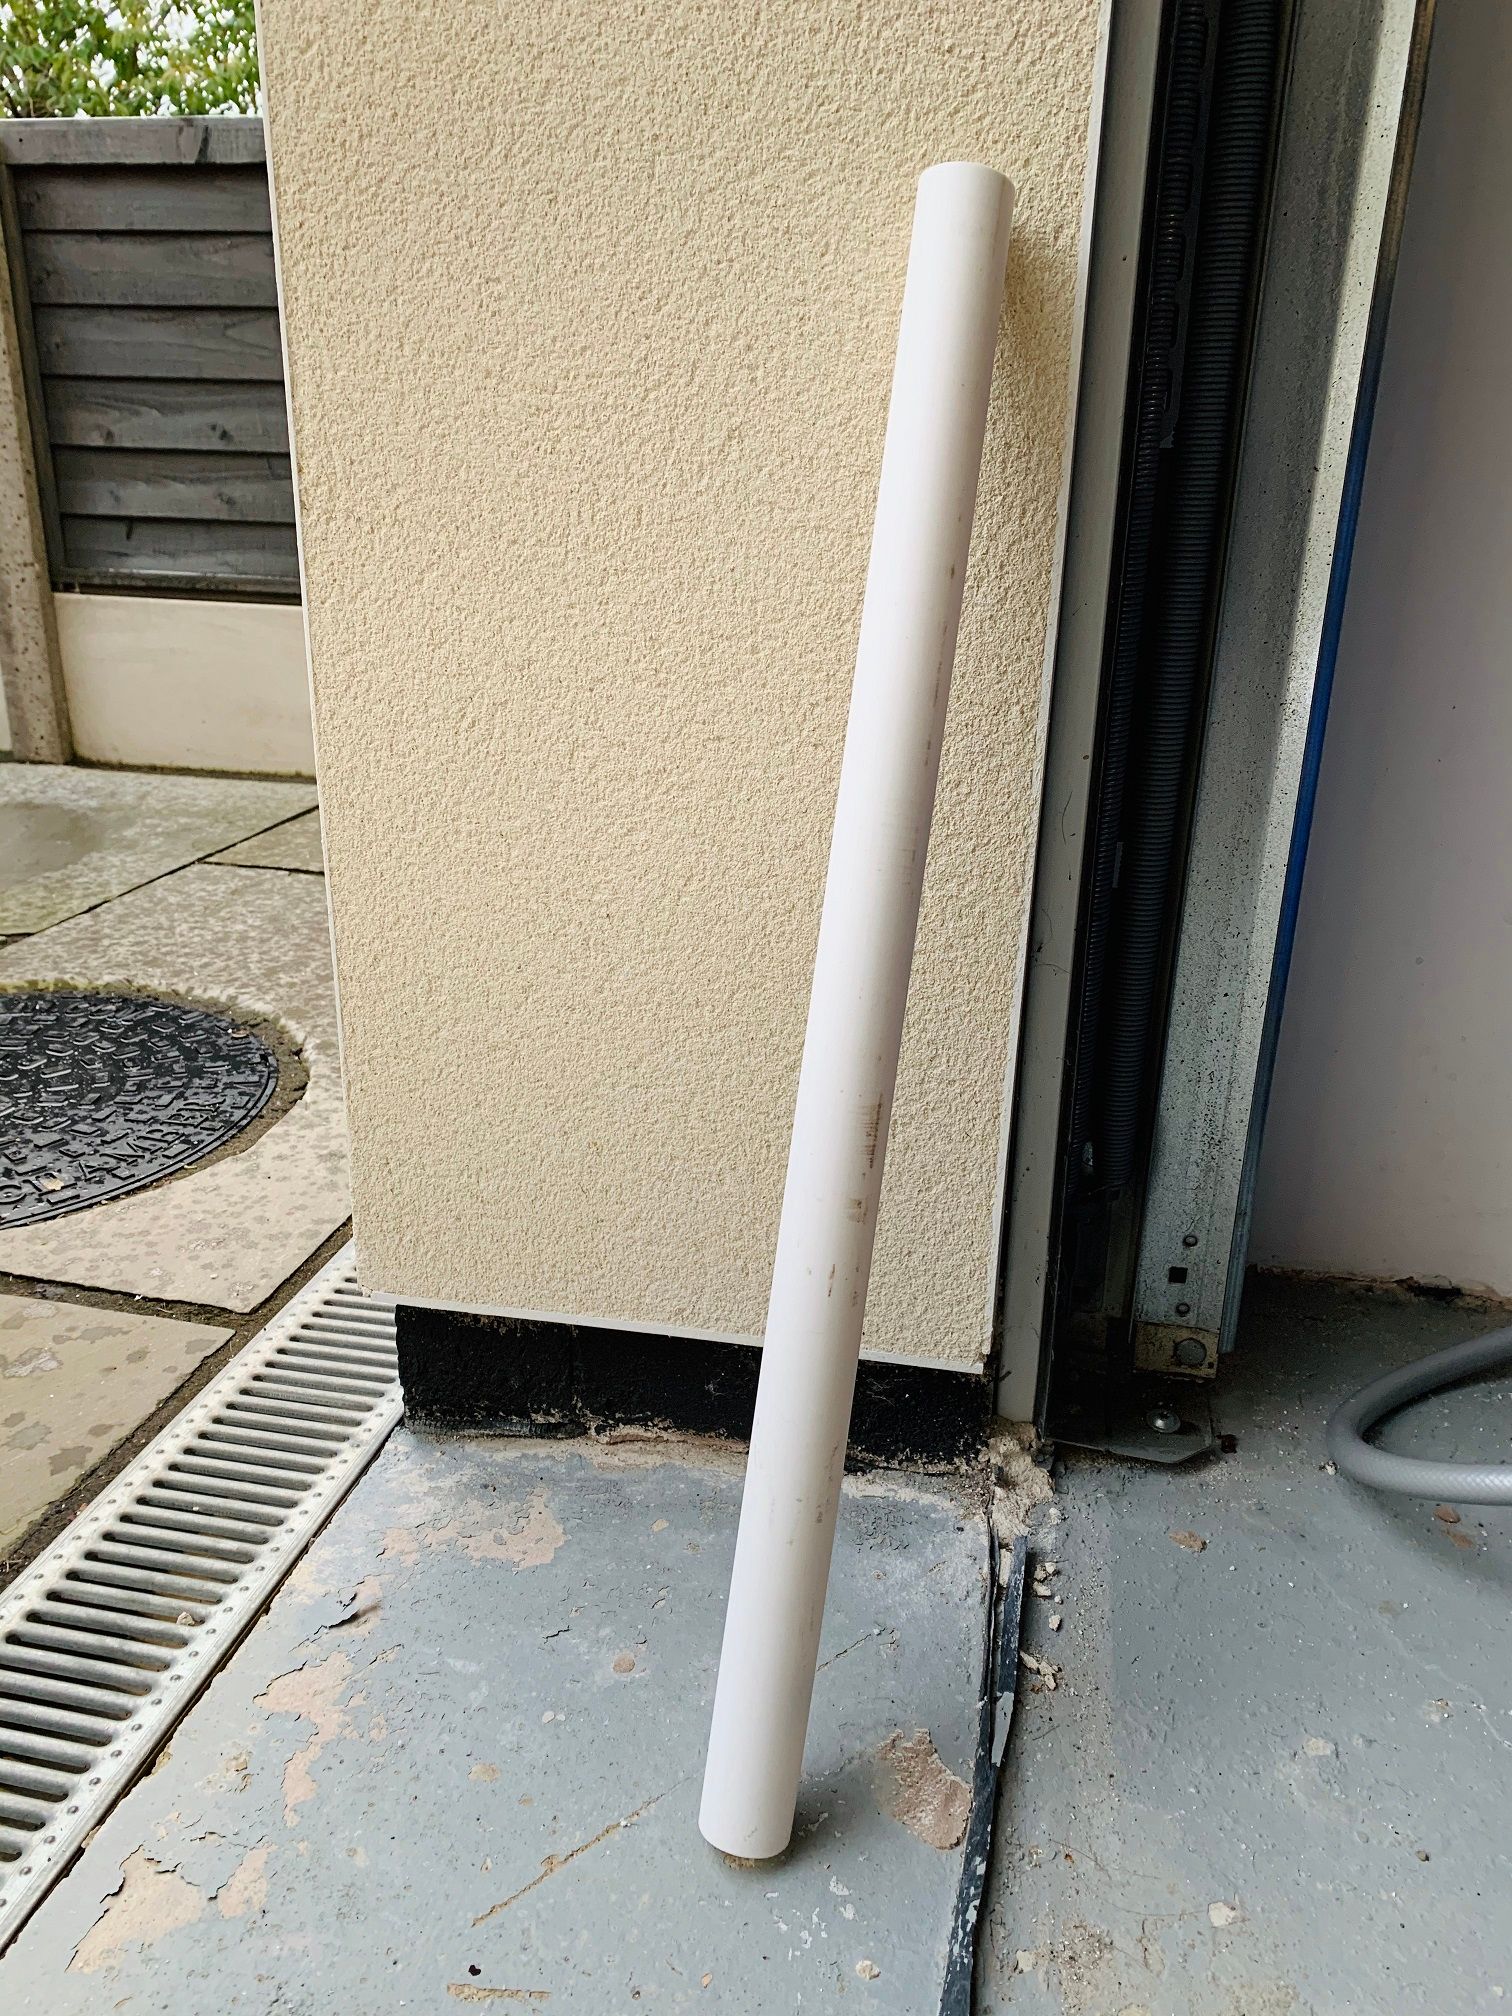
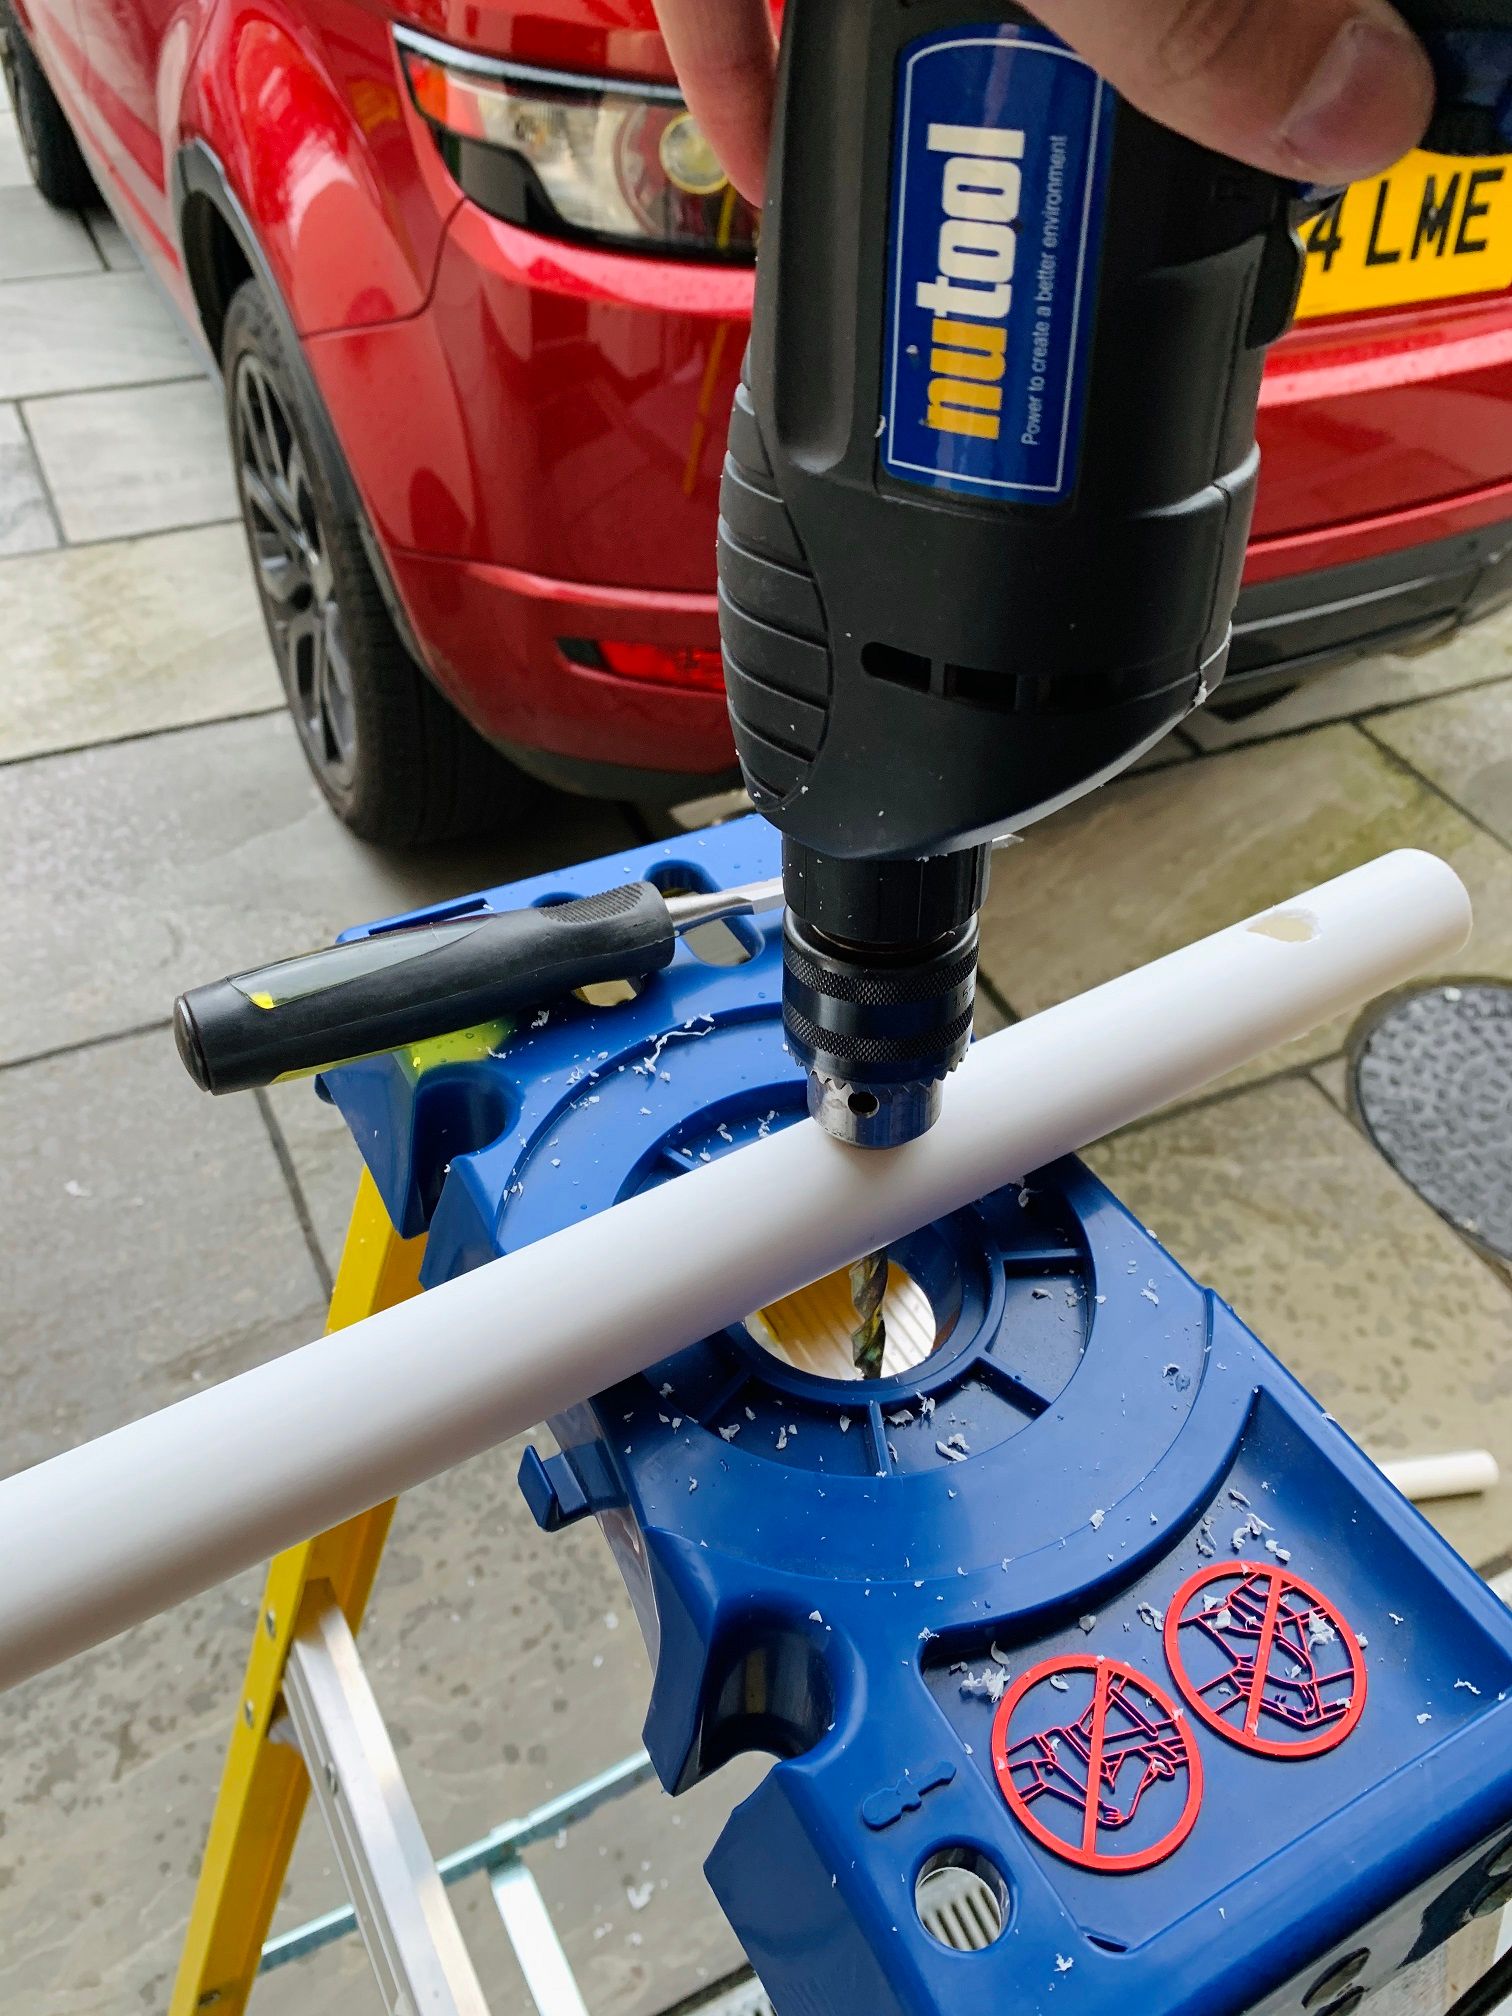
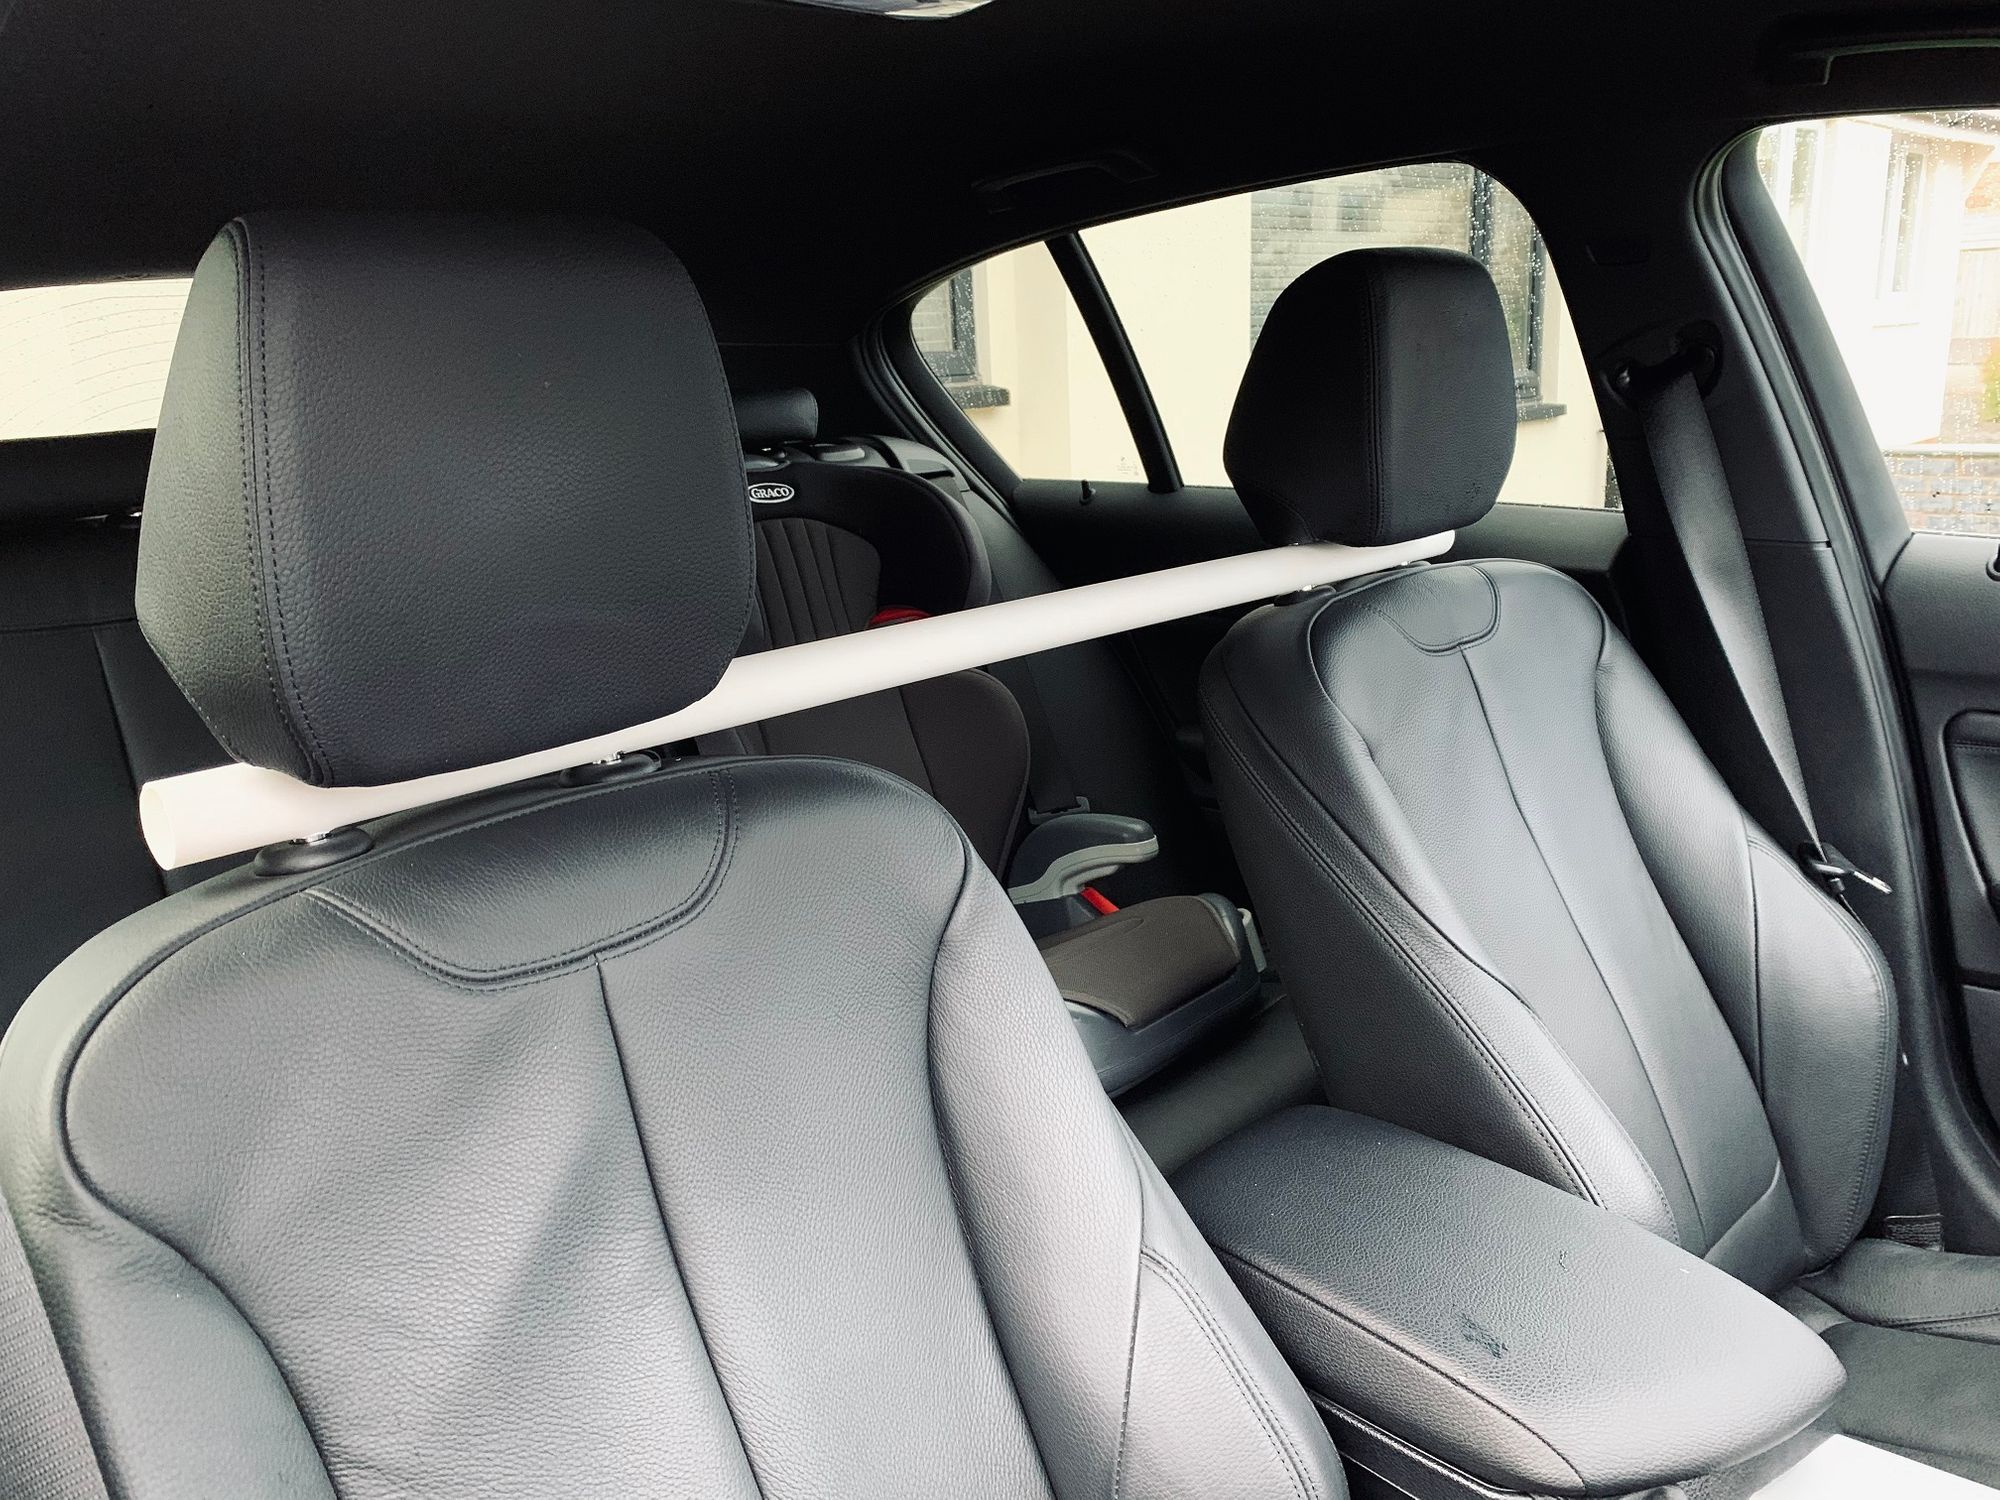

It's a little rough around the edges but it worked out really well and for leftover parts in my garage it worked out a lot cheaper than buying one! Just goes to show that sometimes the solution doesn't have to be expensive or high-tech.
Parts
Here's the list of parts used in Part 10 and where you can get them:
View all of the other blog posts here: The BMW M140i Project Series