
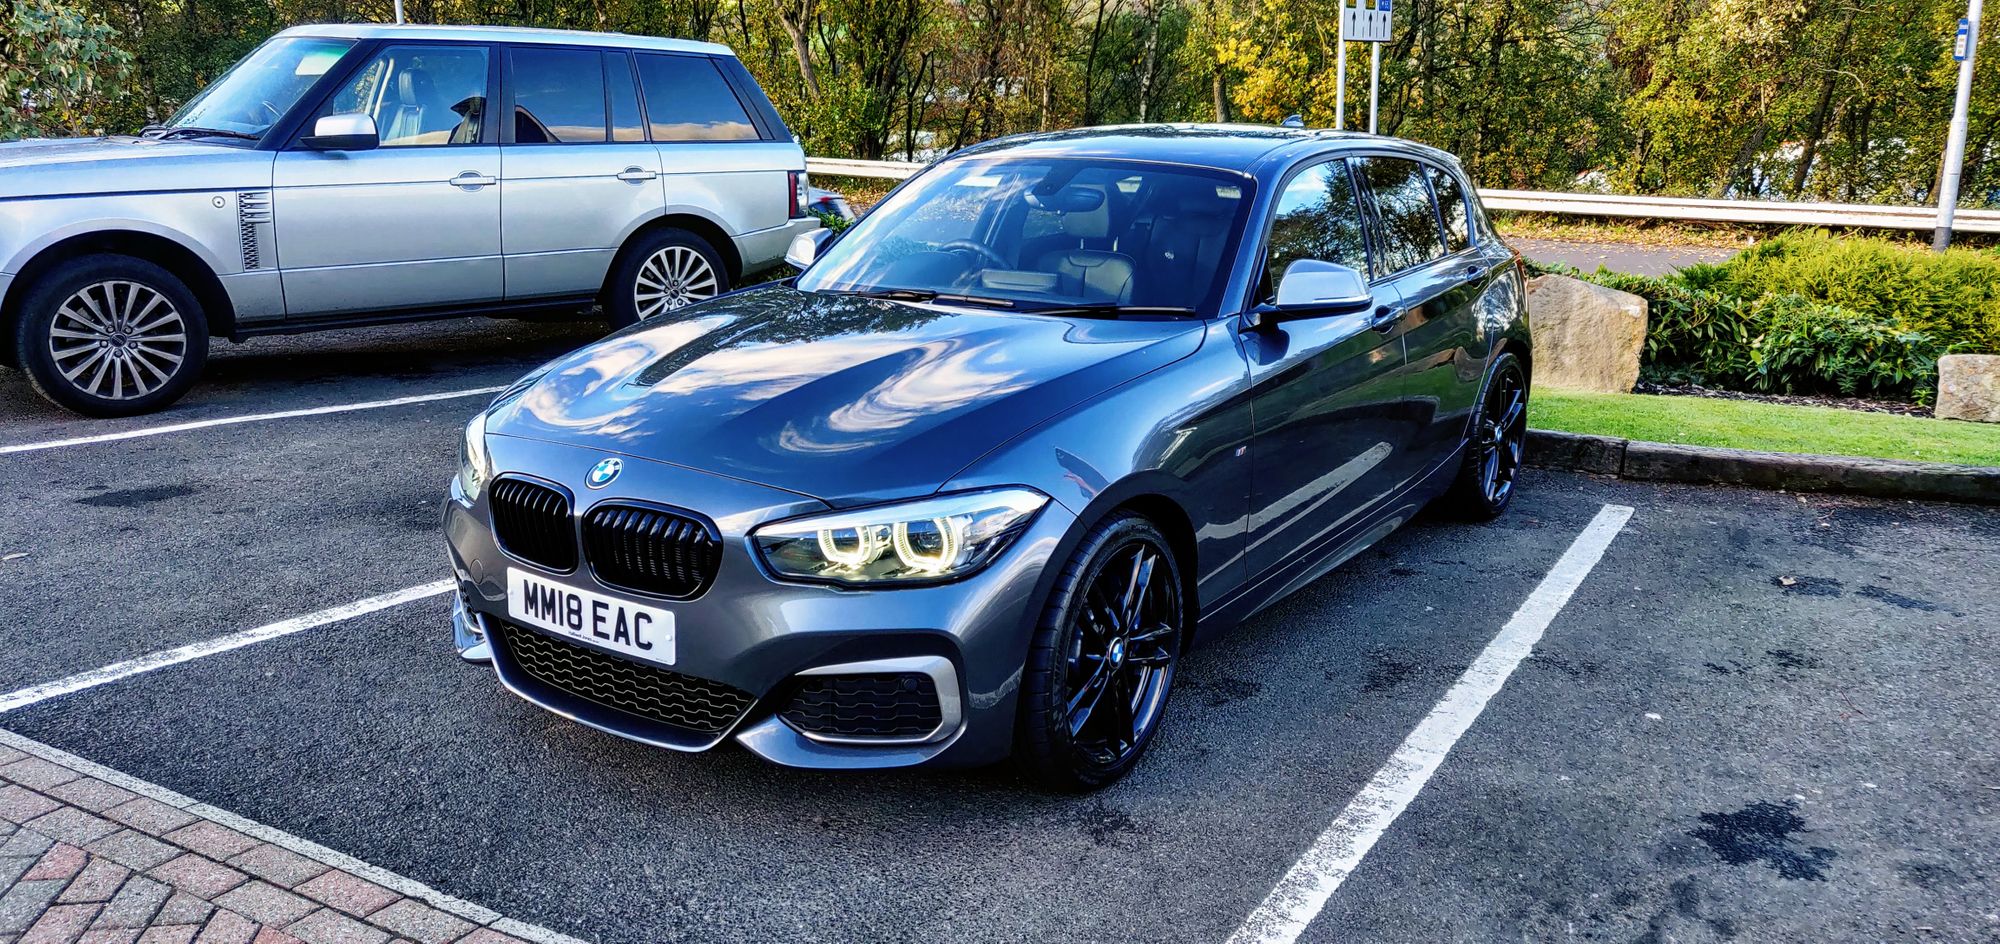
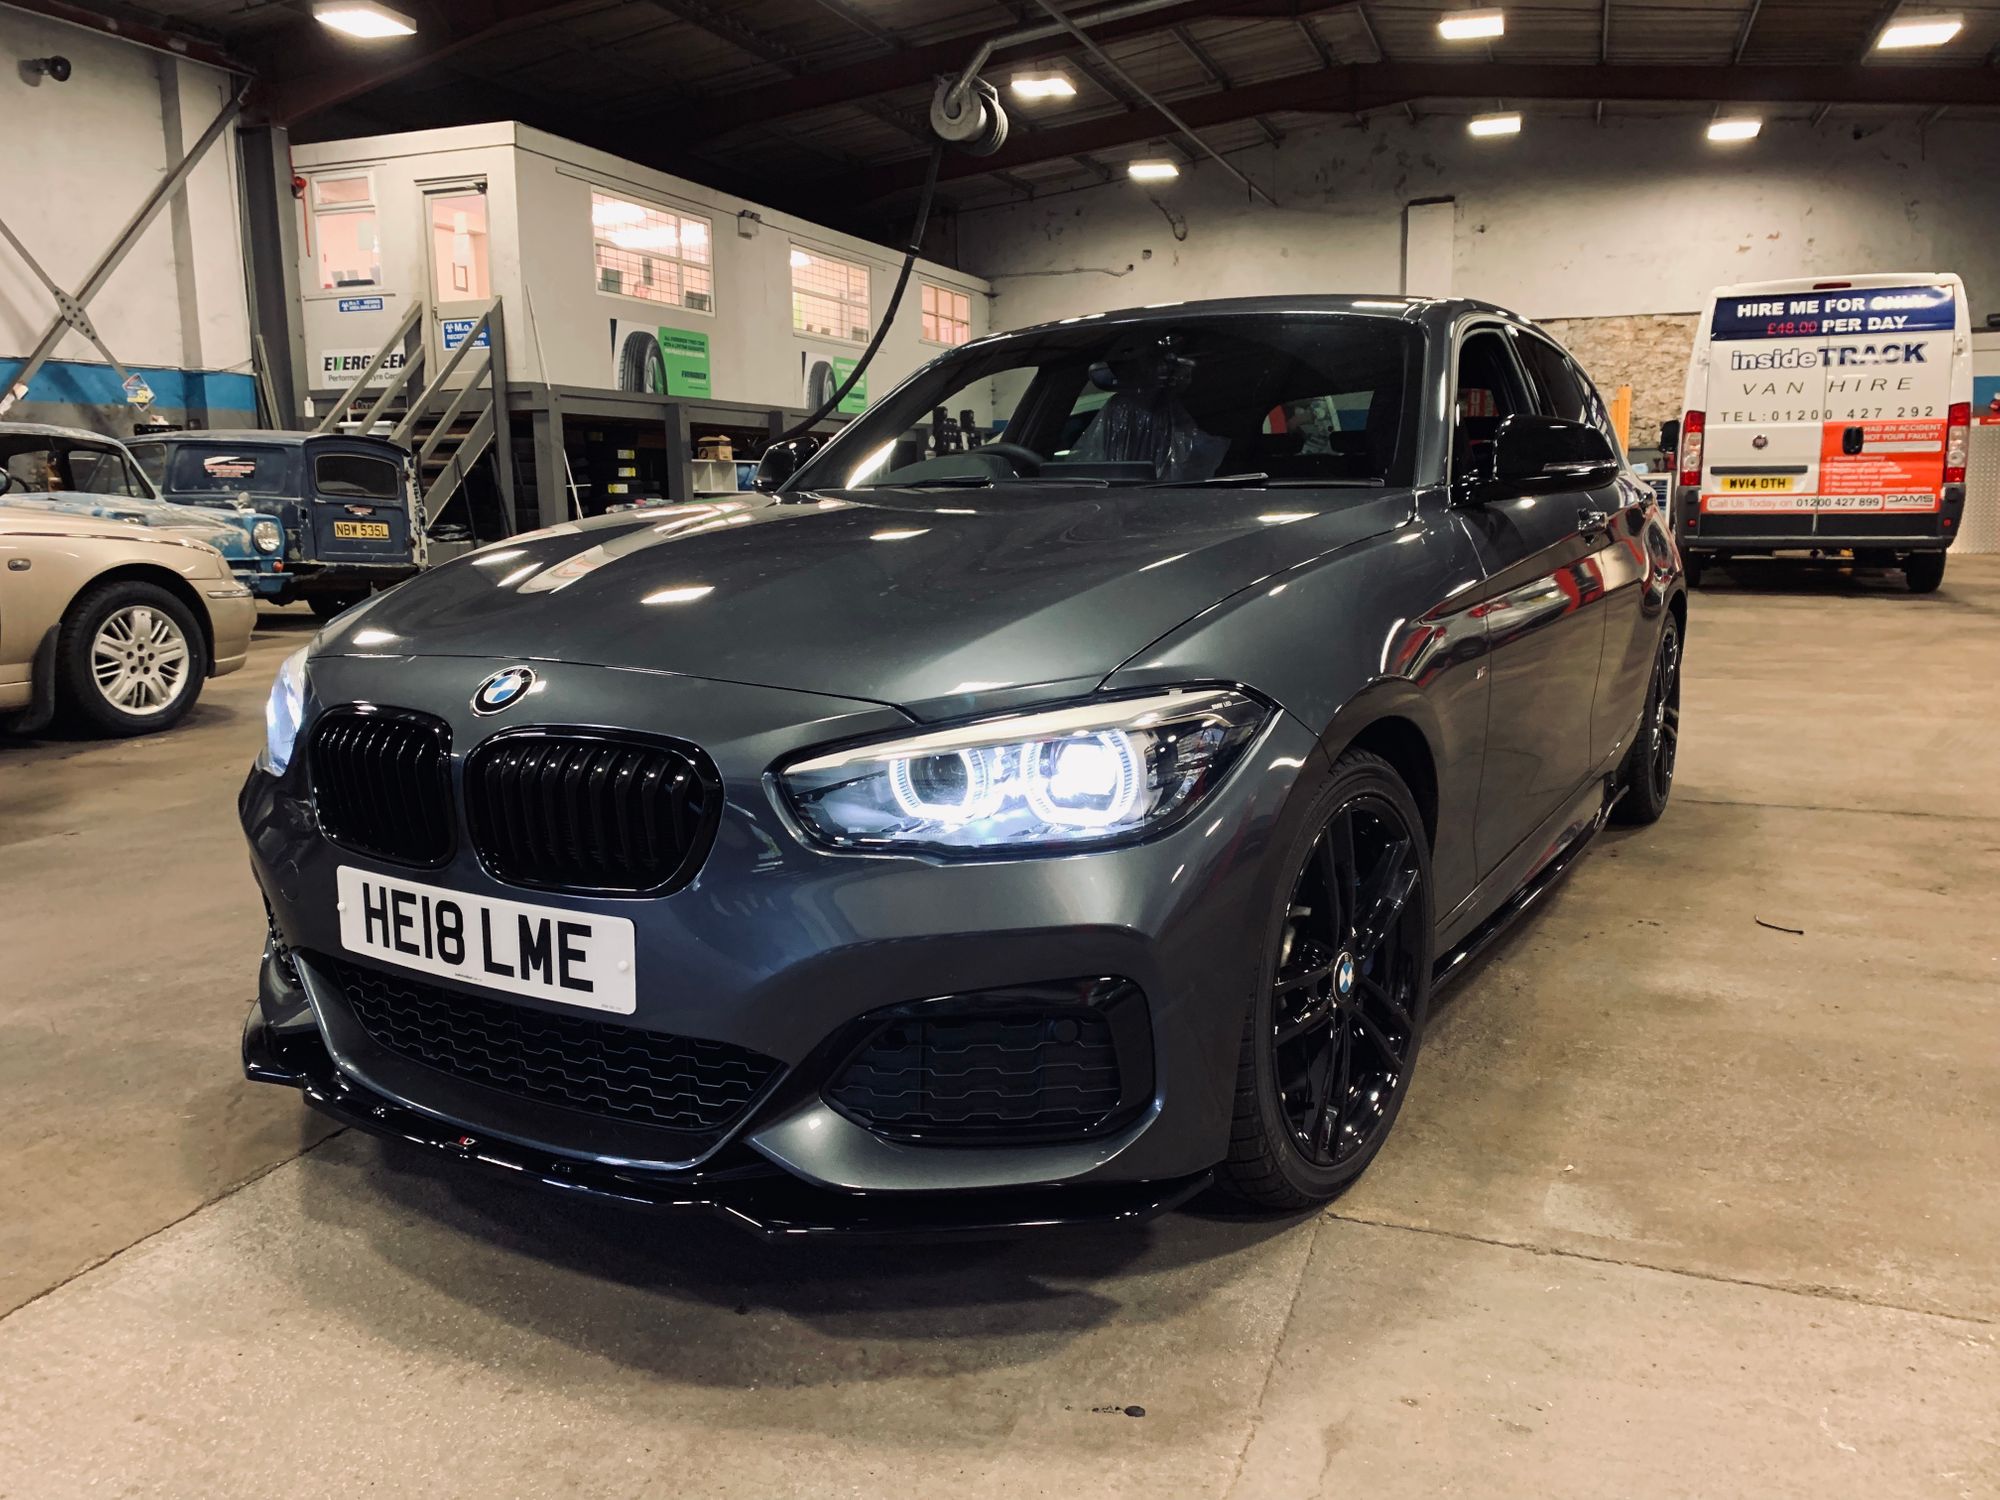
In late 2018 I was incredibly excited to pick up my realistic dream car. After having driven several different BMW cars over the years, as part of my 12 car and 3 motorbike history, this has to be, by far, the most awesome thing I've owned!
BMW M140i F20 LCI2 Shadow Edition!
The car has the B58 engine which is an absolute powerhouse. It's a 3.0 Litre, inline 6 cylinder engine with a twin scroll turbo that puts out 335bhp and 369lb/ft (250kW and 500Nm). It has the option of a 6-speed manual gearbox (transmission) but I opted for the 8-speed ZF 8HP45 automatic gearbox, the same one that Lamborghini put in the Urus! The Shadow Edition changes a lot on the car the with gloss black alloys and grilles, giving it a much better look than standard. I also opted for the black leather interior, the media pack and as the LCI2 it comes with the new instrument cluster which is far better looking.
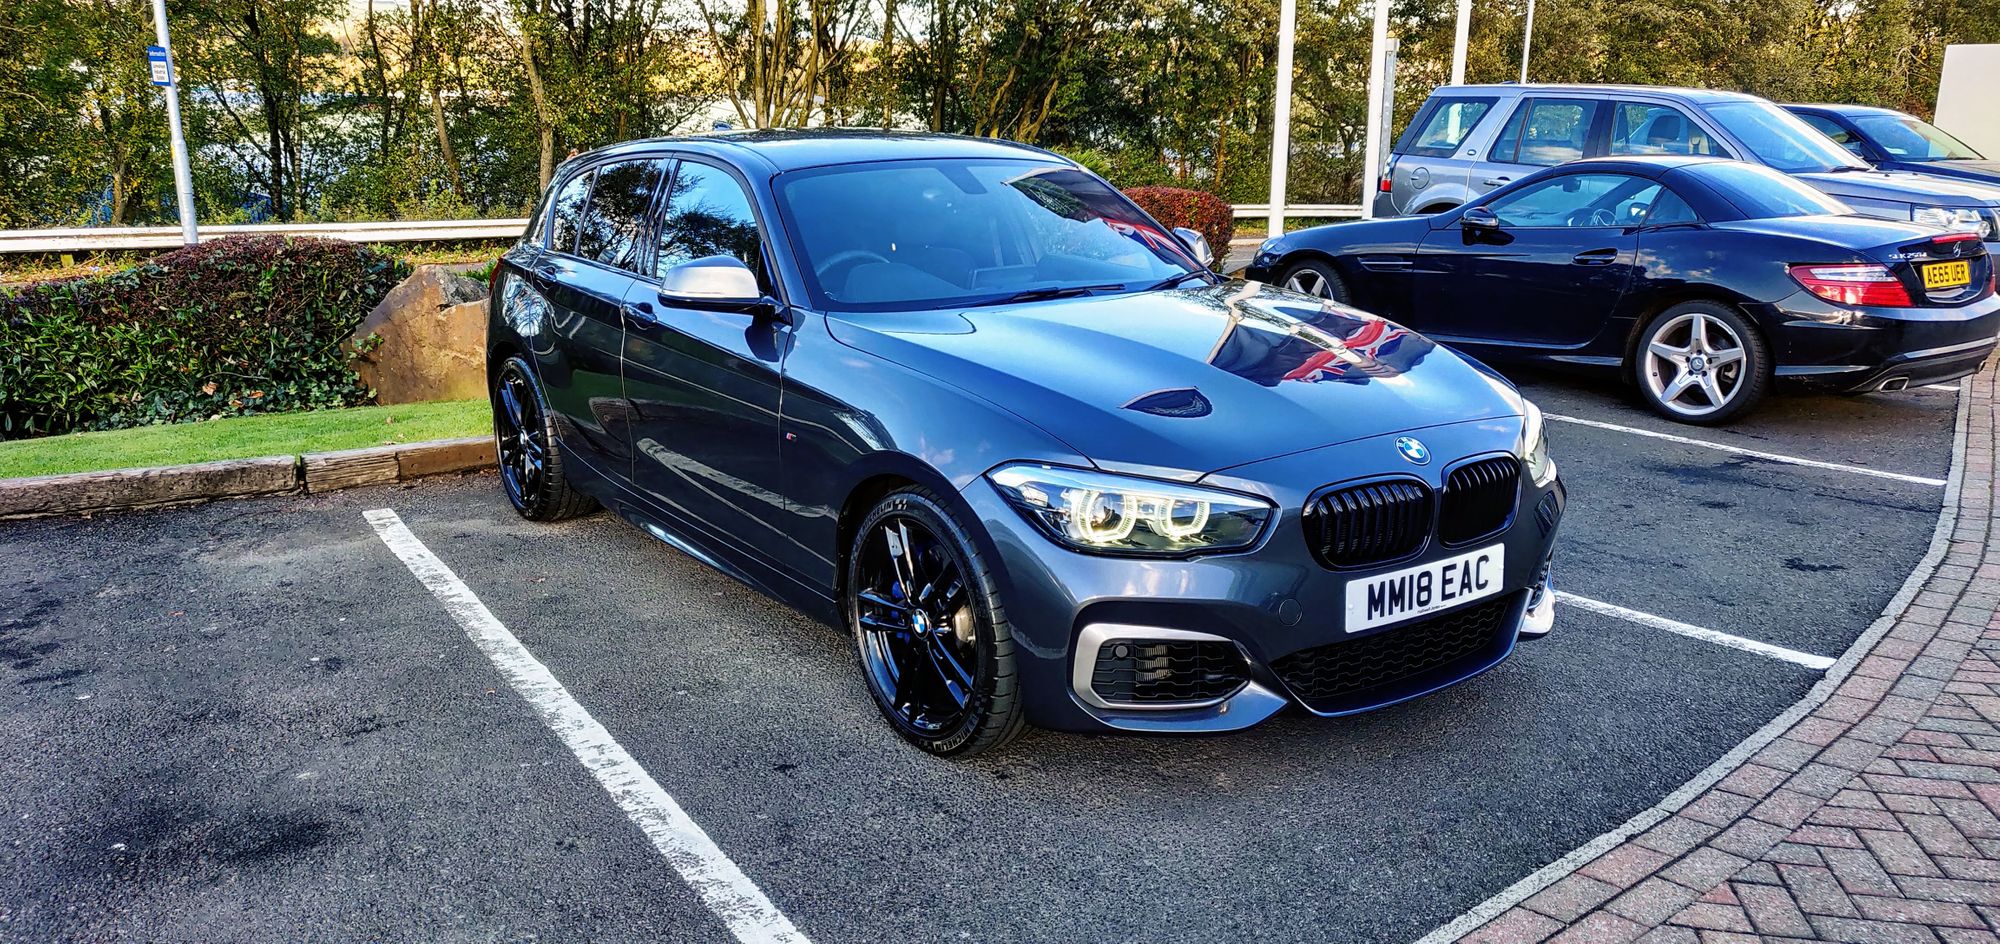
This car is by no means a slouch, nor is it particularly bad looking, but being a car person there were of course things I wanted to change and improve. I owned my first car before I could drive and have worked on them since being in school, tinkering and working in my spare time. This one wasn't going to be any different so here begins the story!
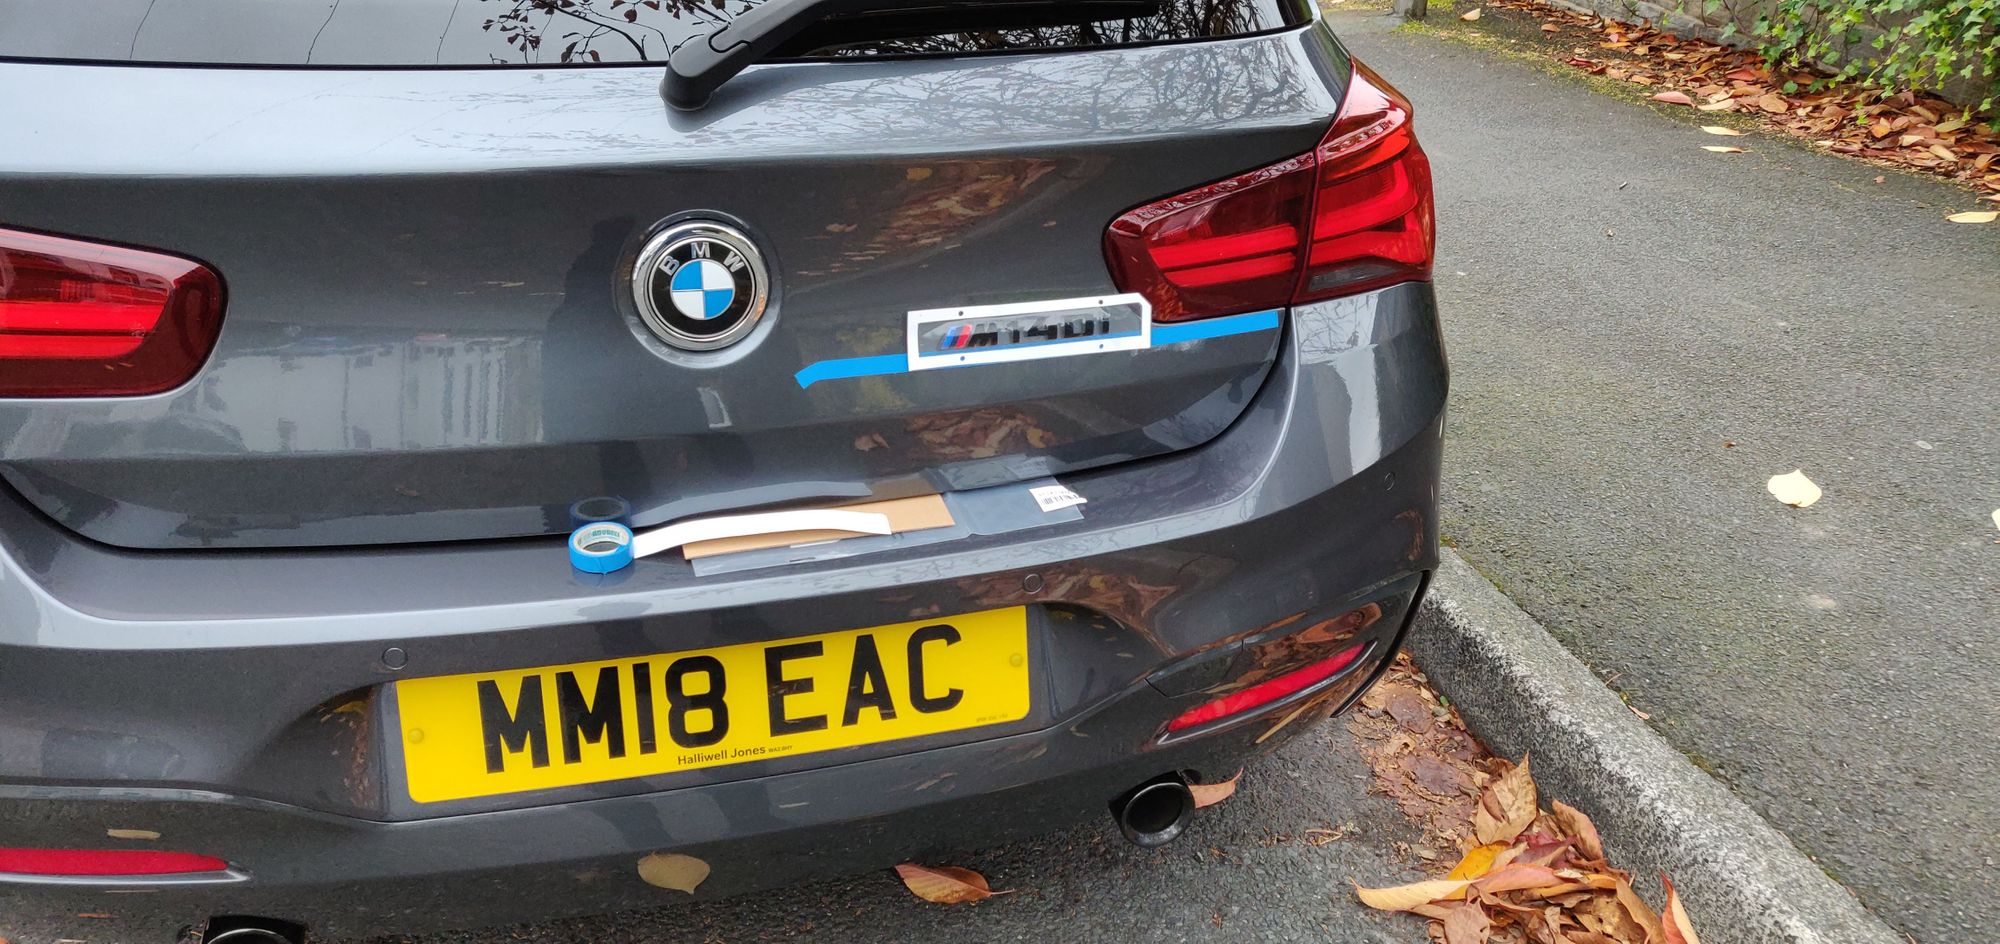
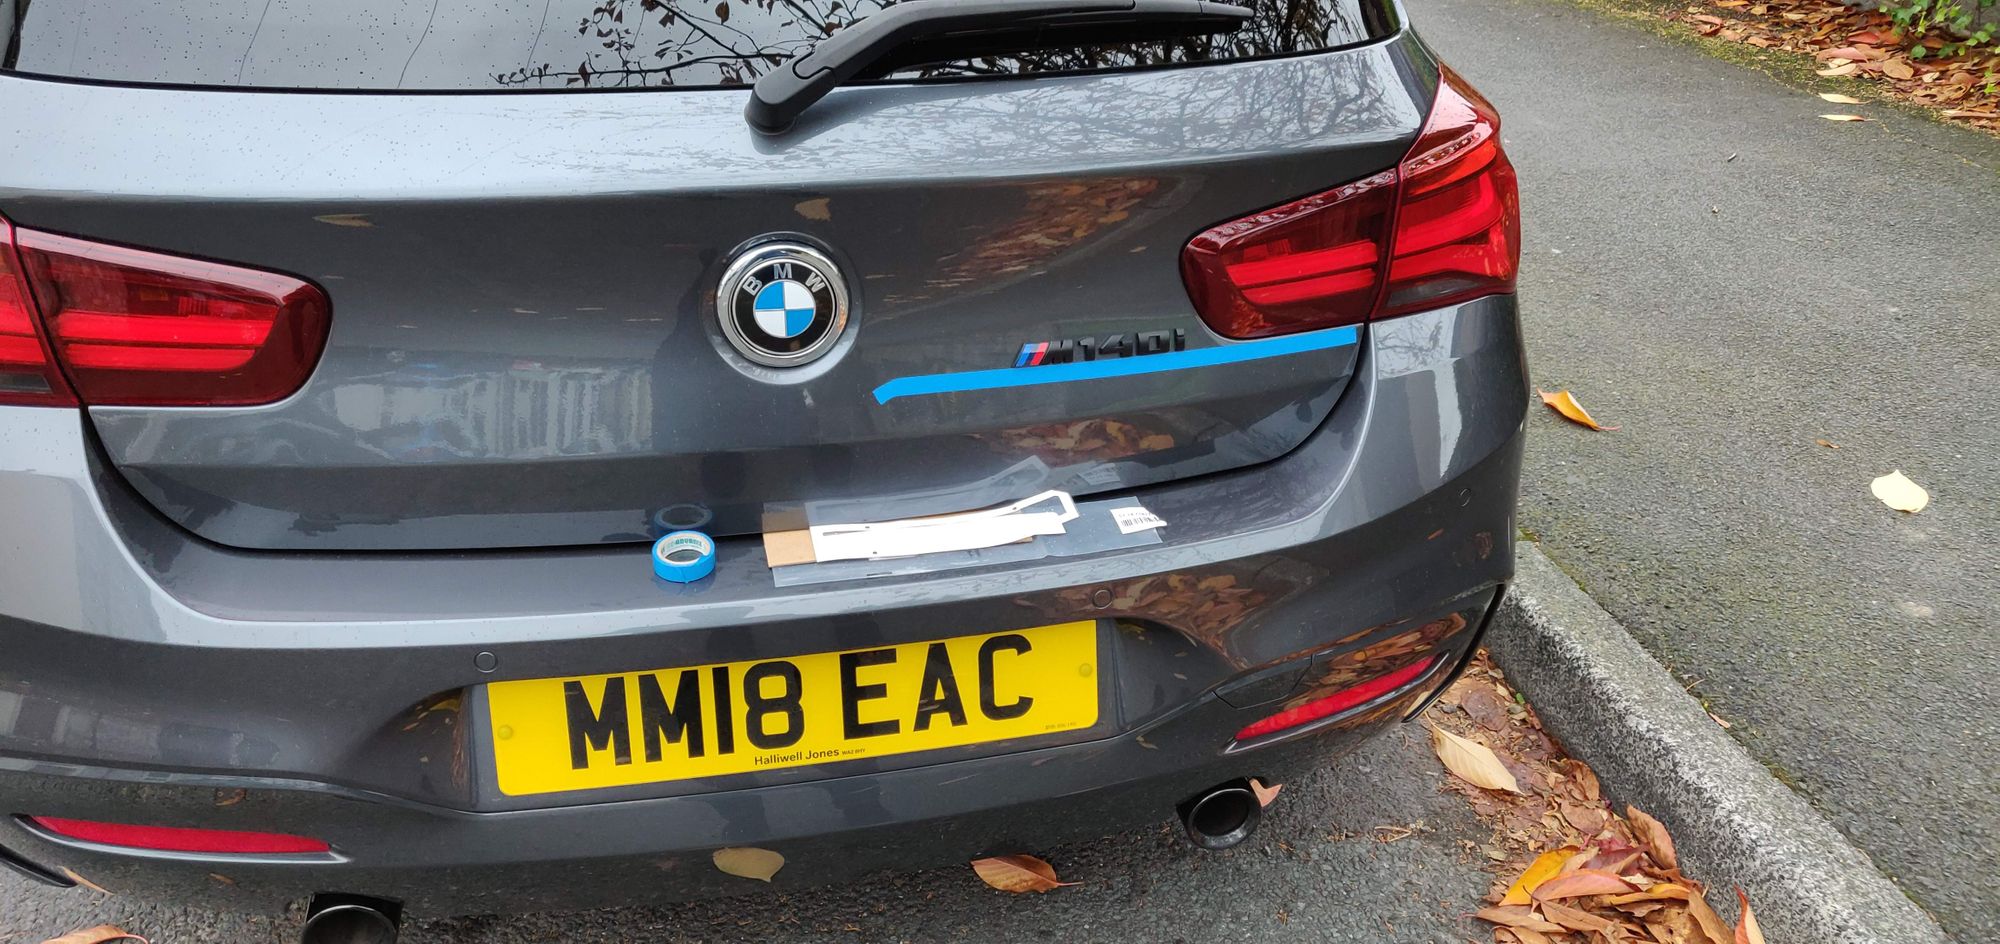
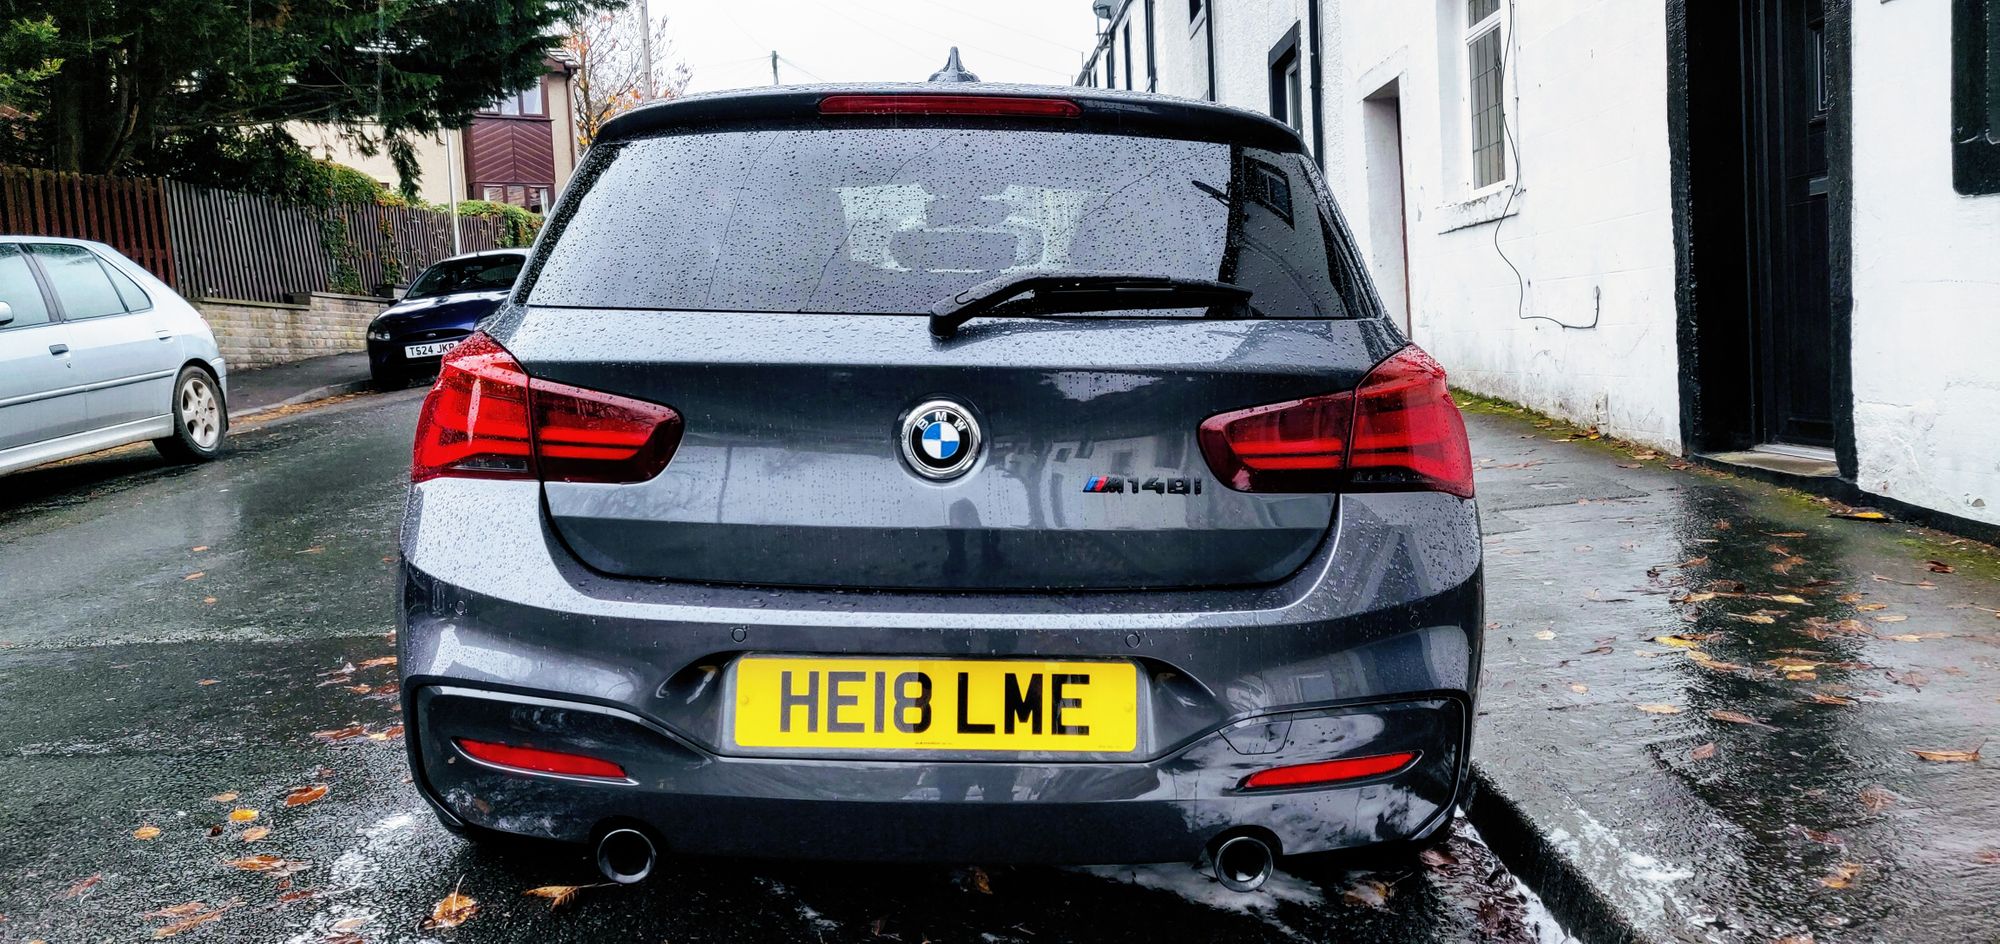
Starting off small, one of the first changes I made was to add the model badge to the car. The Shadow Edition models come with the option of not installing the model badge at the factory, which is a crazy option because you pay extra for BMW to not install the badge at the factory... I'm not a fan of the debadged look anyway and often people will debadge their cars to disguise a lower model car. The BMW 1 Series comes in wide range of models from the 116i right at the bottom end to the M140i which is the highest model there is. Why would you want to hide that? Well, I didn't, so I ordered a new, black badge to match the theme of the car and fitted it.
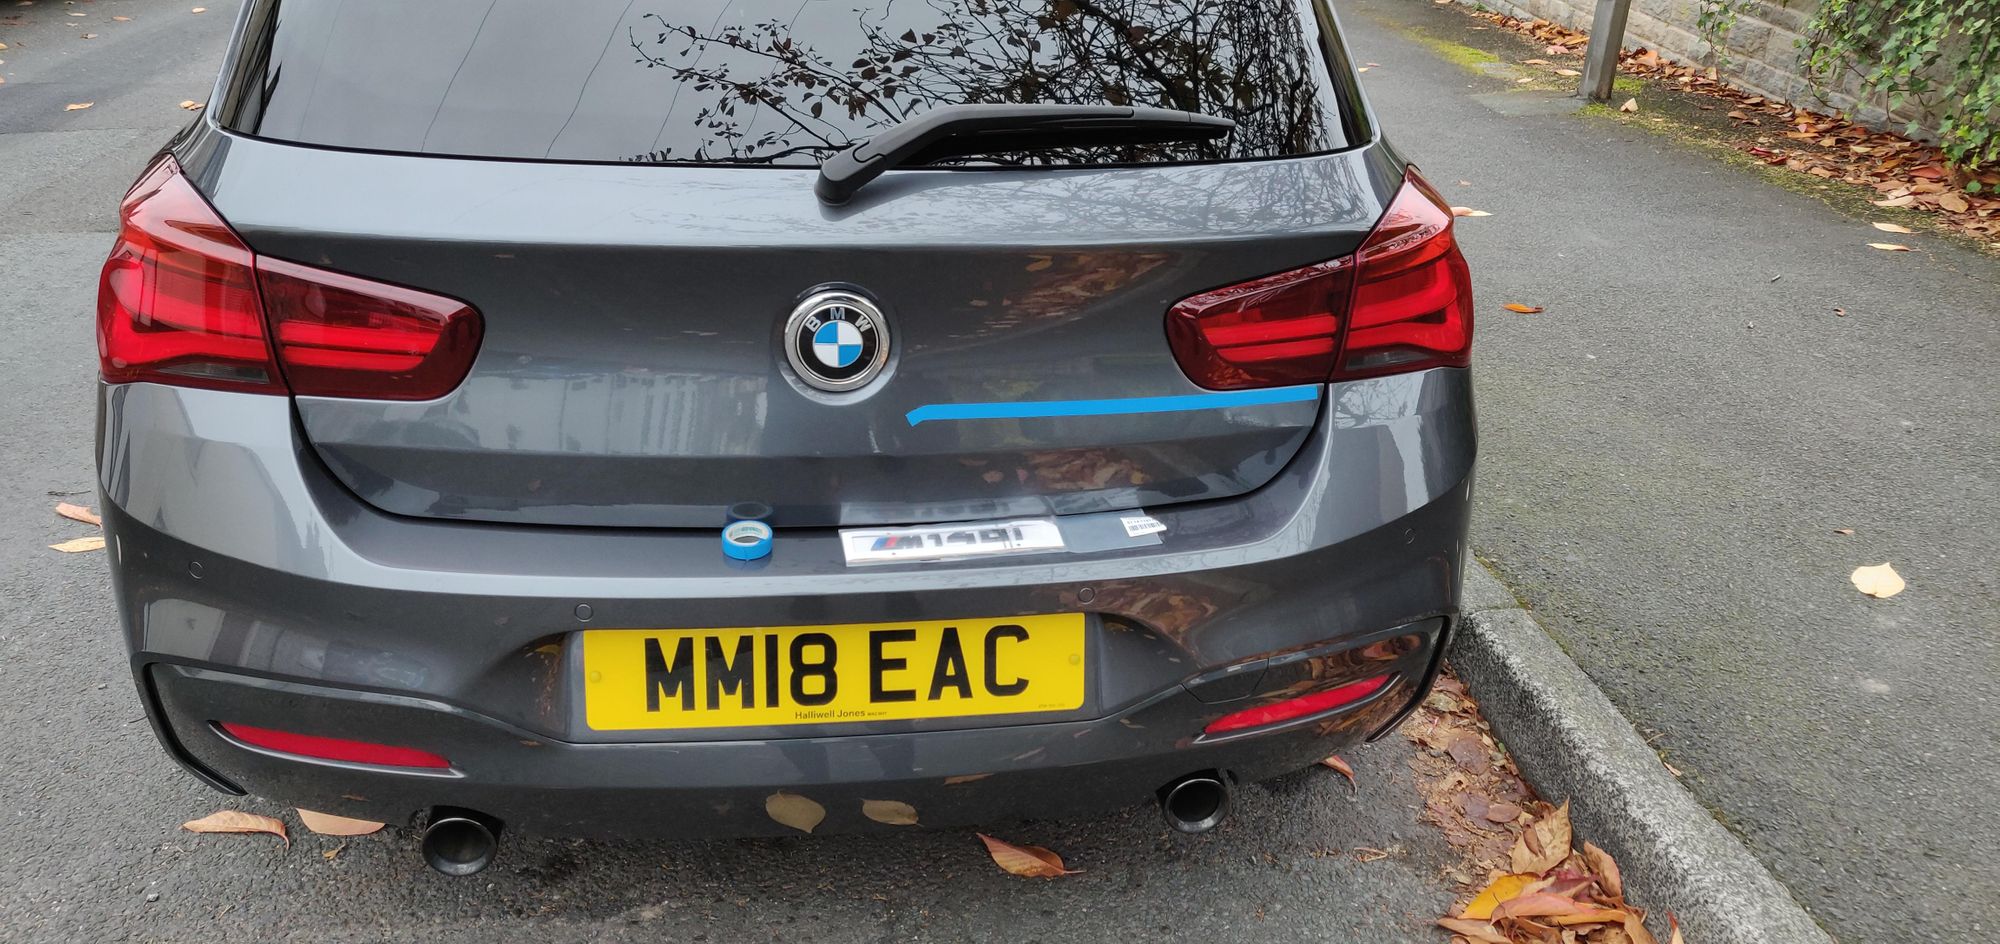
As you'd expect the process is super easy. I looked online at pictures of cars with the badge to see how and where it should be fitted. The bottom of the rear light housing was the horizontal line to follow so I cleaned the panel which will allow the adhesive to bond better, used some tape to mark the horizontal line and stuck the new badge on.
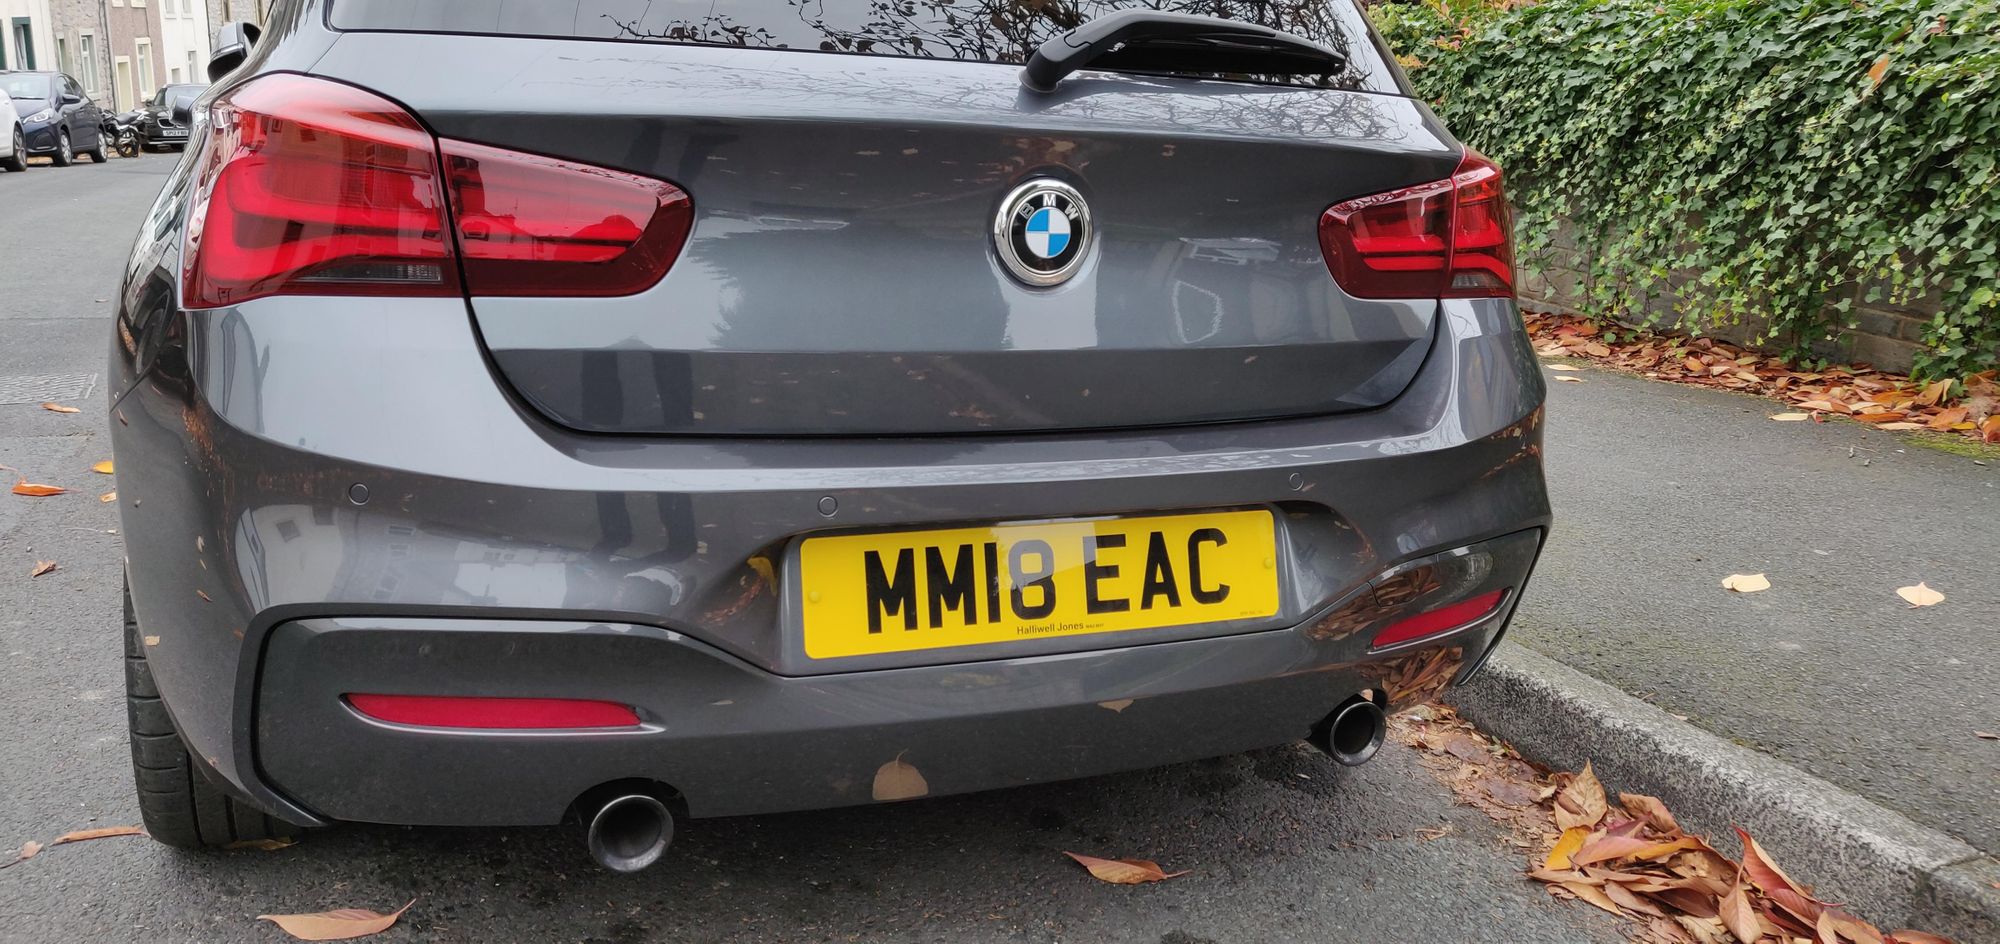
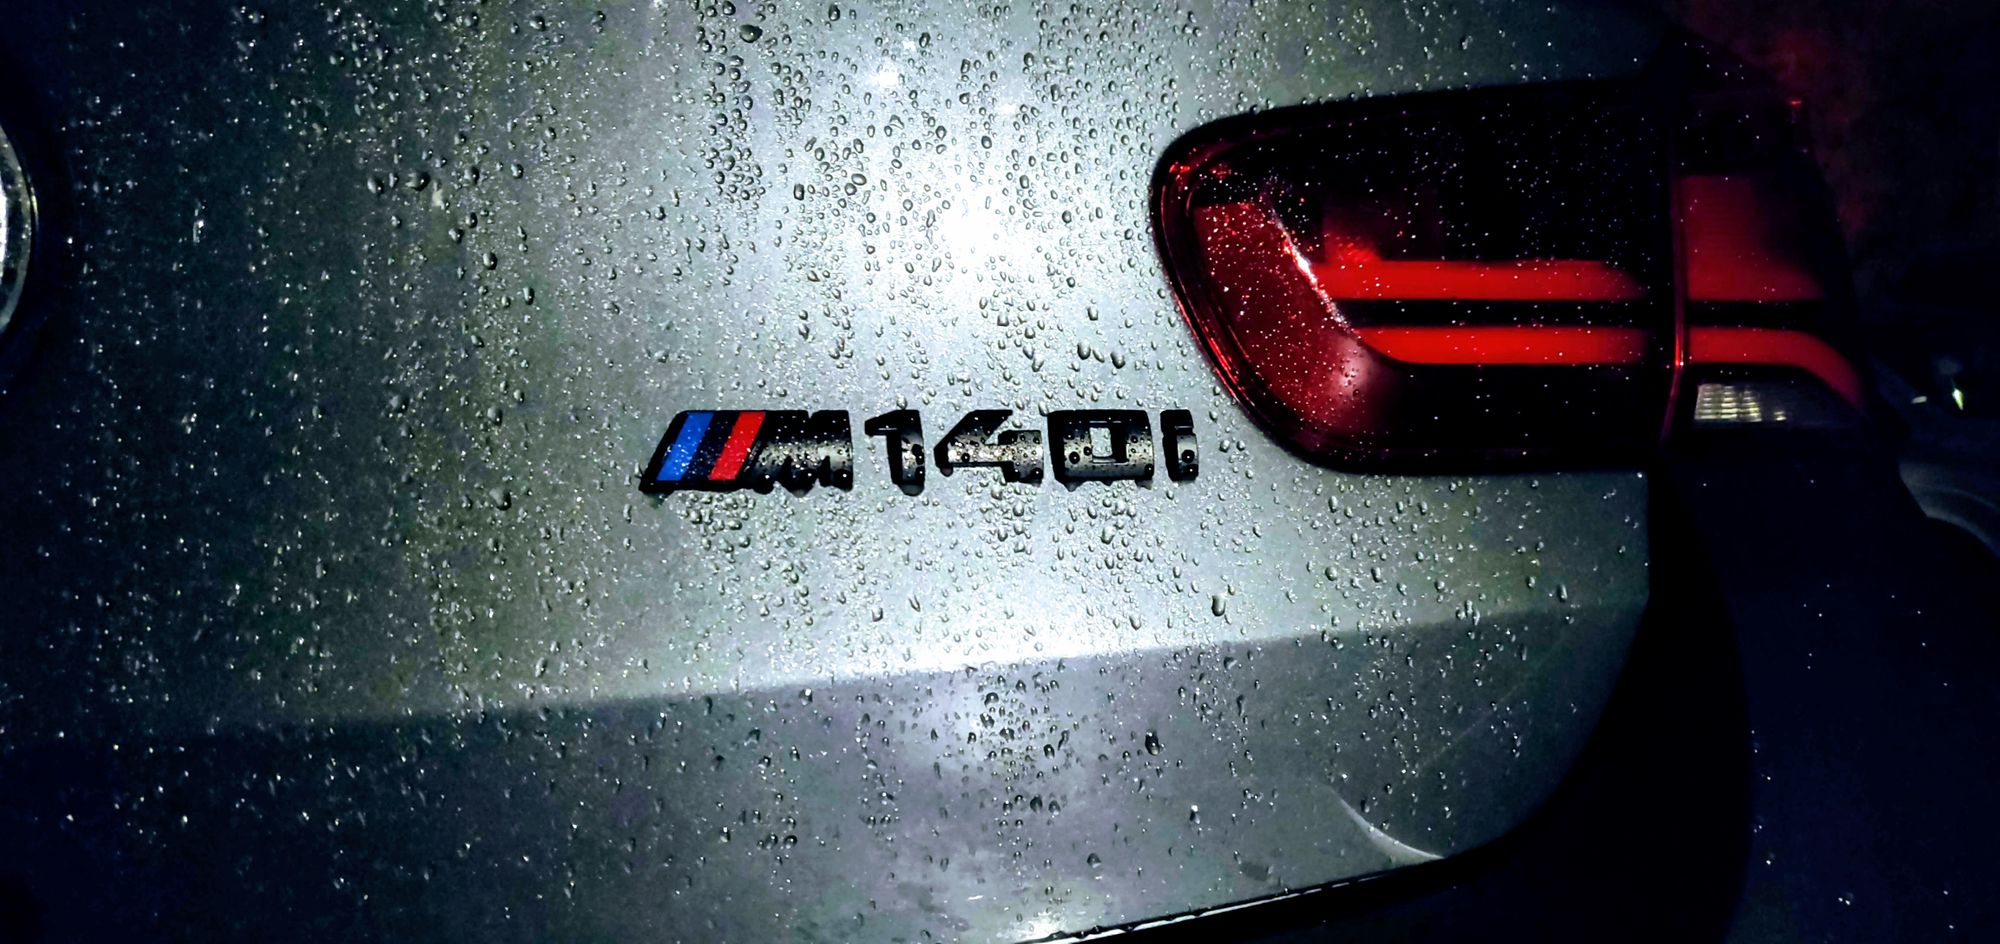
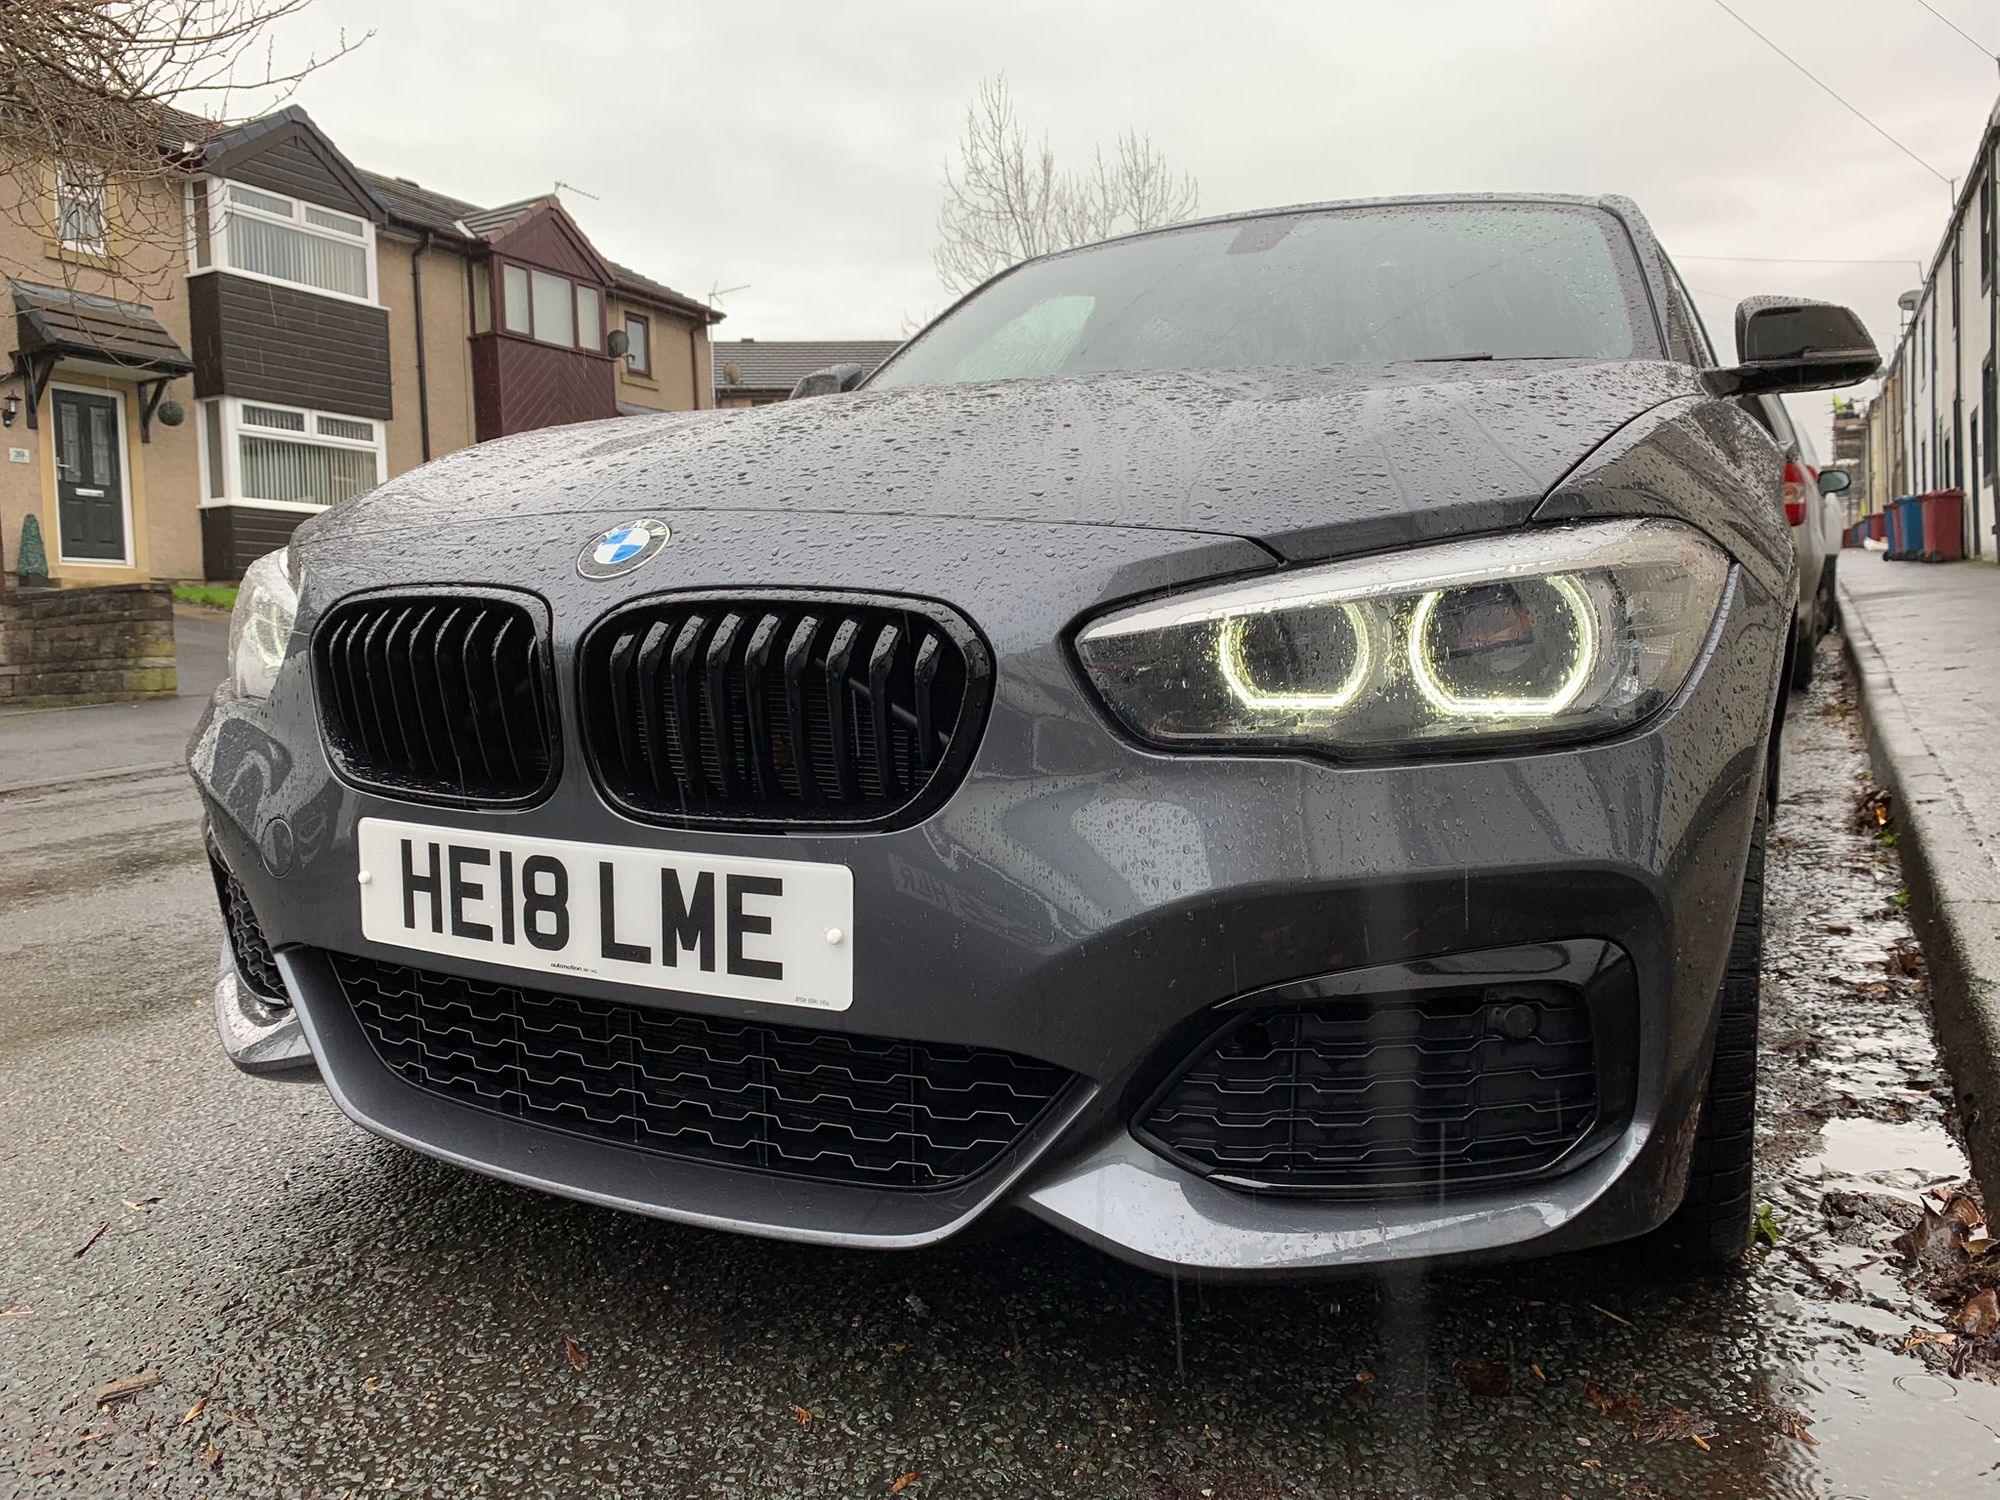
Here's a shot of the badge installed later that night when we had a little rain (I live in the UK so that's most days).
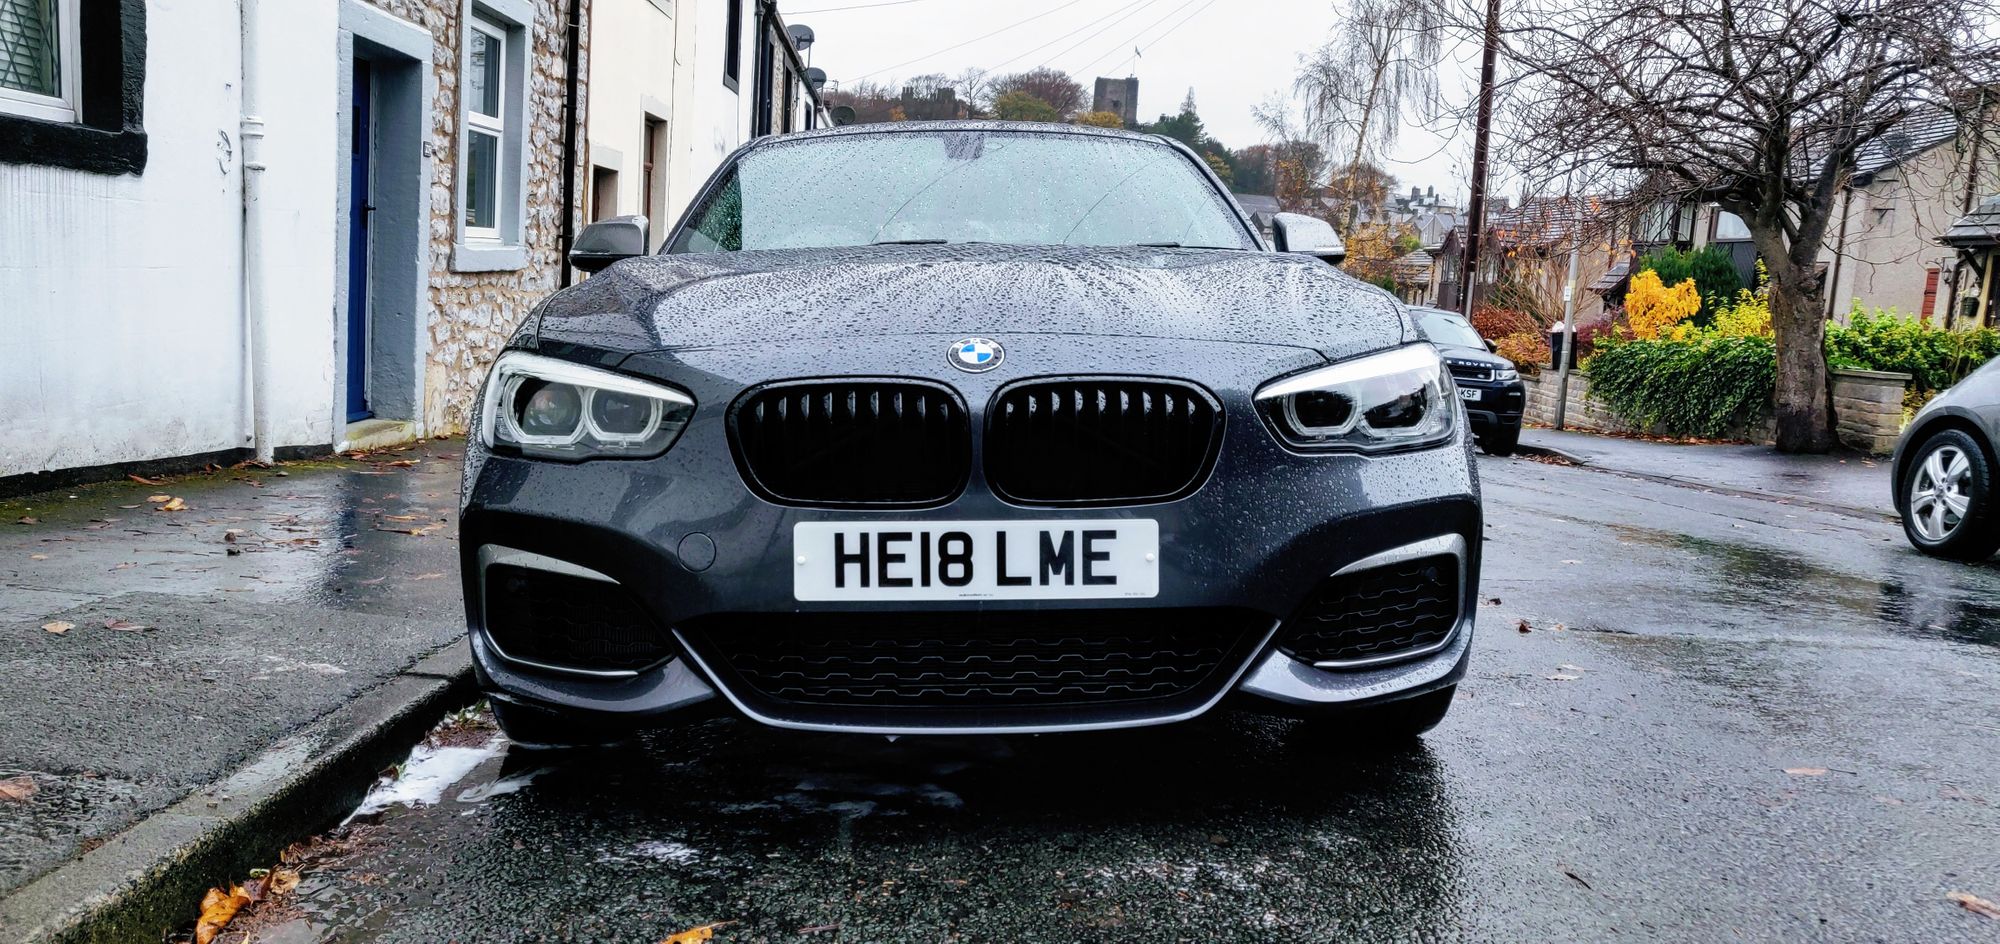
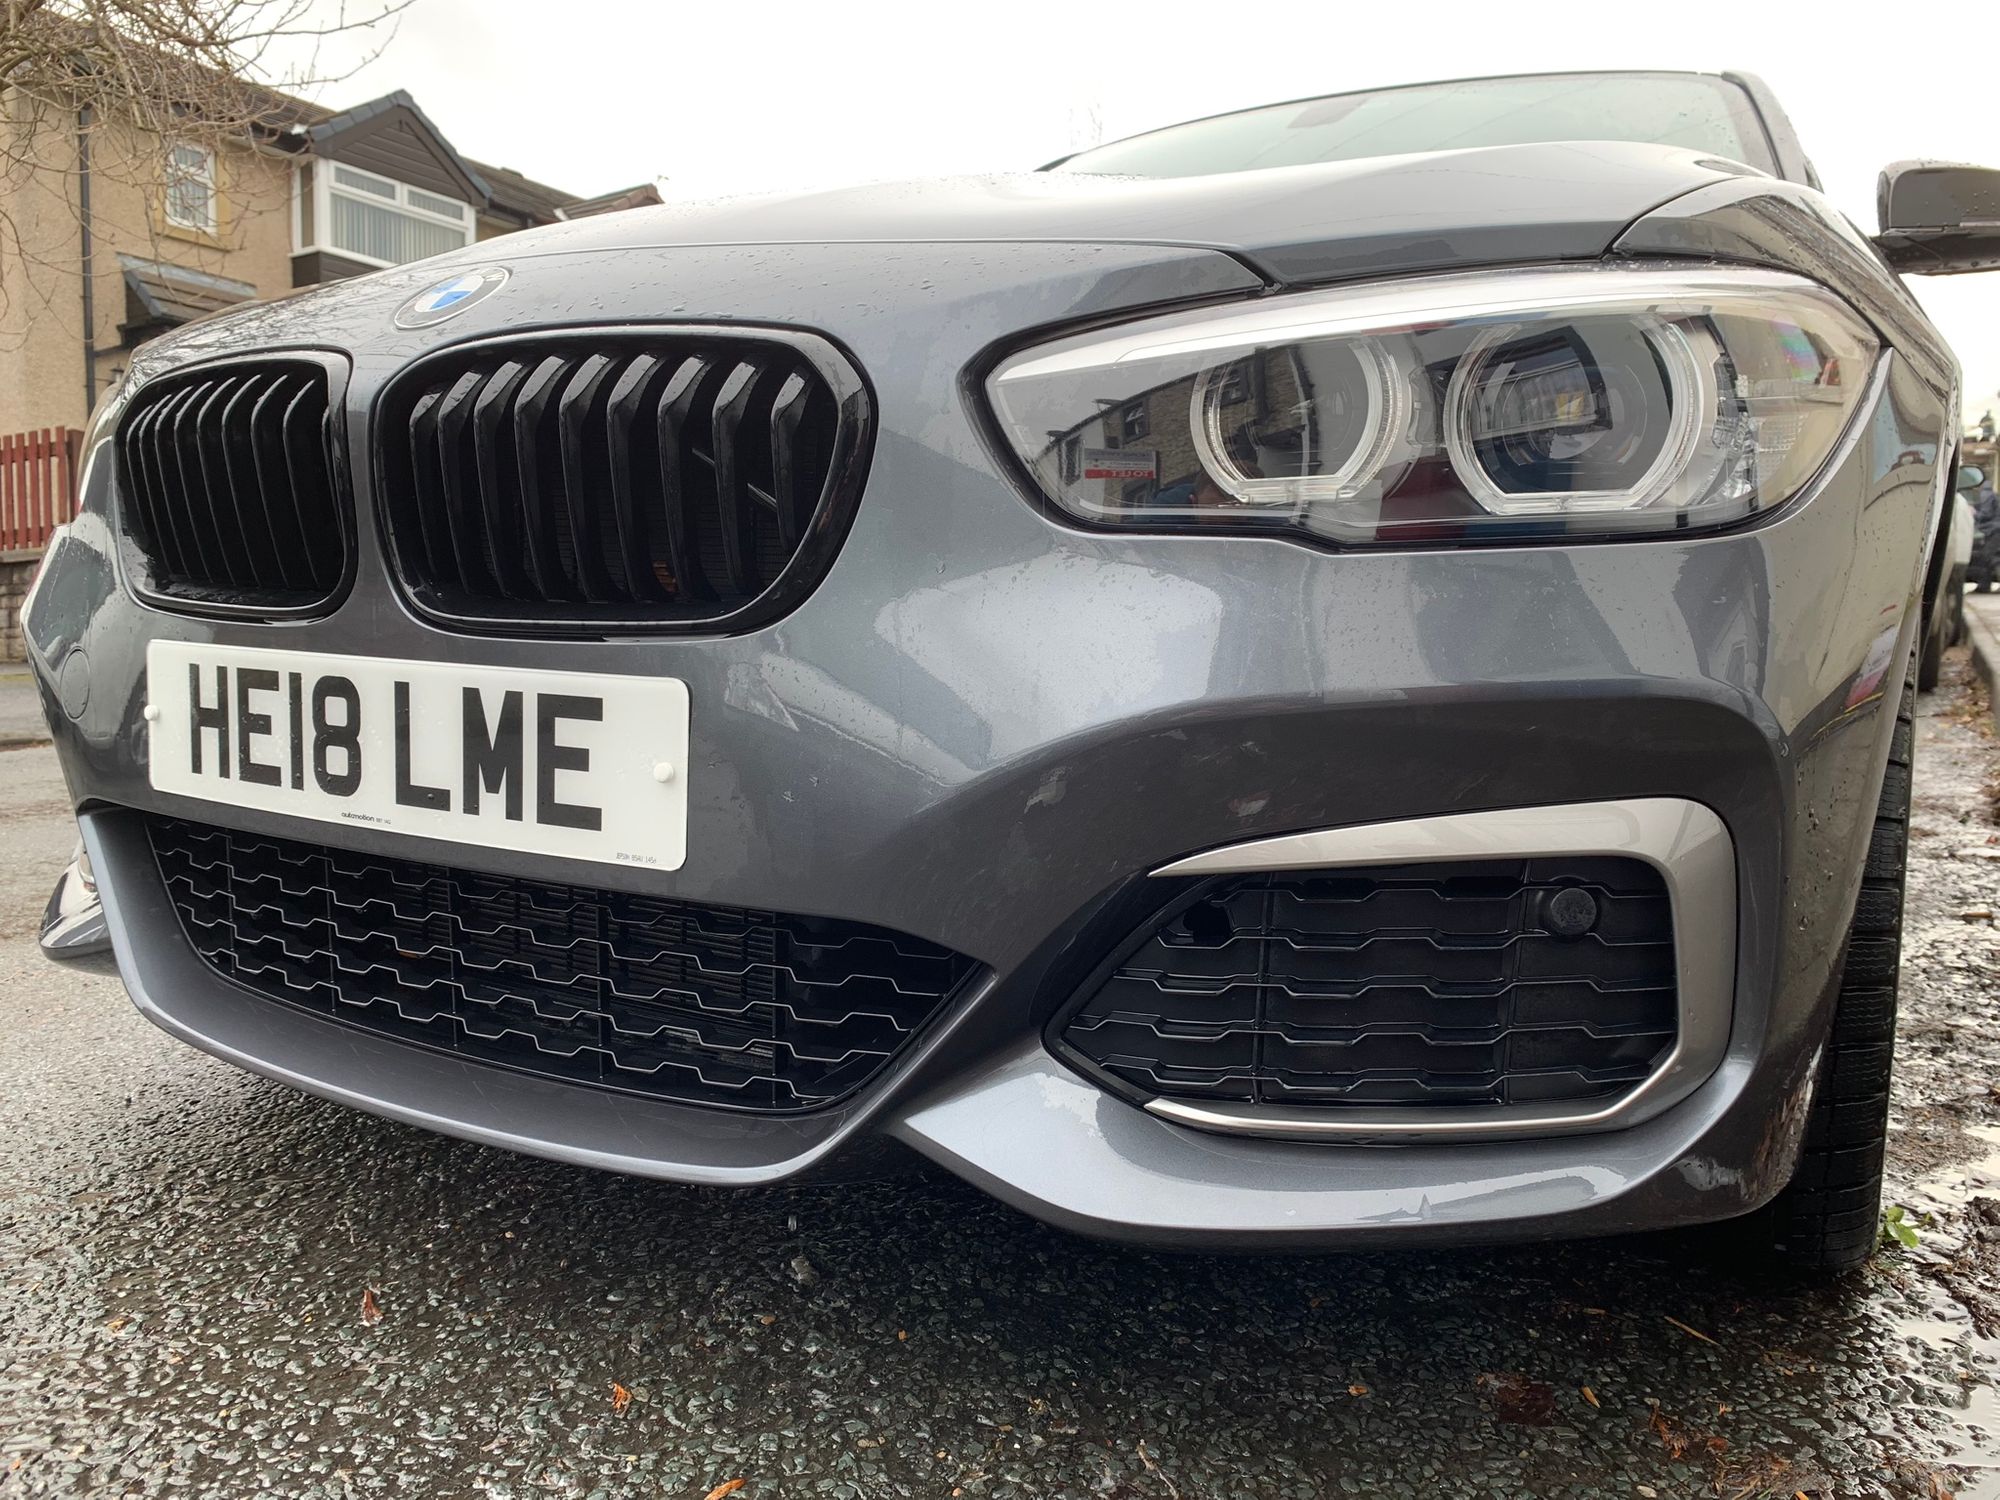
Private plate
I've never had a private plate before and they aren't the easiest thing to come across in the UK. In some countries you can simply buy any value you like but here it's not quite so simple. Over here, cars have 2 letters, followed by 2 digits for the year of manufacture, followed by 3 letters. If you're 'reading' a plate in the UK you generally ignore the year and read the letters only. I'm quite fortunate that my surname fits well on our format here in the UK allowing me to have HE18 LME, which is my surname with the year of manufacture in the middle.
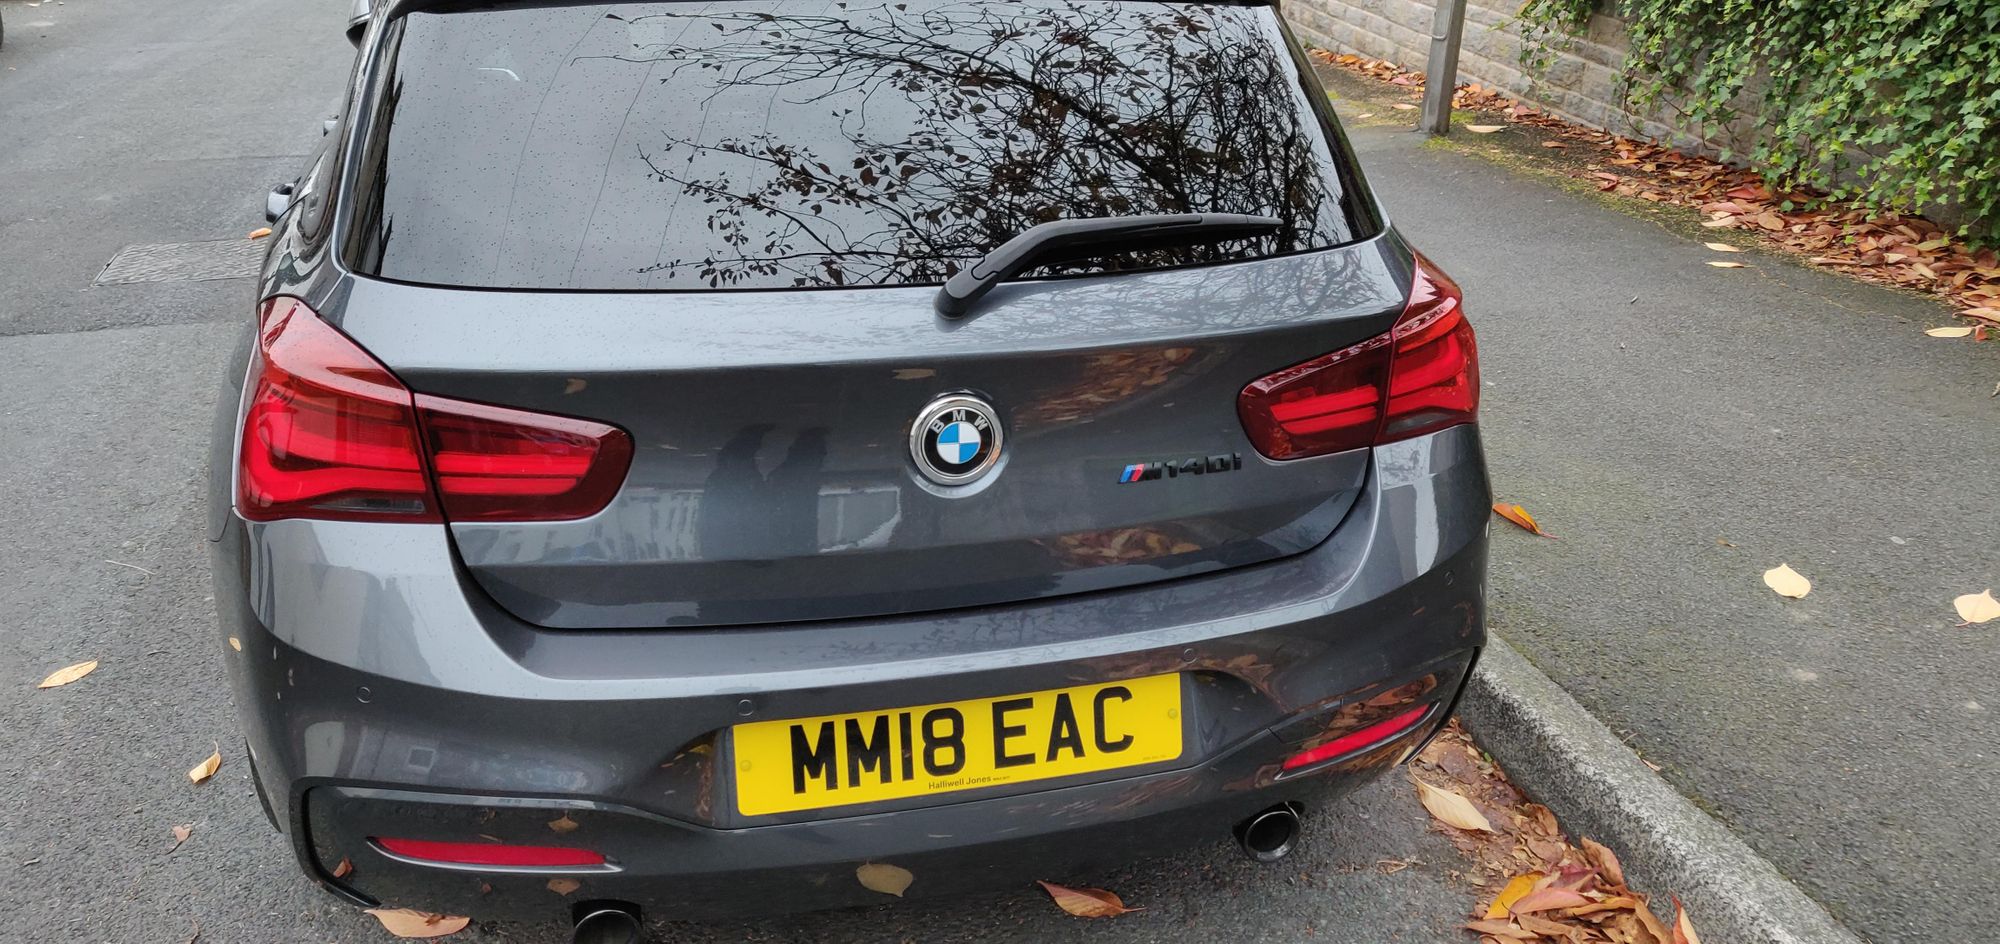
First of all you have to buy the right to use the registration and then you get a certificate to prove you've purchased it. You can then take that to a car shop and have the physical registration plate made up by presenting the certificate along with government issued ID. After that it's simply a case of swapping the plates over on the car as you can see.
Minor cosmetic mods
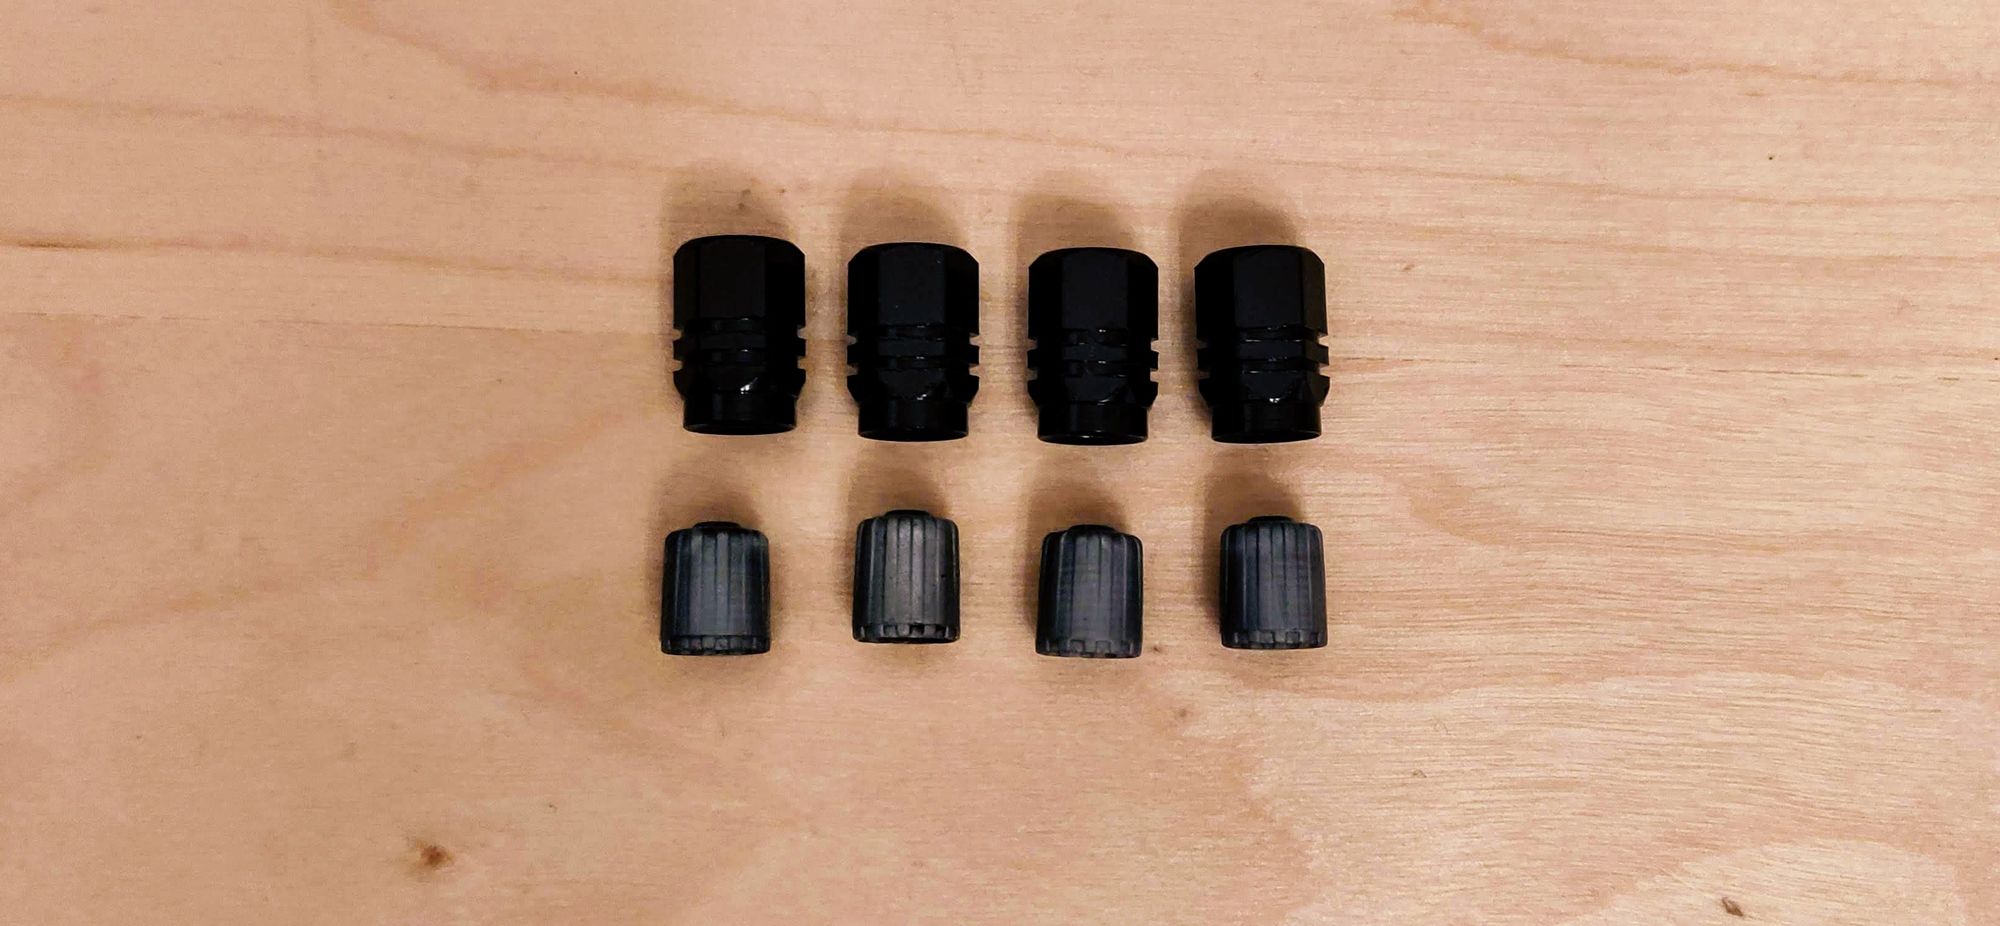
Next up was a couple of small things that were kind of bugging me. The valve caps were bothering me as I had these beautiful, gloss black alloys but these giant silver dots right in the middle of them because of the valve caps. It's probably not something a normal person would notice, but they stood out to me and they had to go. Off with them and on with the new, black ones. The simplest of changes but it made quite the difference.
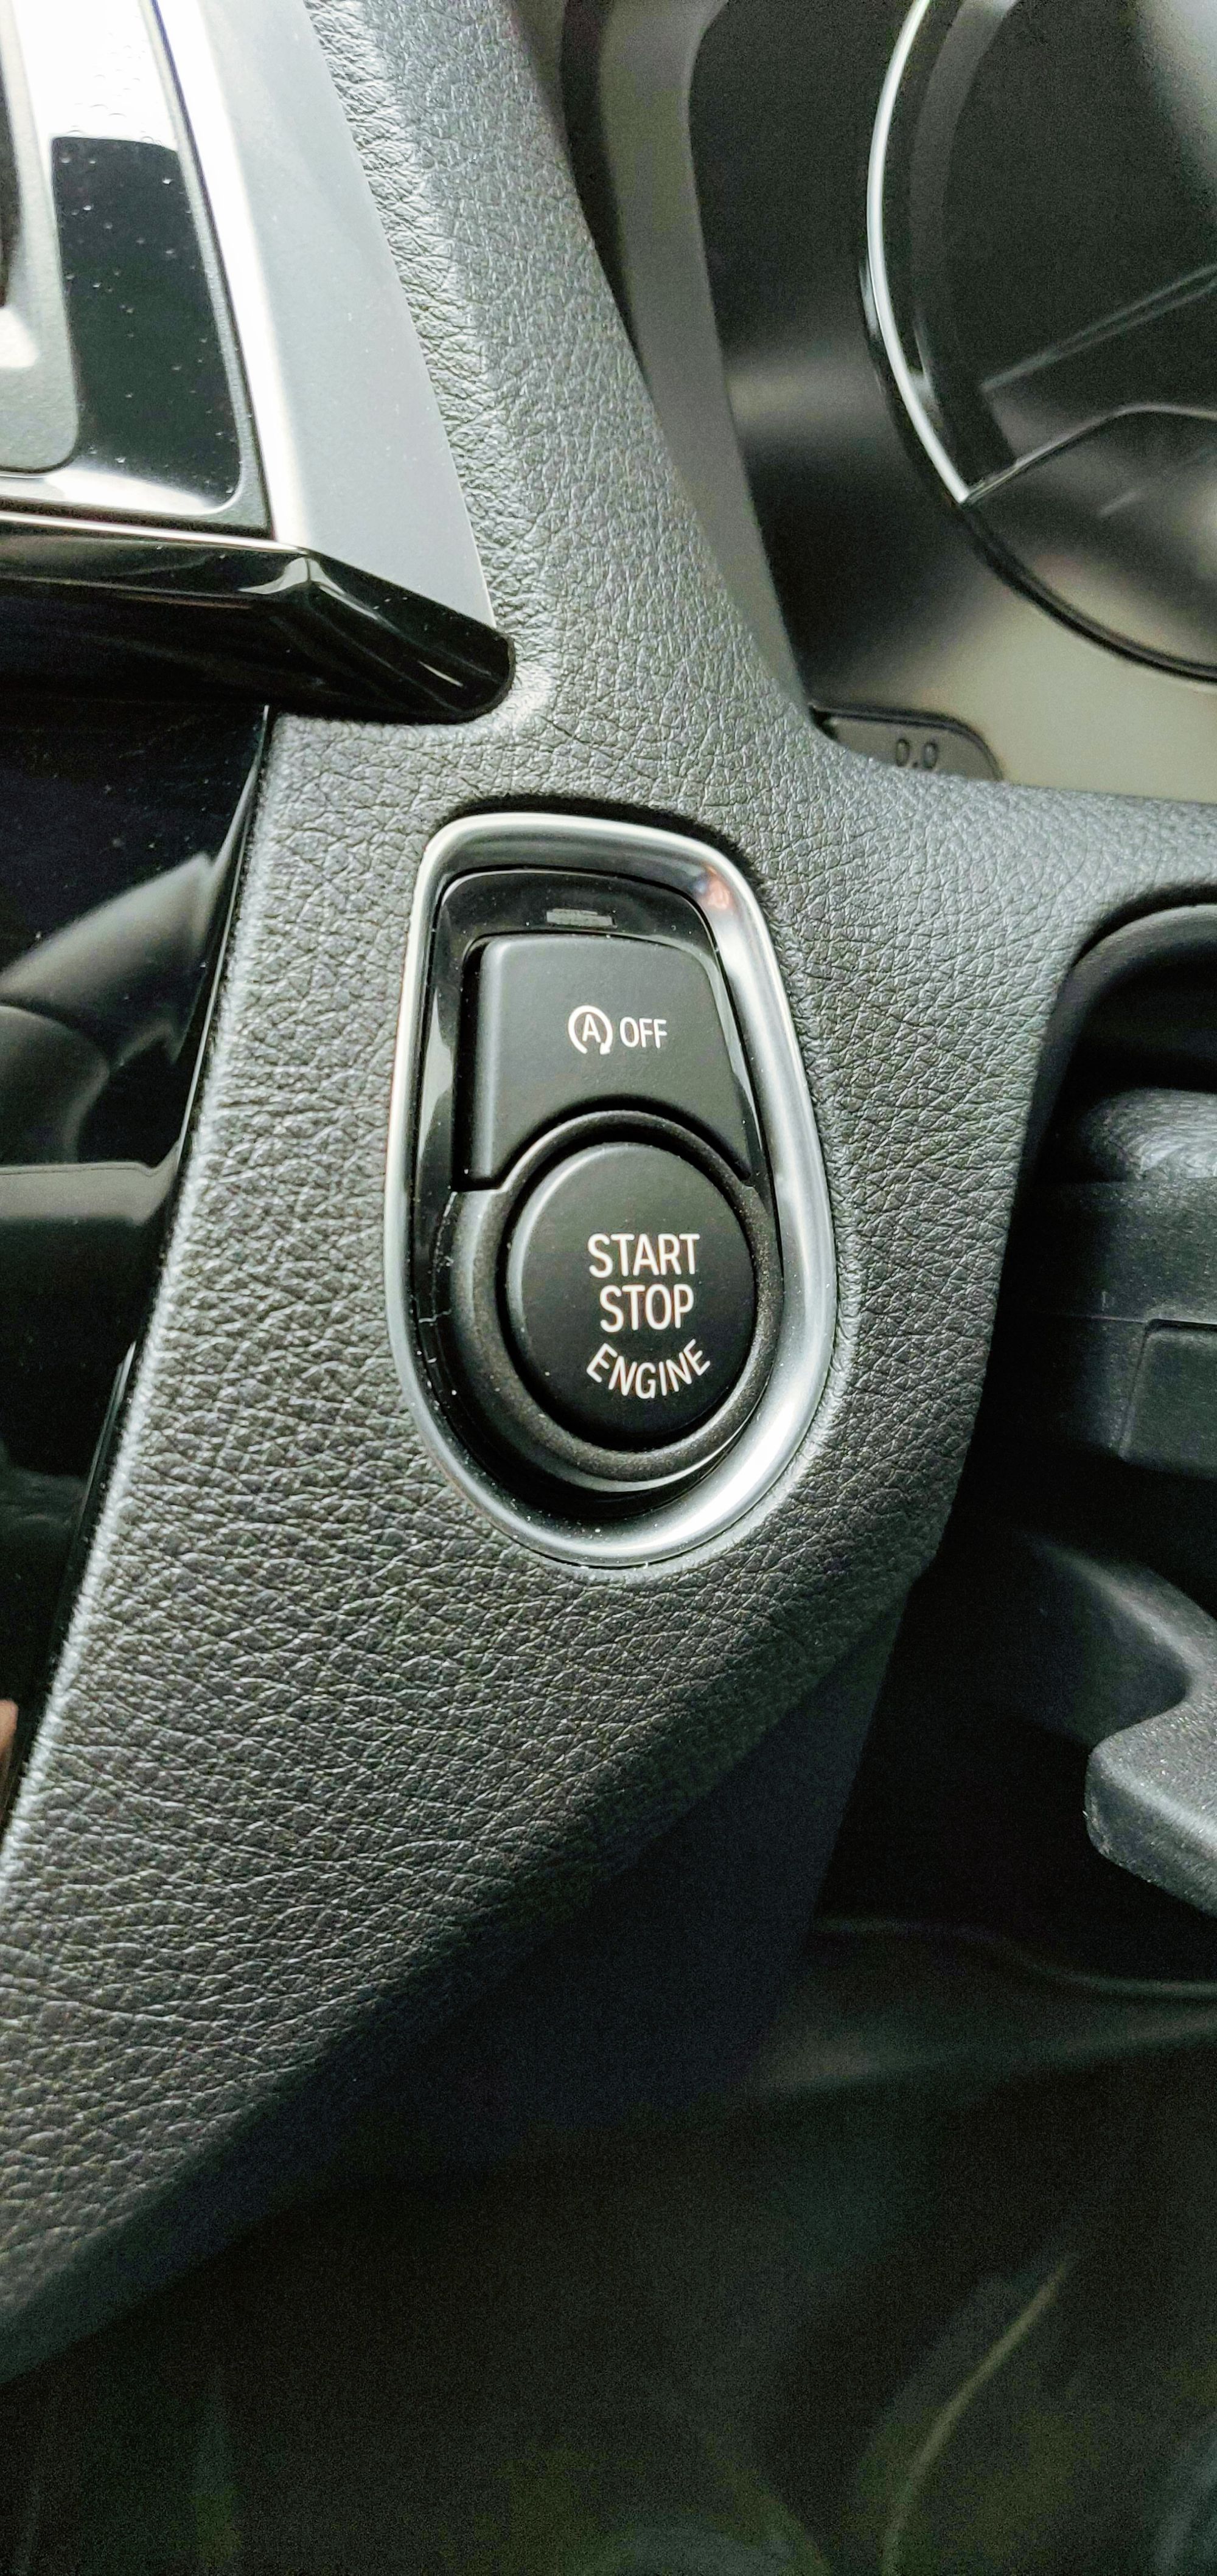
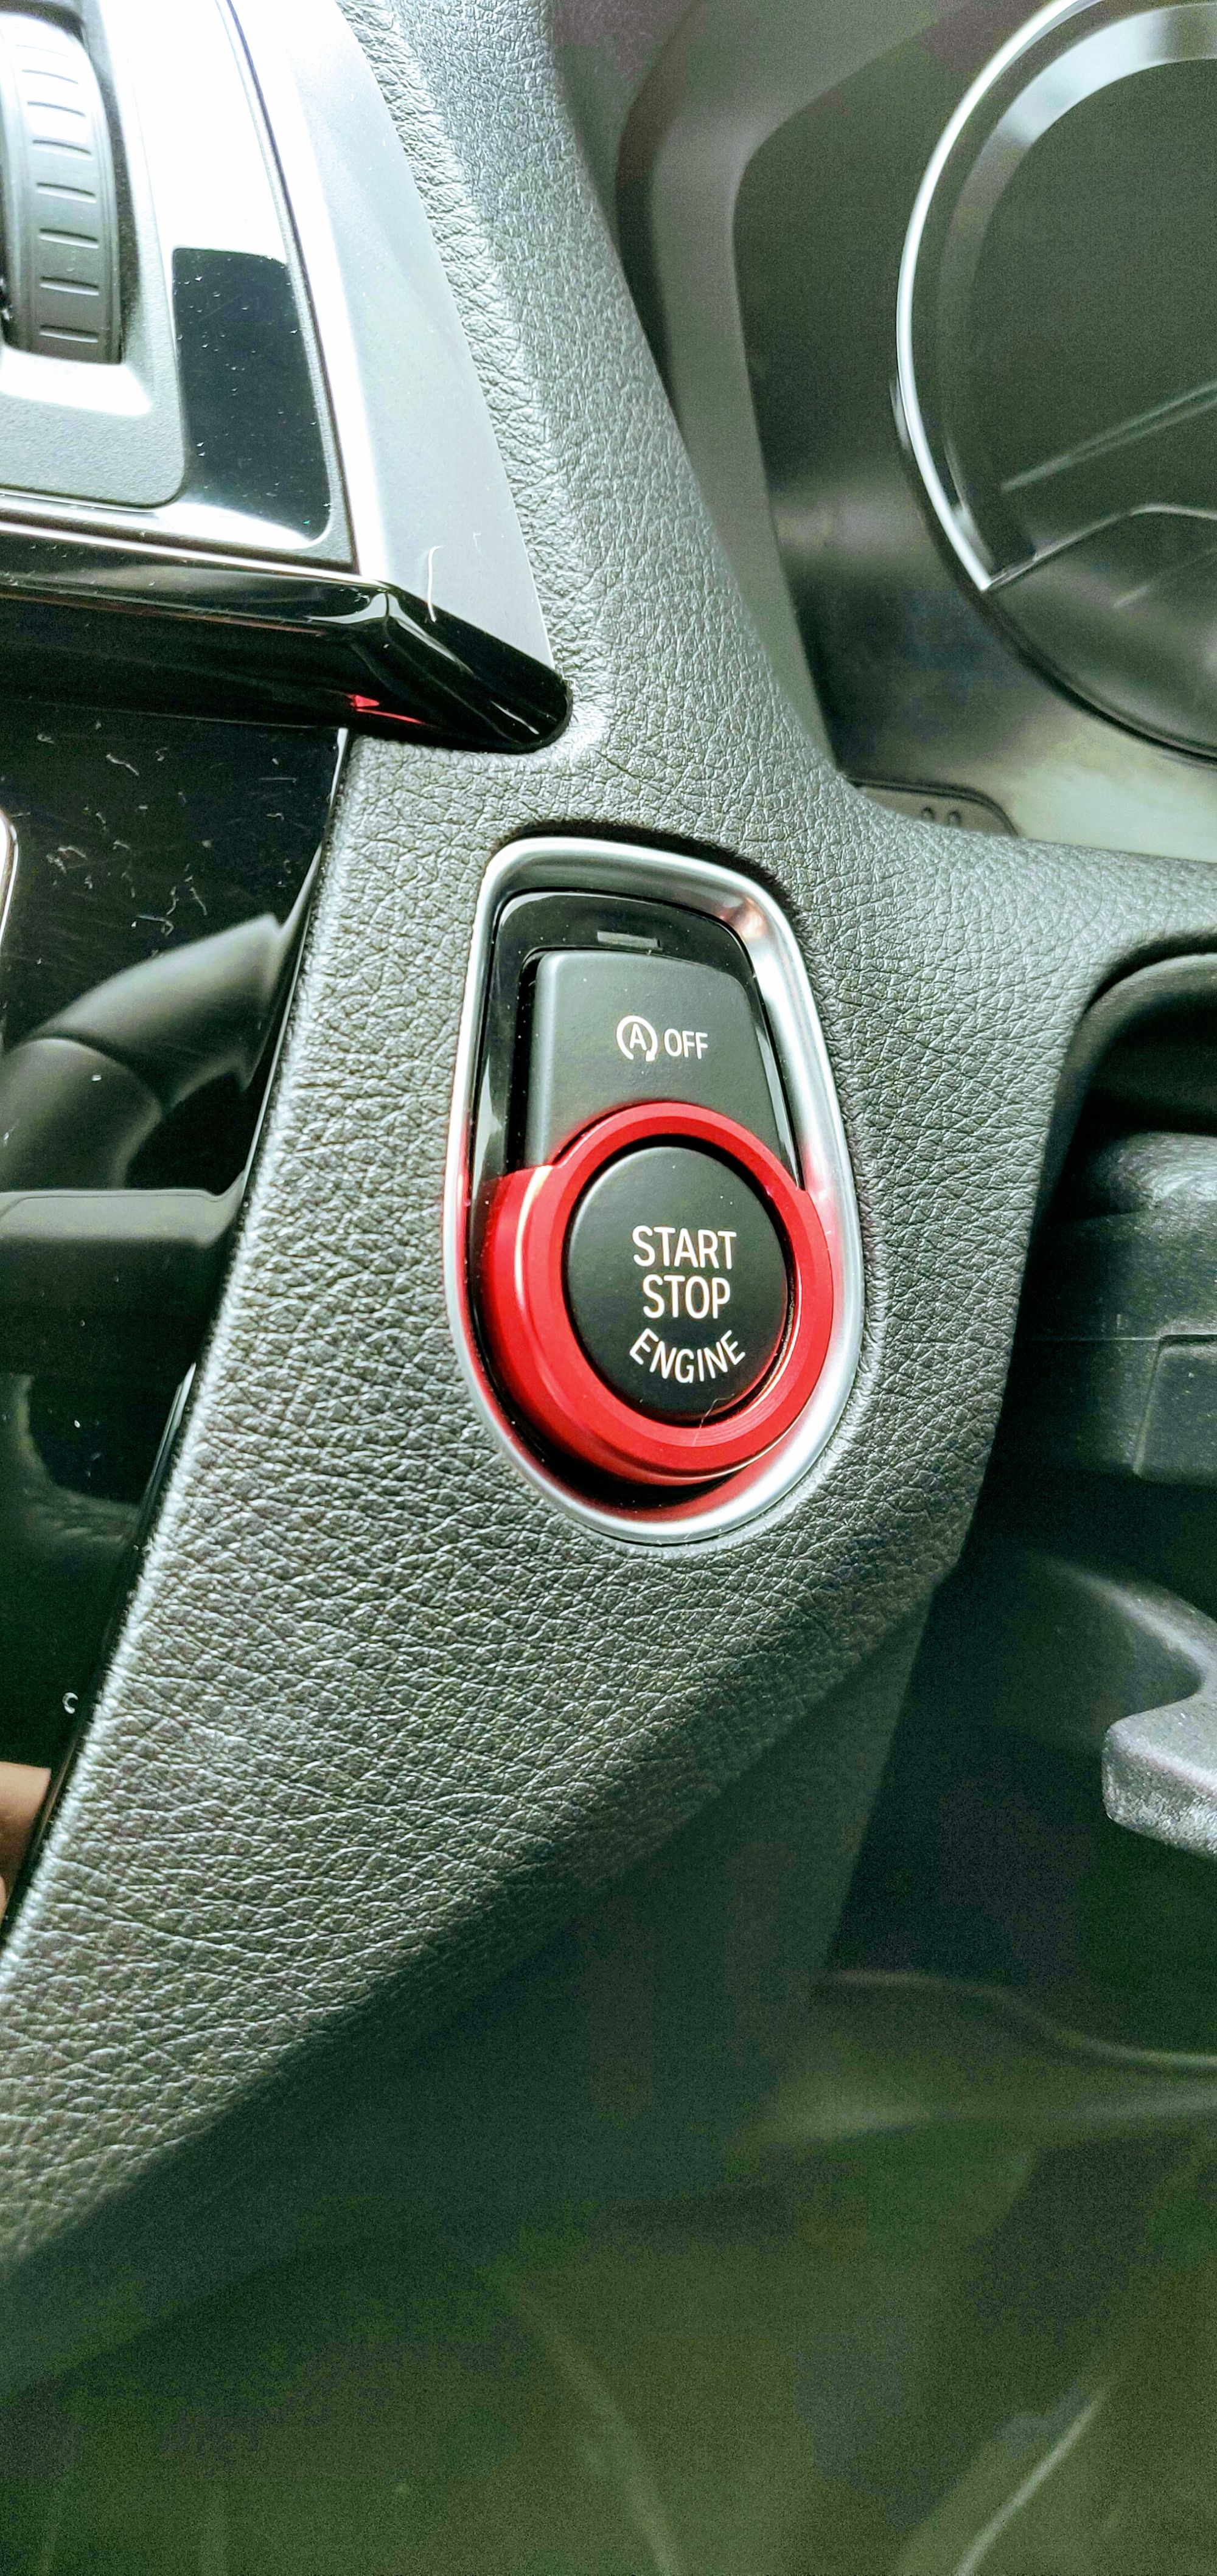
Another minor change came inside the car with something to add a bit of colour. I ordered the red stop/start button from Motech Performance which simply fits over the existing button surround and gives it a nice bit of striking red. Here's the original button followed by the button with the new cover installed.
Carbon Fibre Diffuser
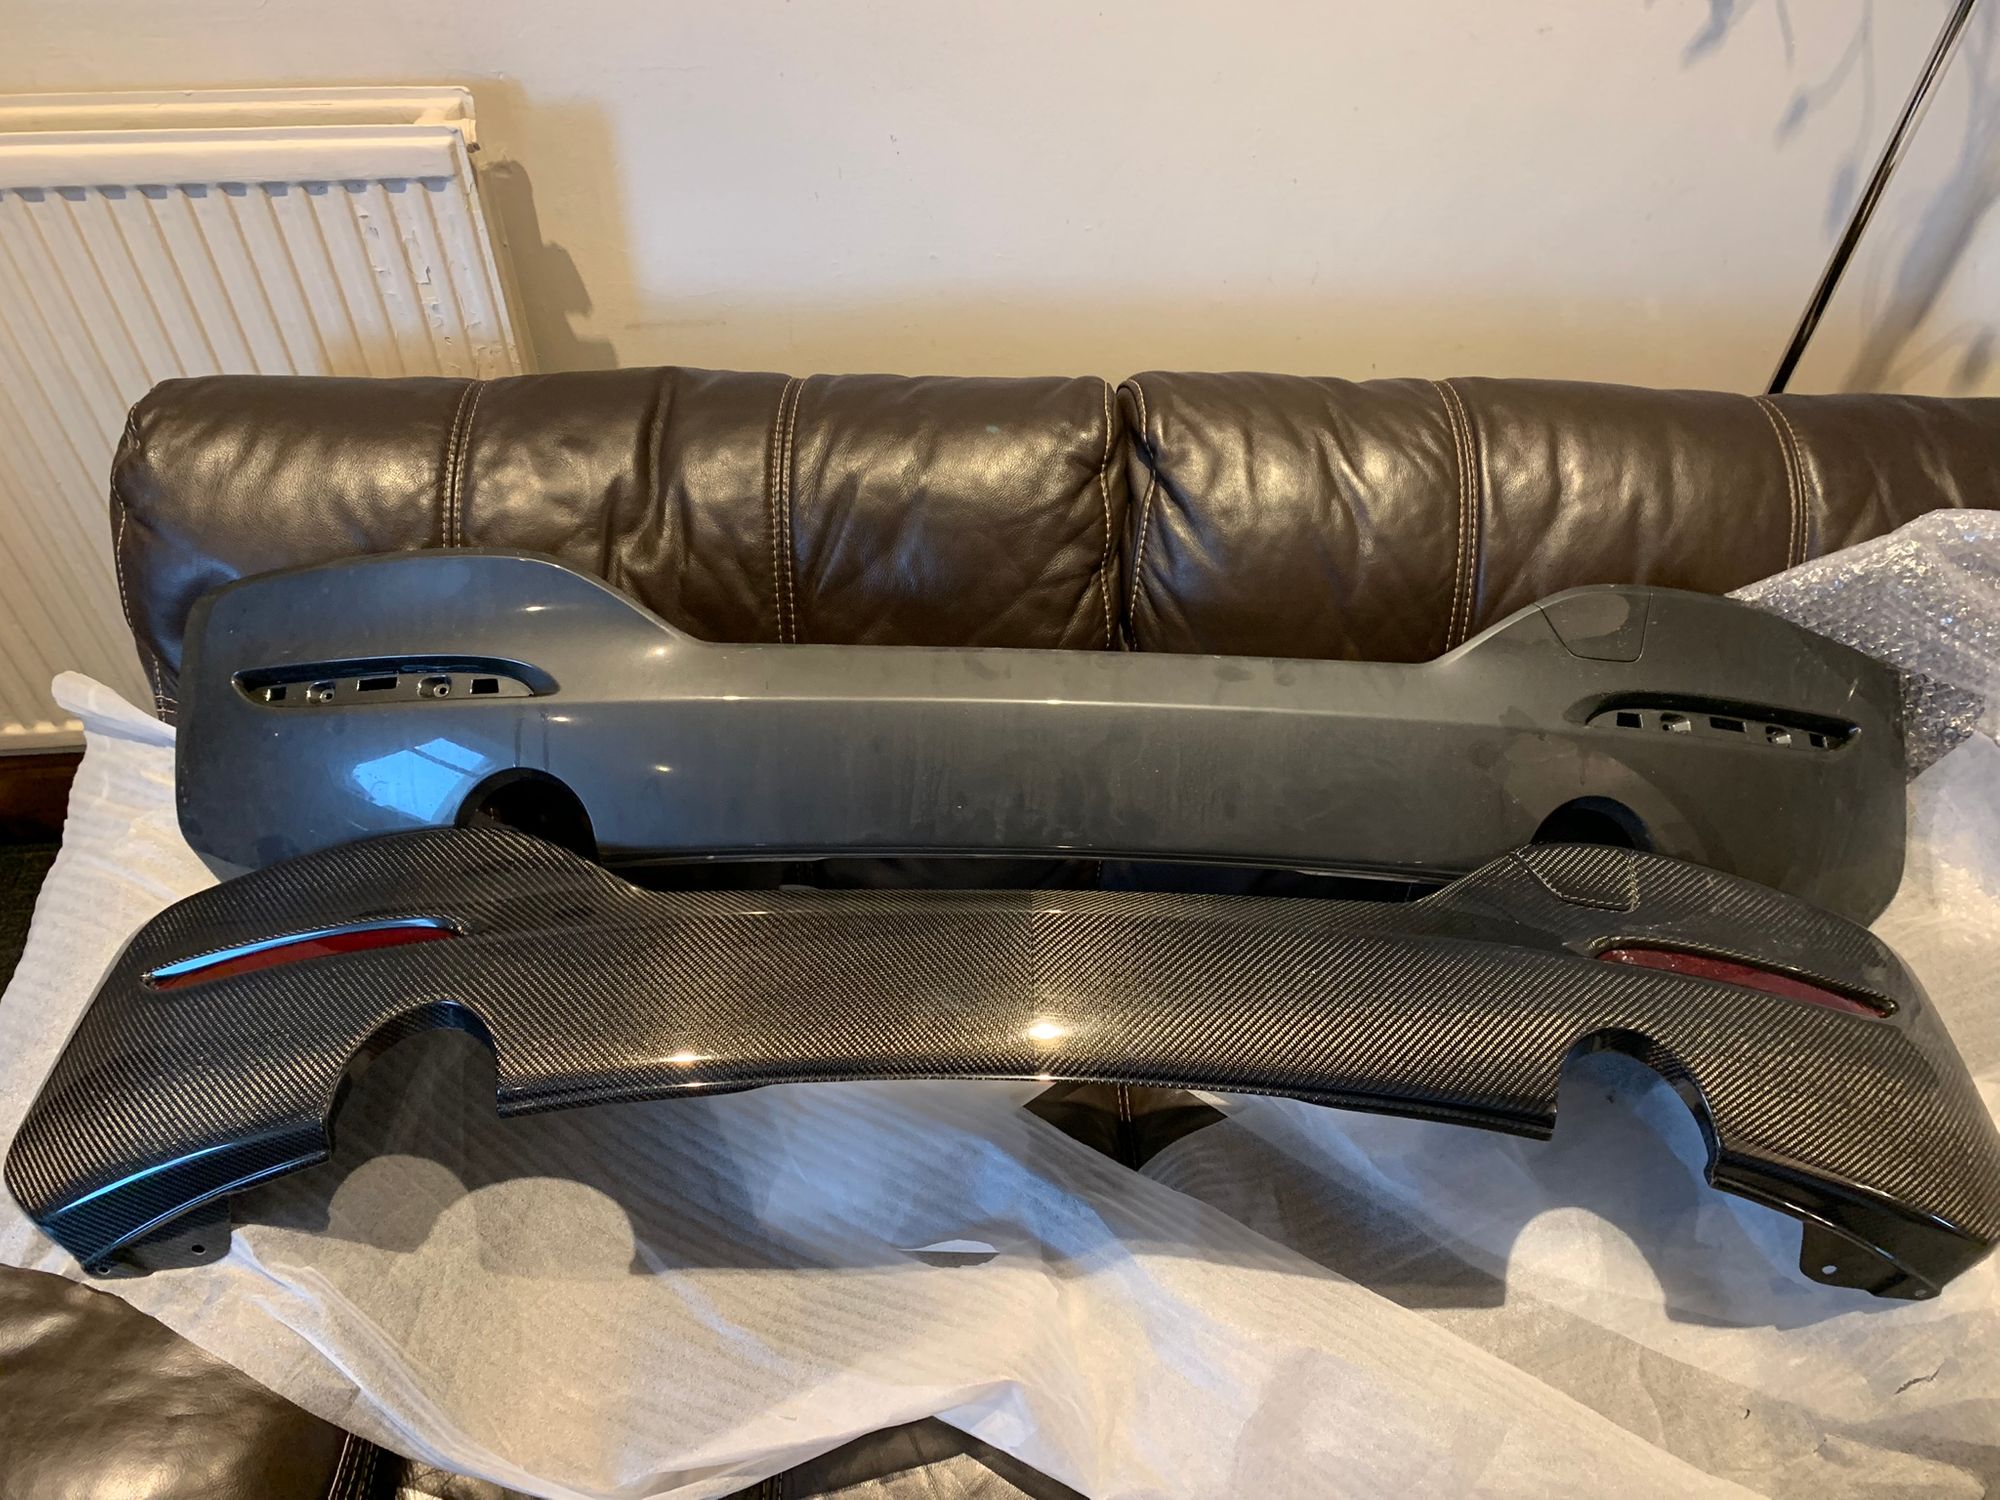
Time to step it up a notch and what better way to do that than add carbon fibre!? Seriously, who doesn't love this stuff? A company called AutoID make replacement carbon fibre parts and they had a stunning piece available for my car. The rear splitter is the section around the exhausts in the rear bumper and as standard, mine is colour coded to the car. Some people choose to change the colour of this part but I wanted to go a little further and have the part made out of carbon fibre. Here's a quick glimpse at the part...
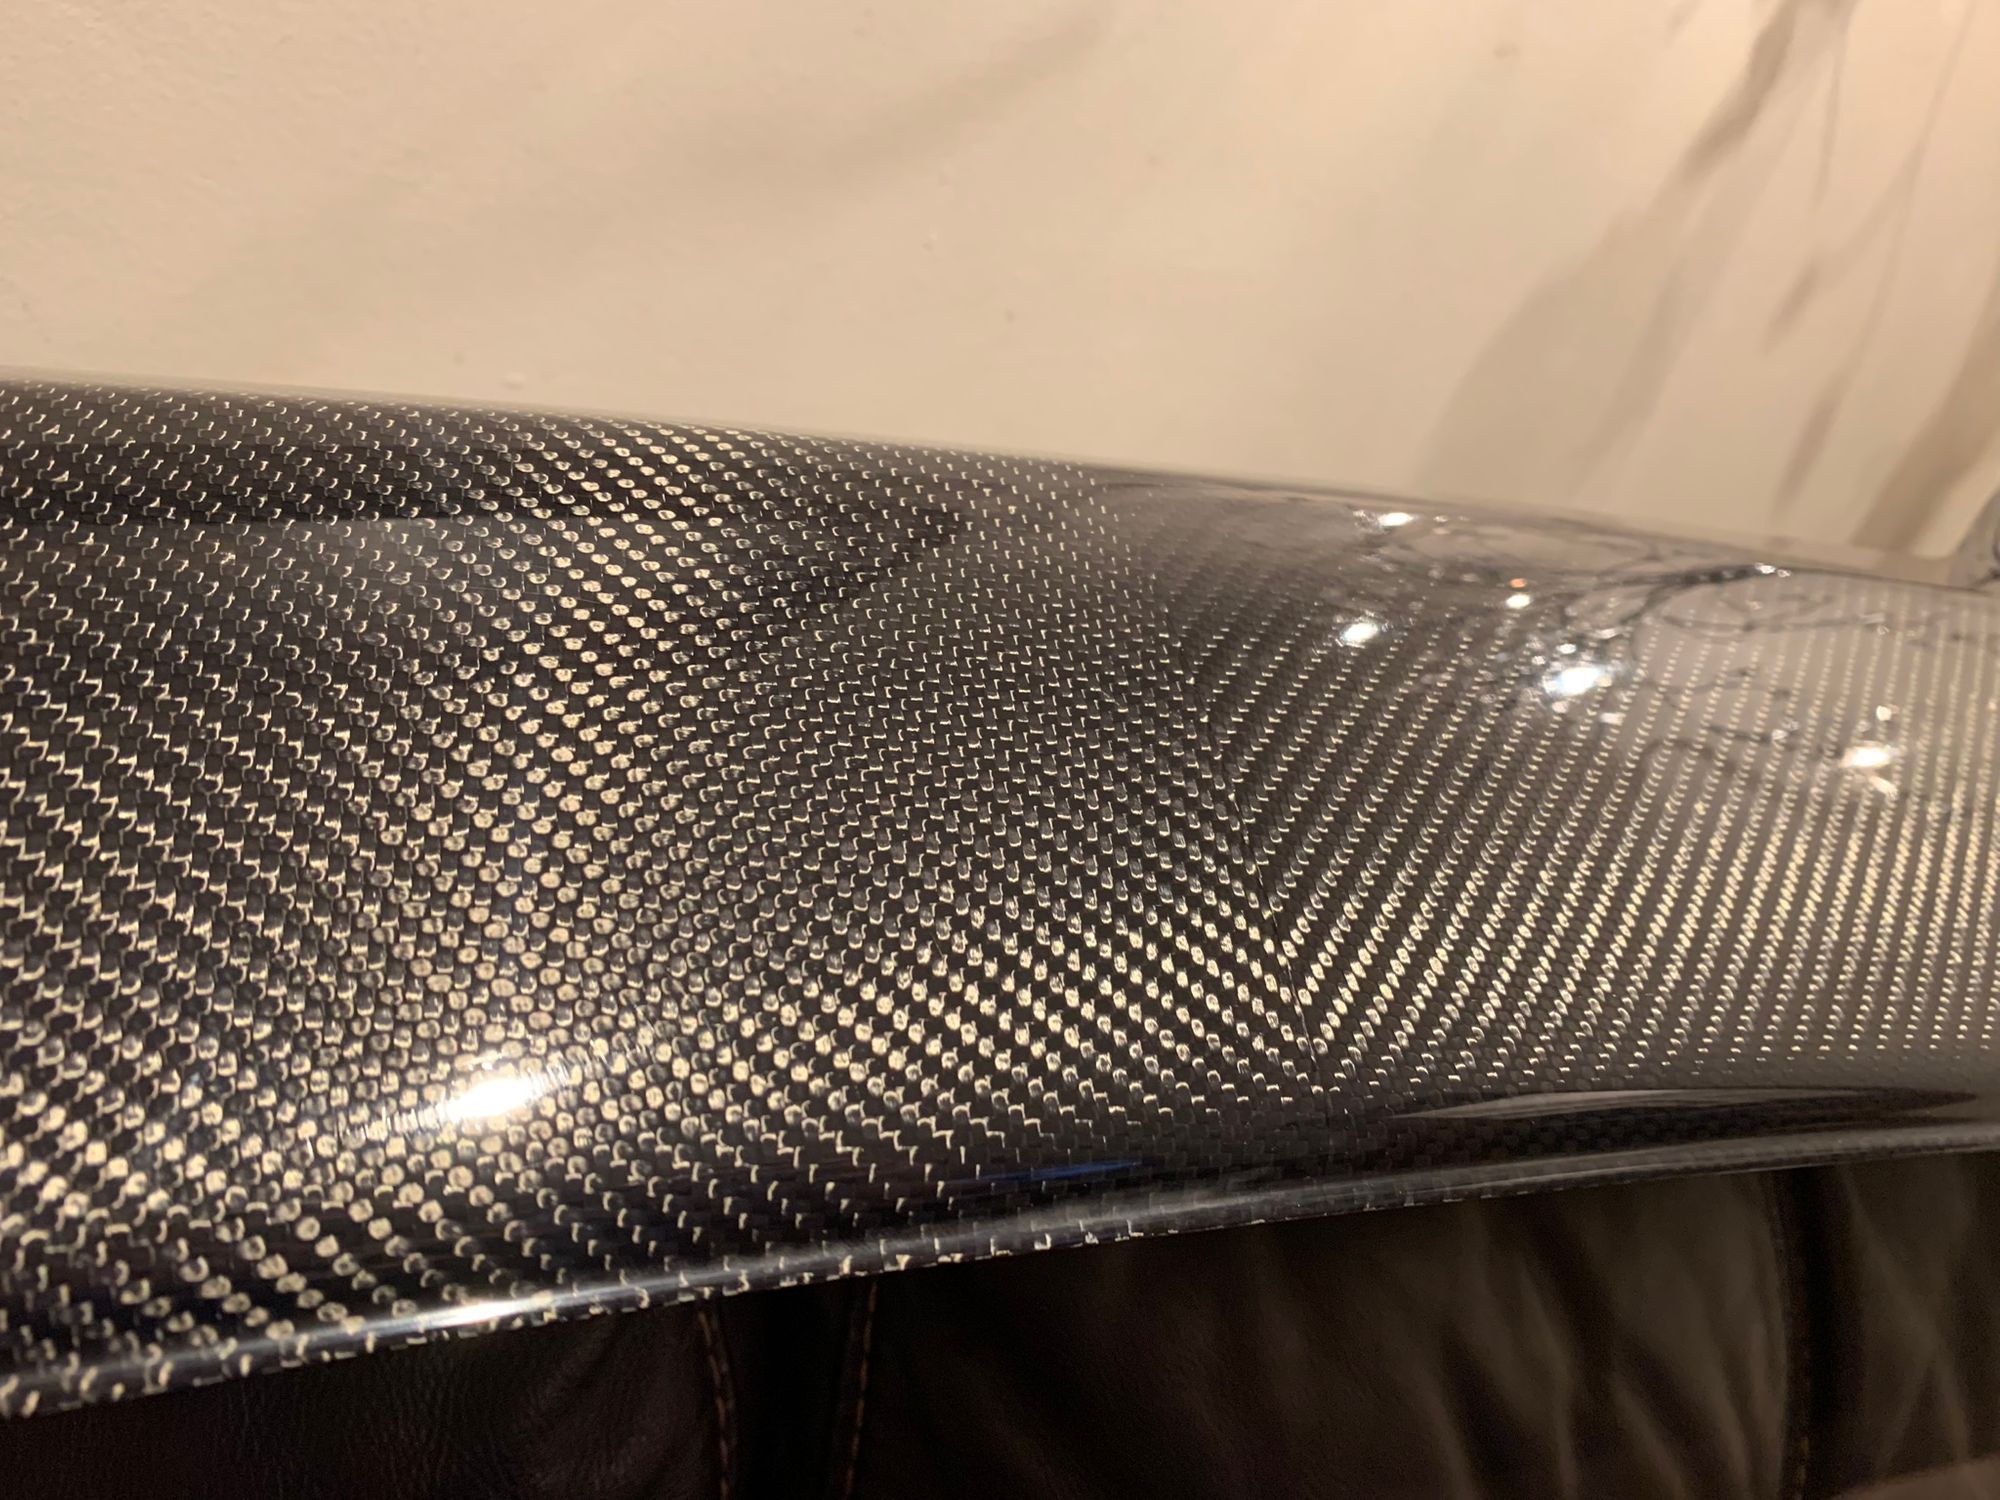
Look at that weave 😍! Like you might see on high-end super cars, this carbon fibre has a 2x2 Twill Weave creating that symmetric 'V' right in the centre of the part. Here's the full piece.

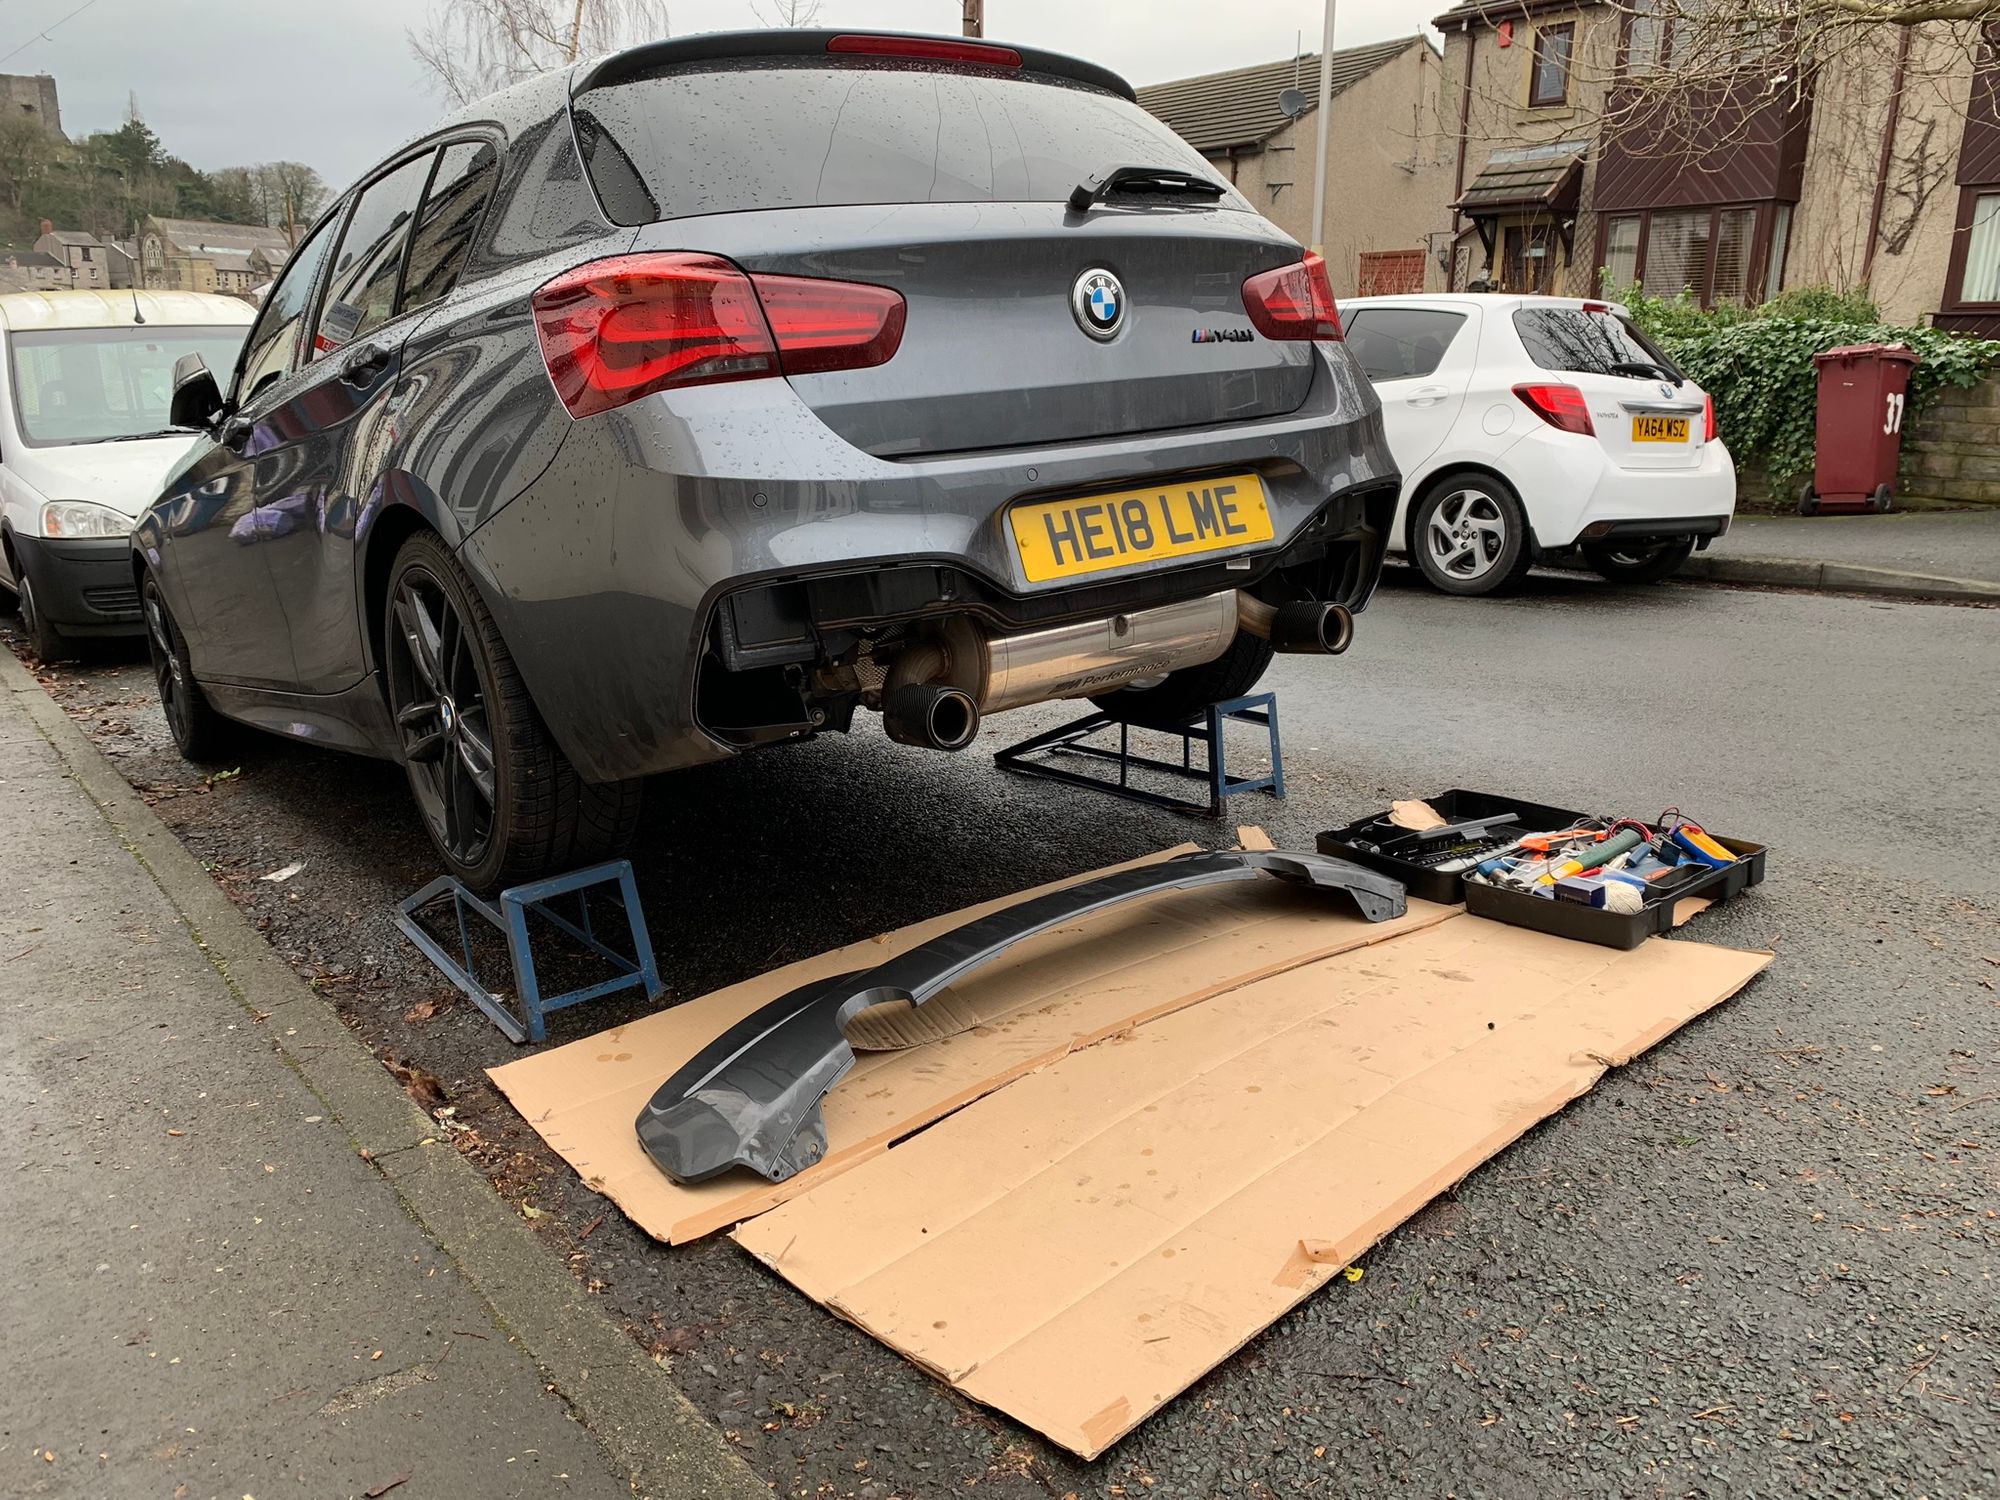
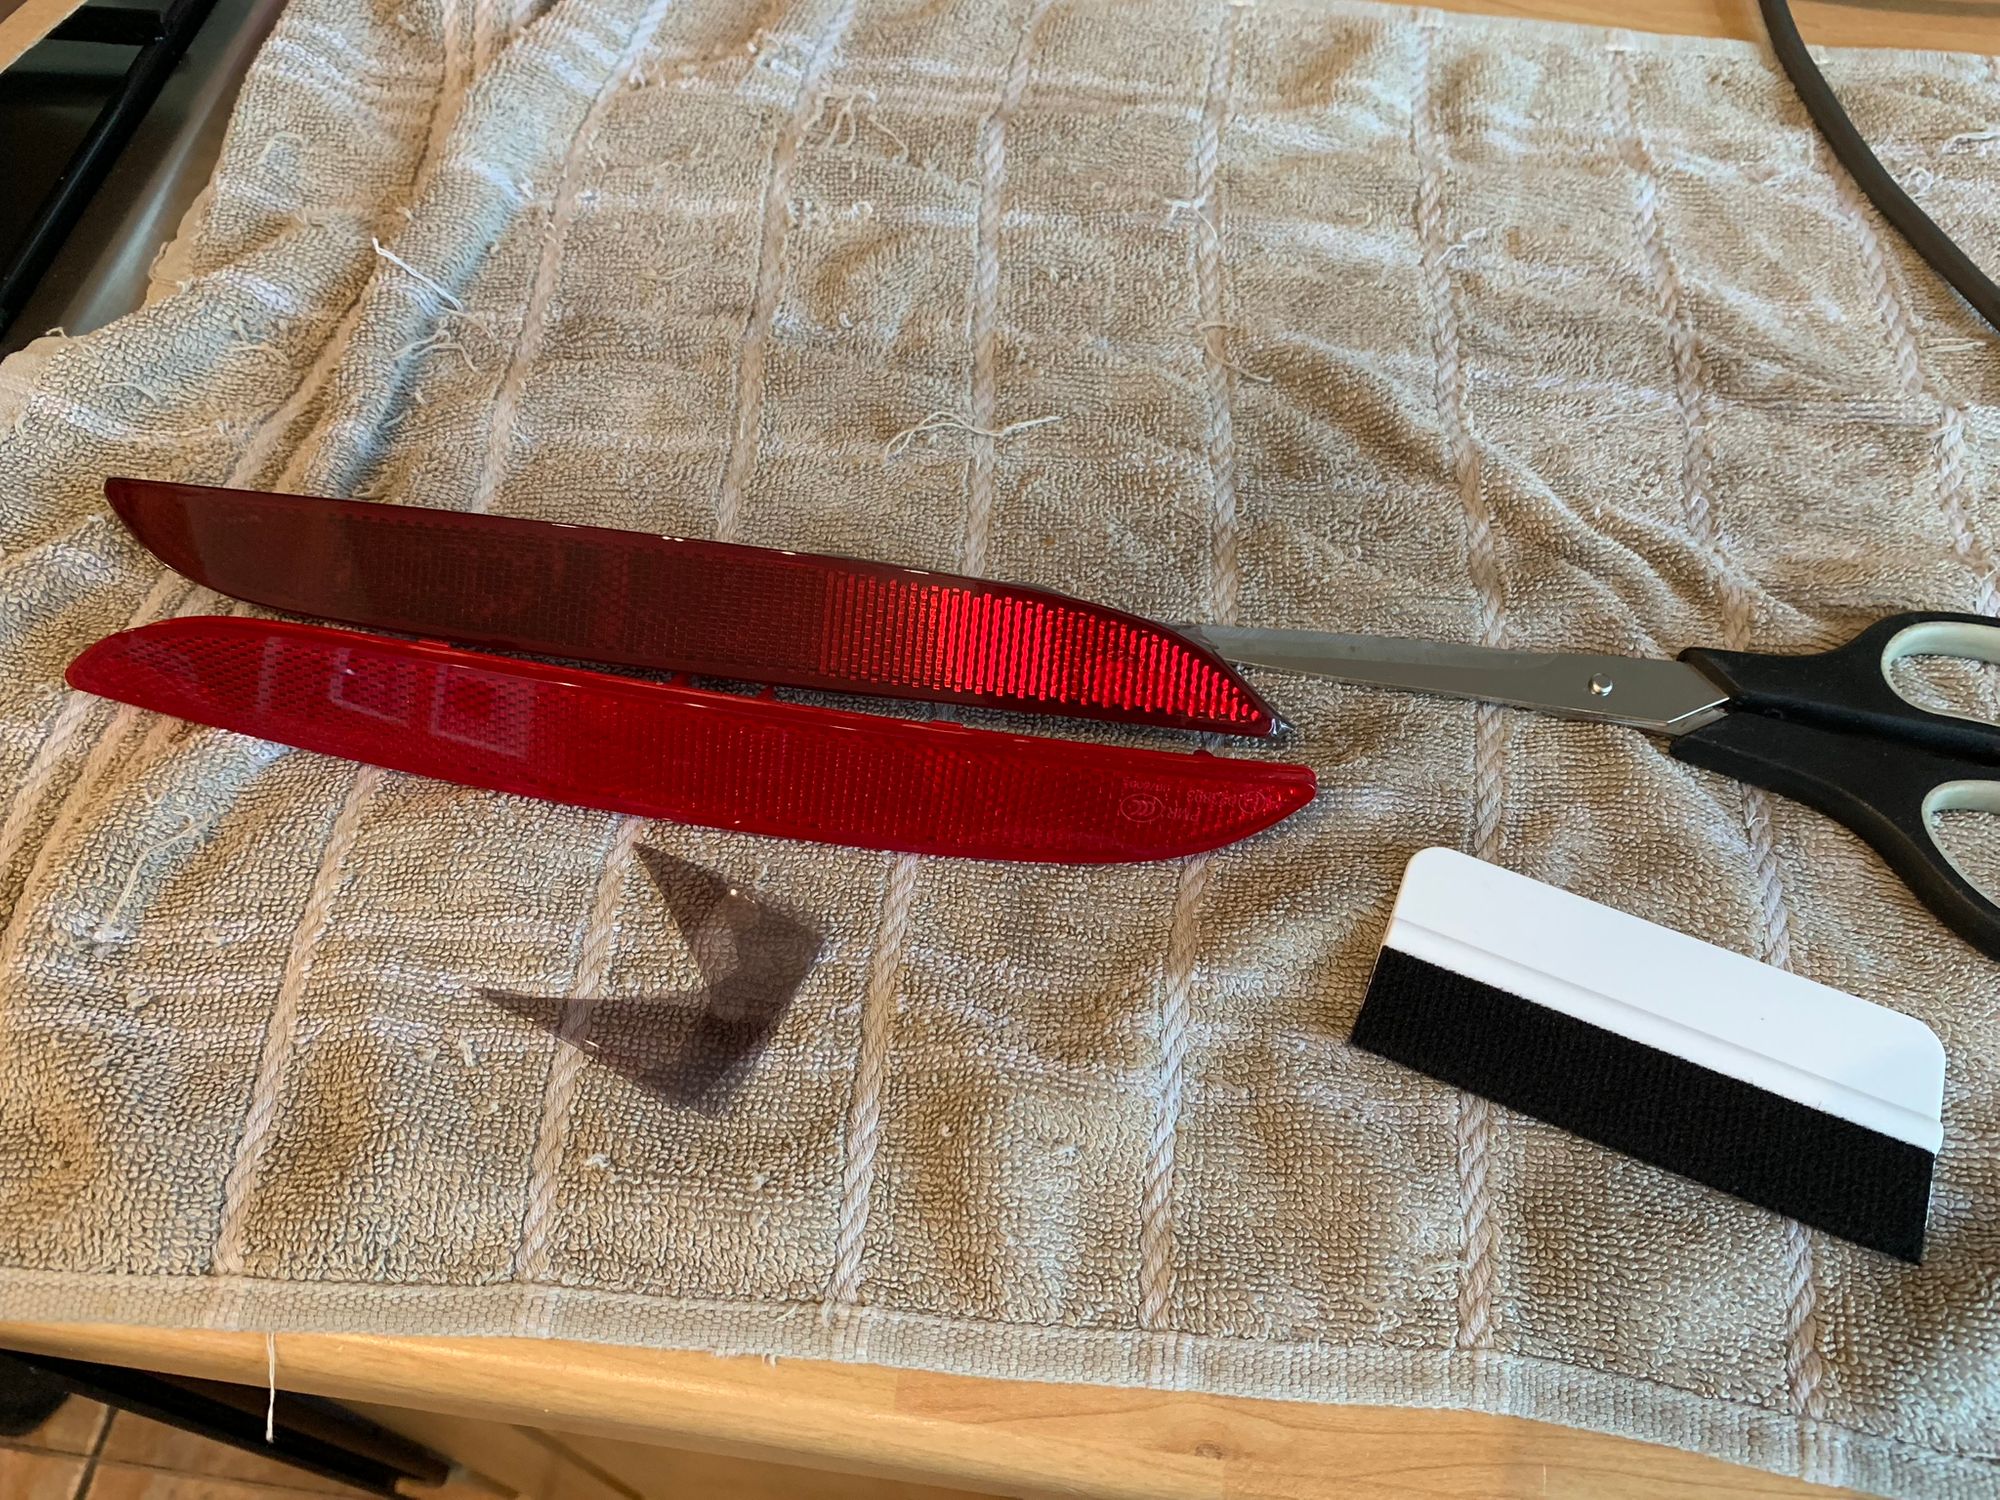
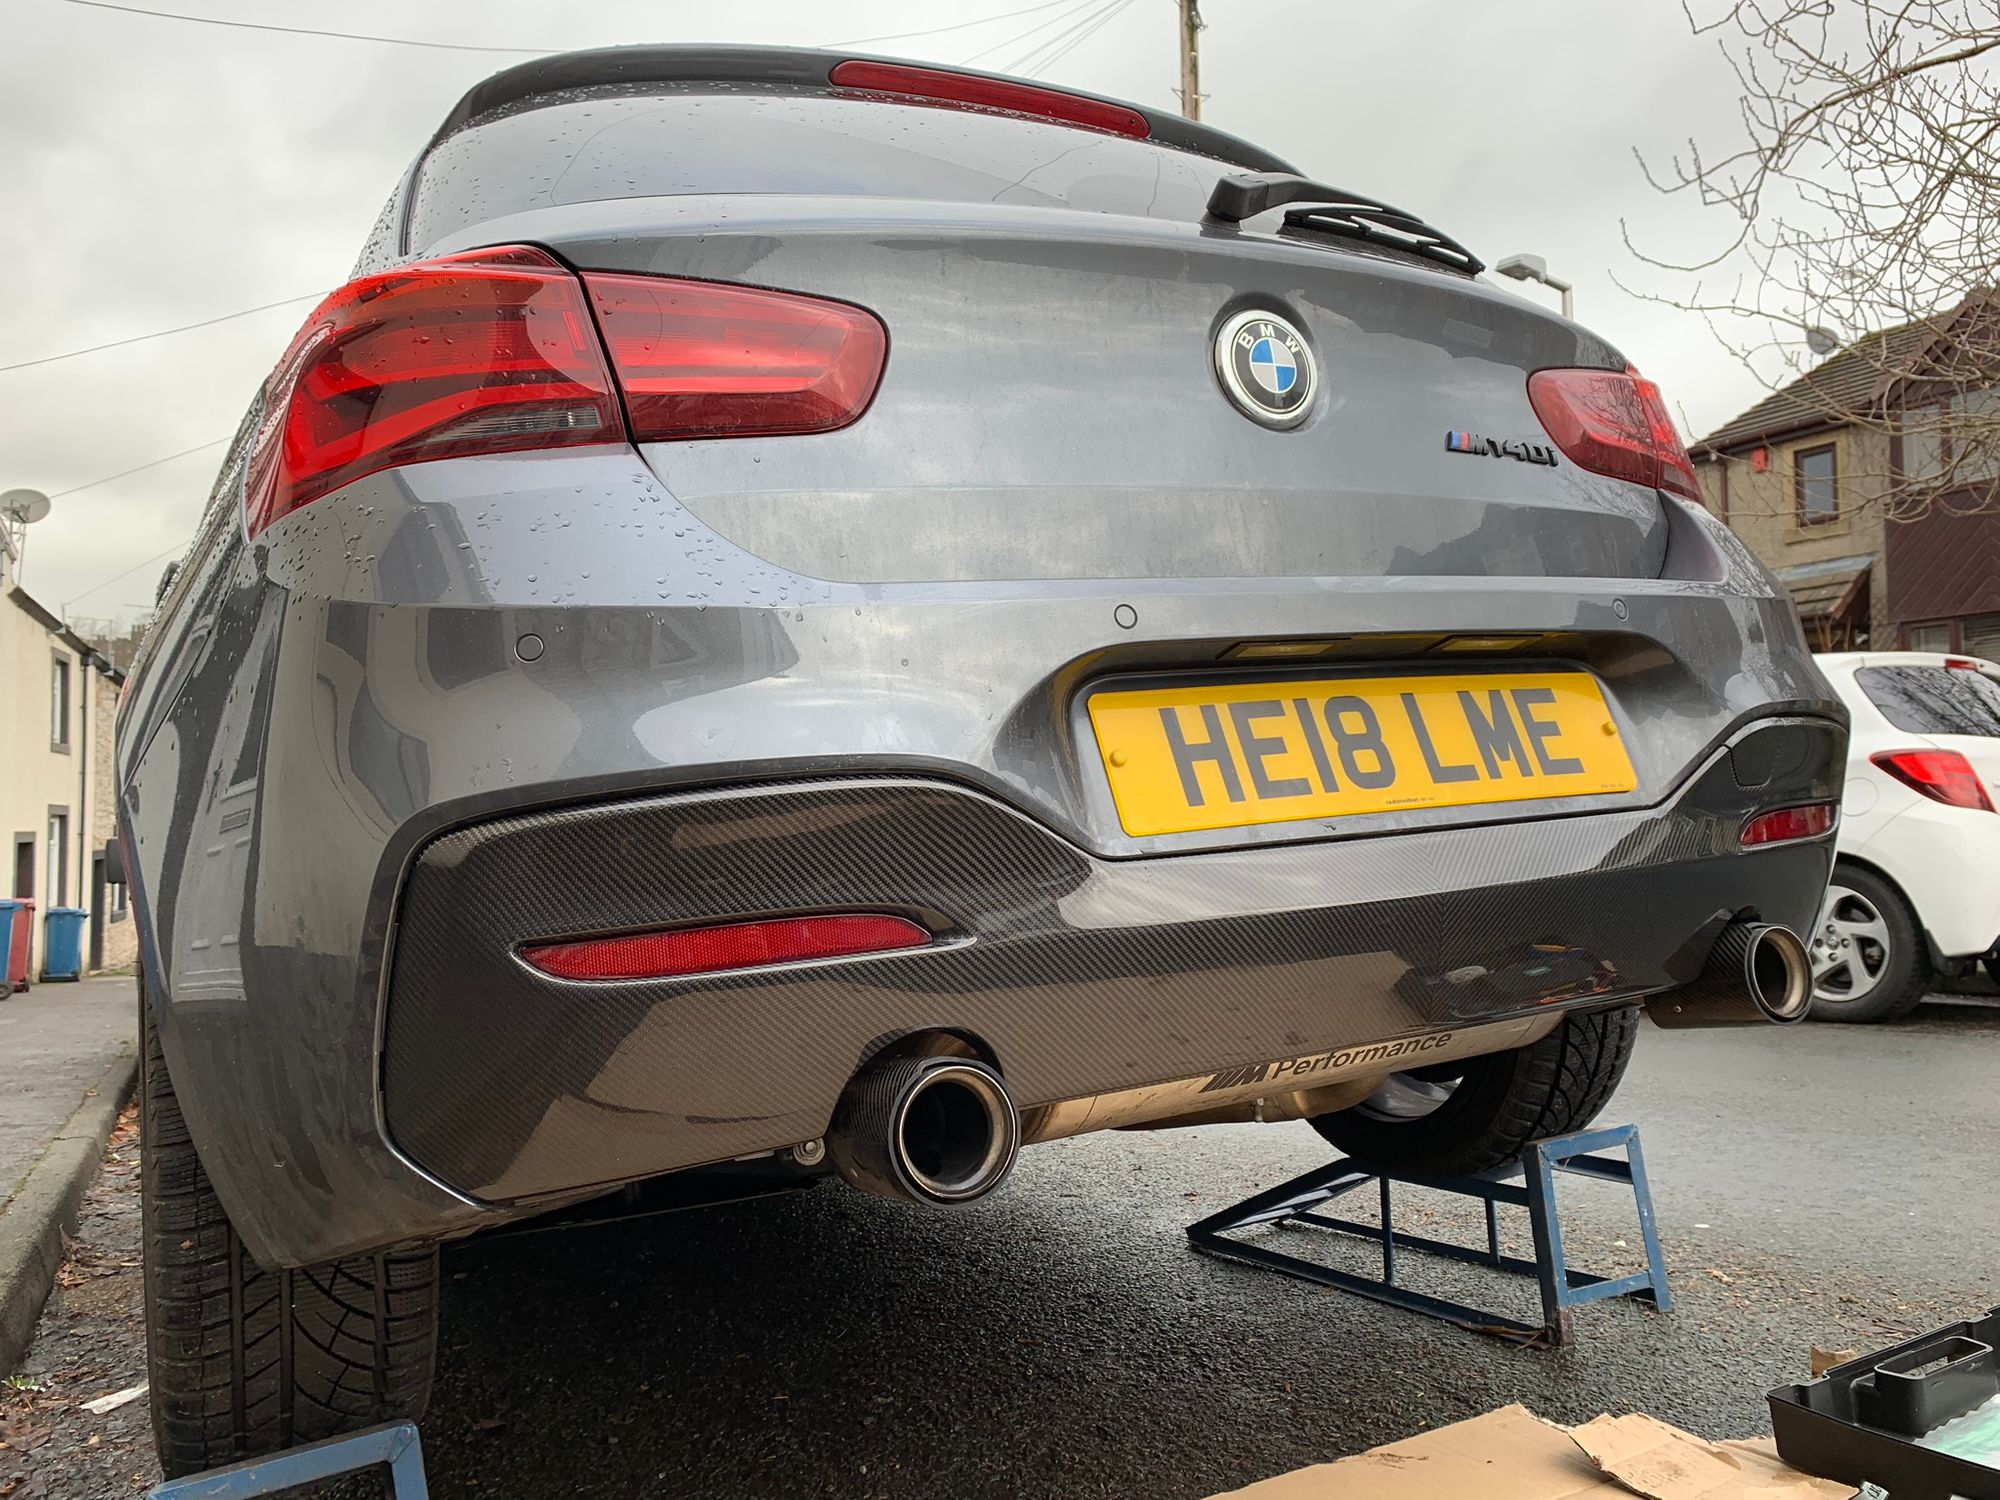
Replacing the diffuser was easy and didn't require a trip to the garage. I have some ramps at home so I backed the car up on to those, but it could be done with the car on the ground too. A simple case of a few bolts and clips to drop out the old one and replace it with the new one, an easy DIY job. I also tinted the reflectors while I was there to take that bright red shine out of them and improve the looks at the back.

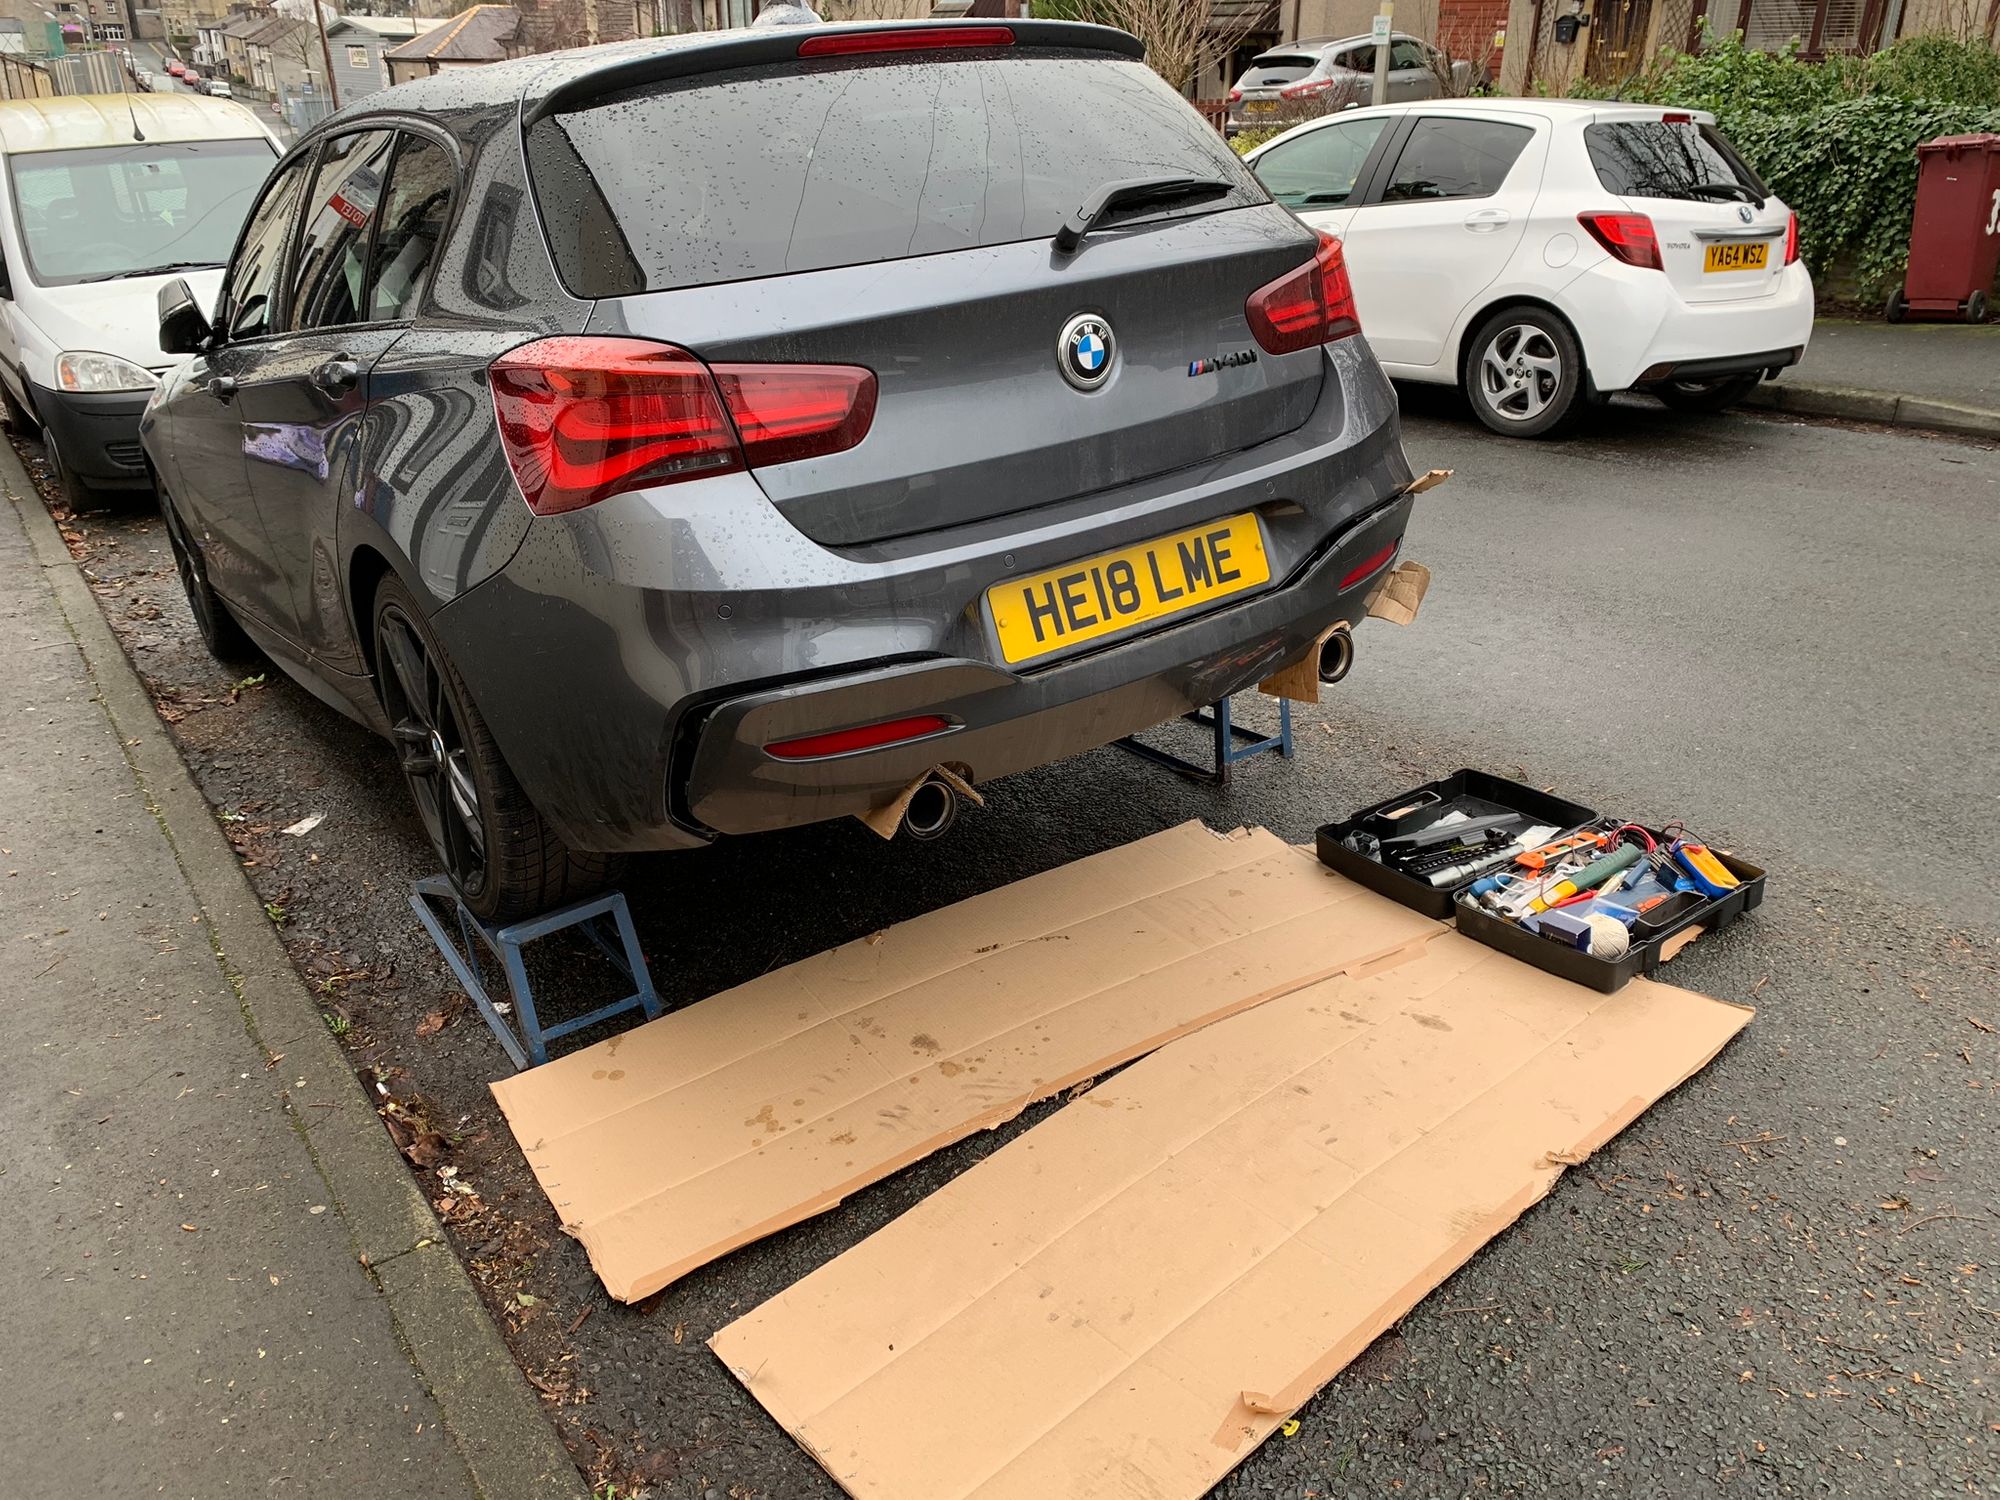
Here's the finished product, installed and ready for a drive.
More gloss black!
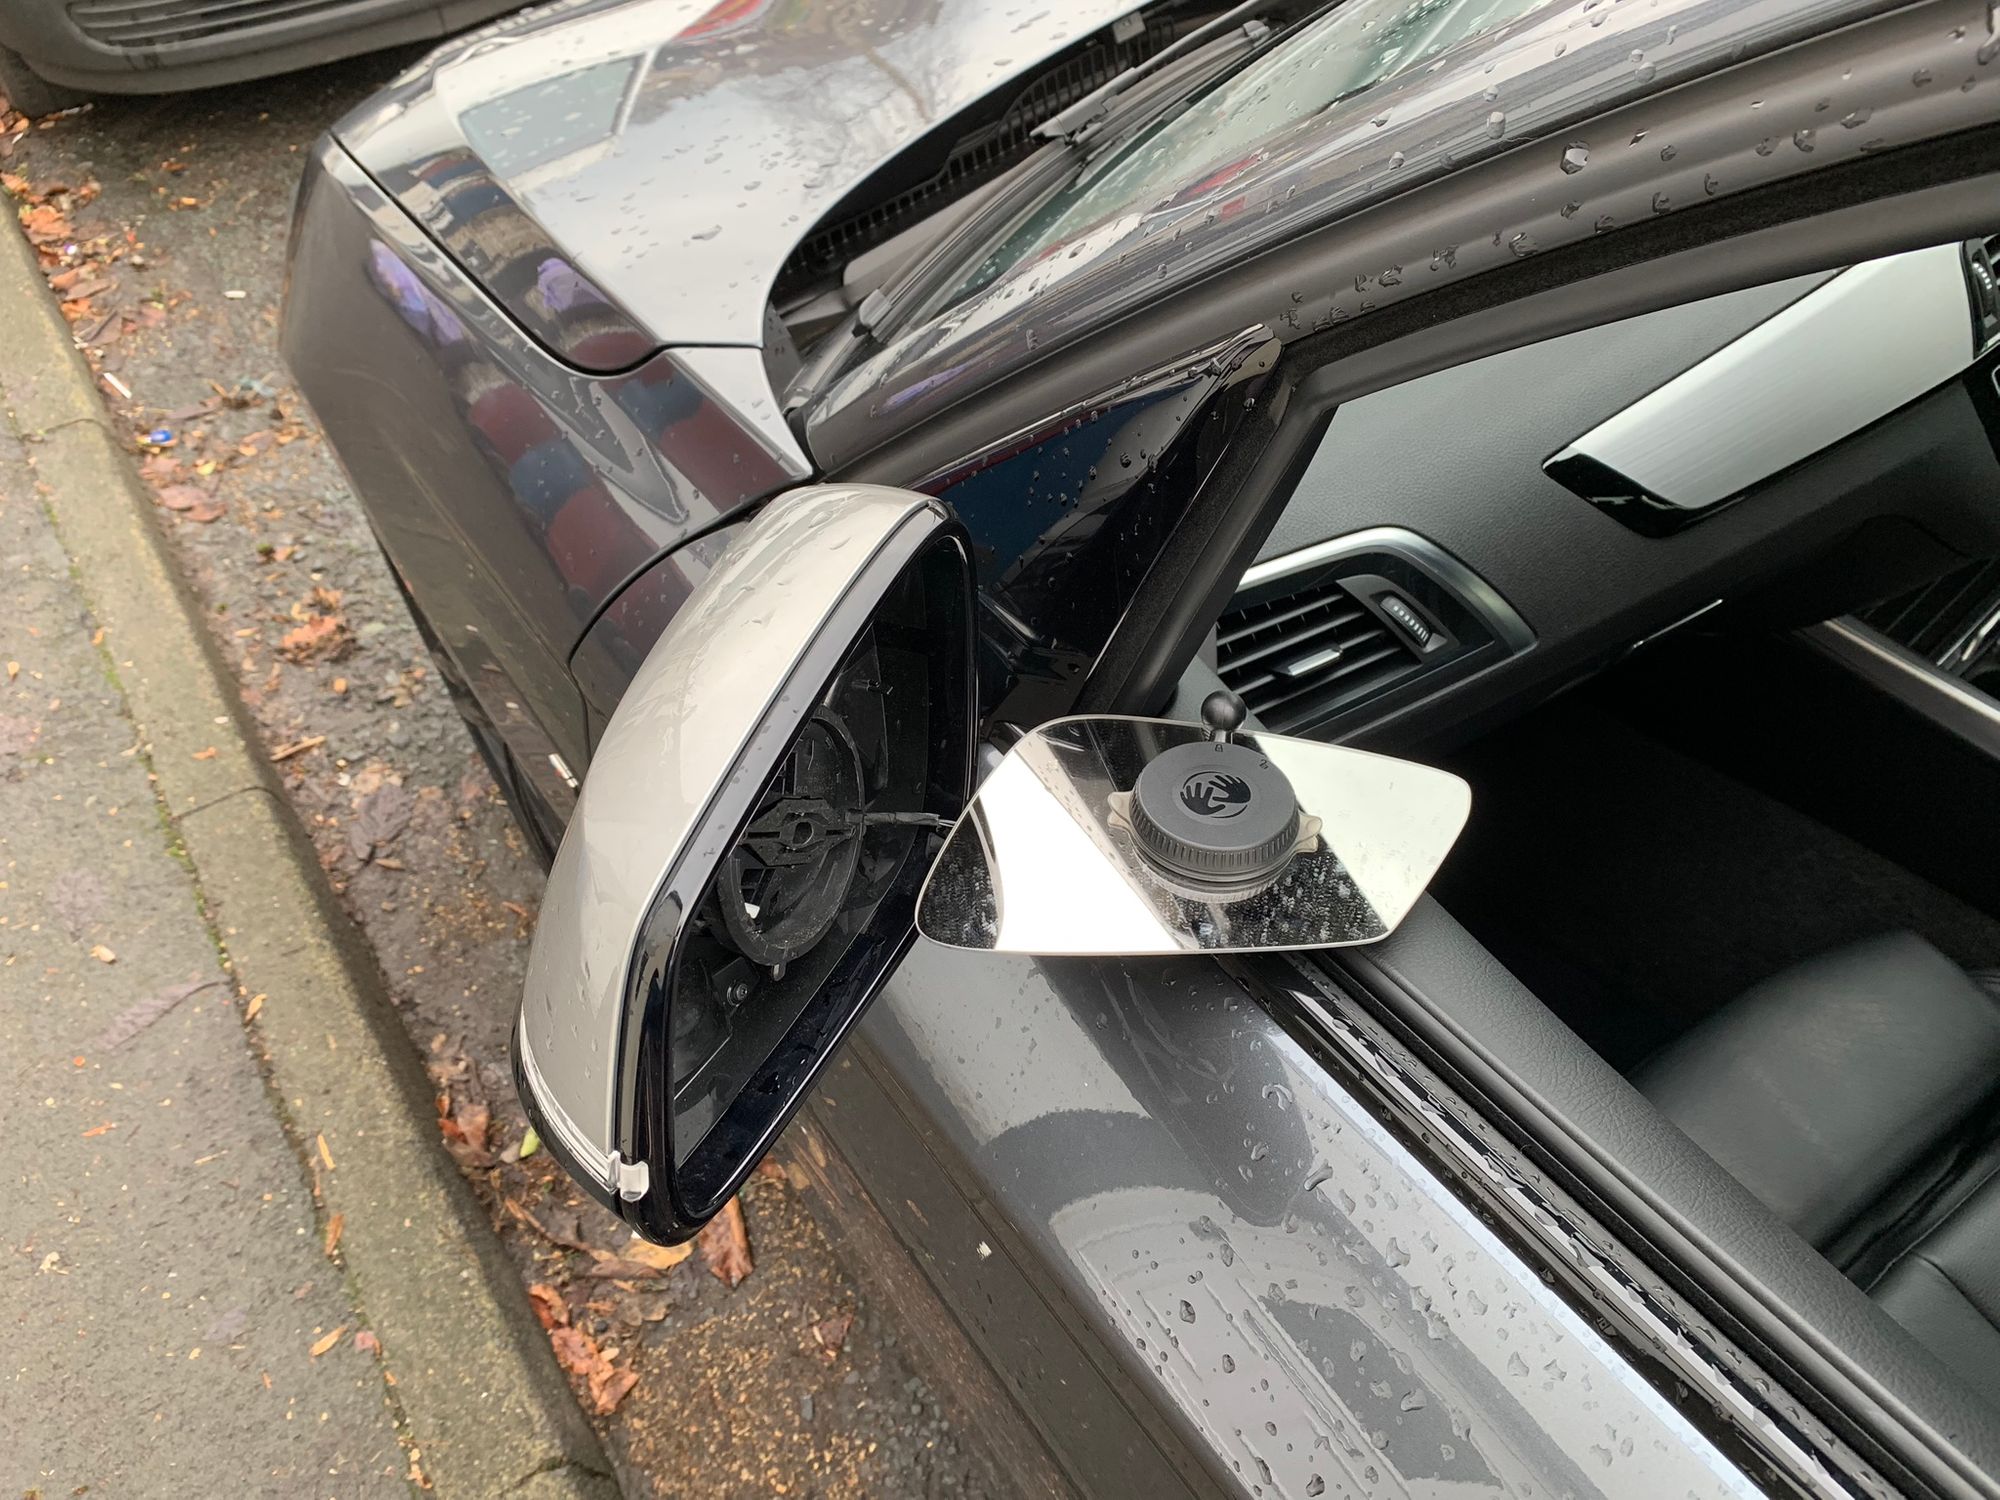
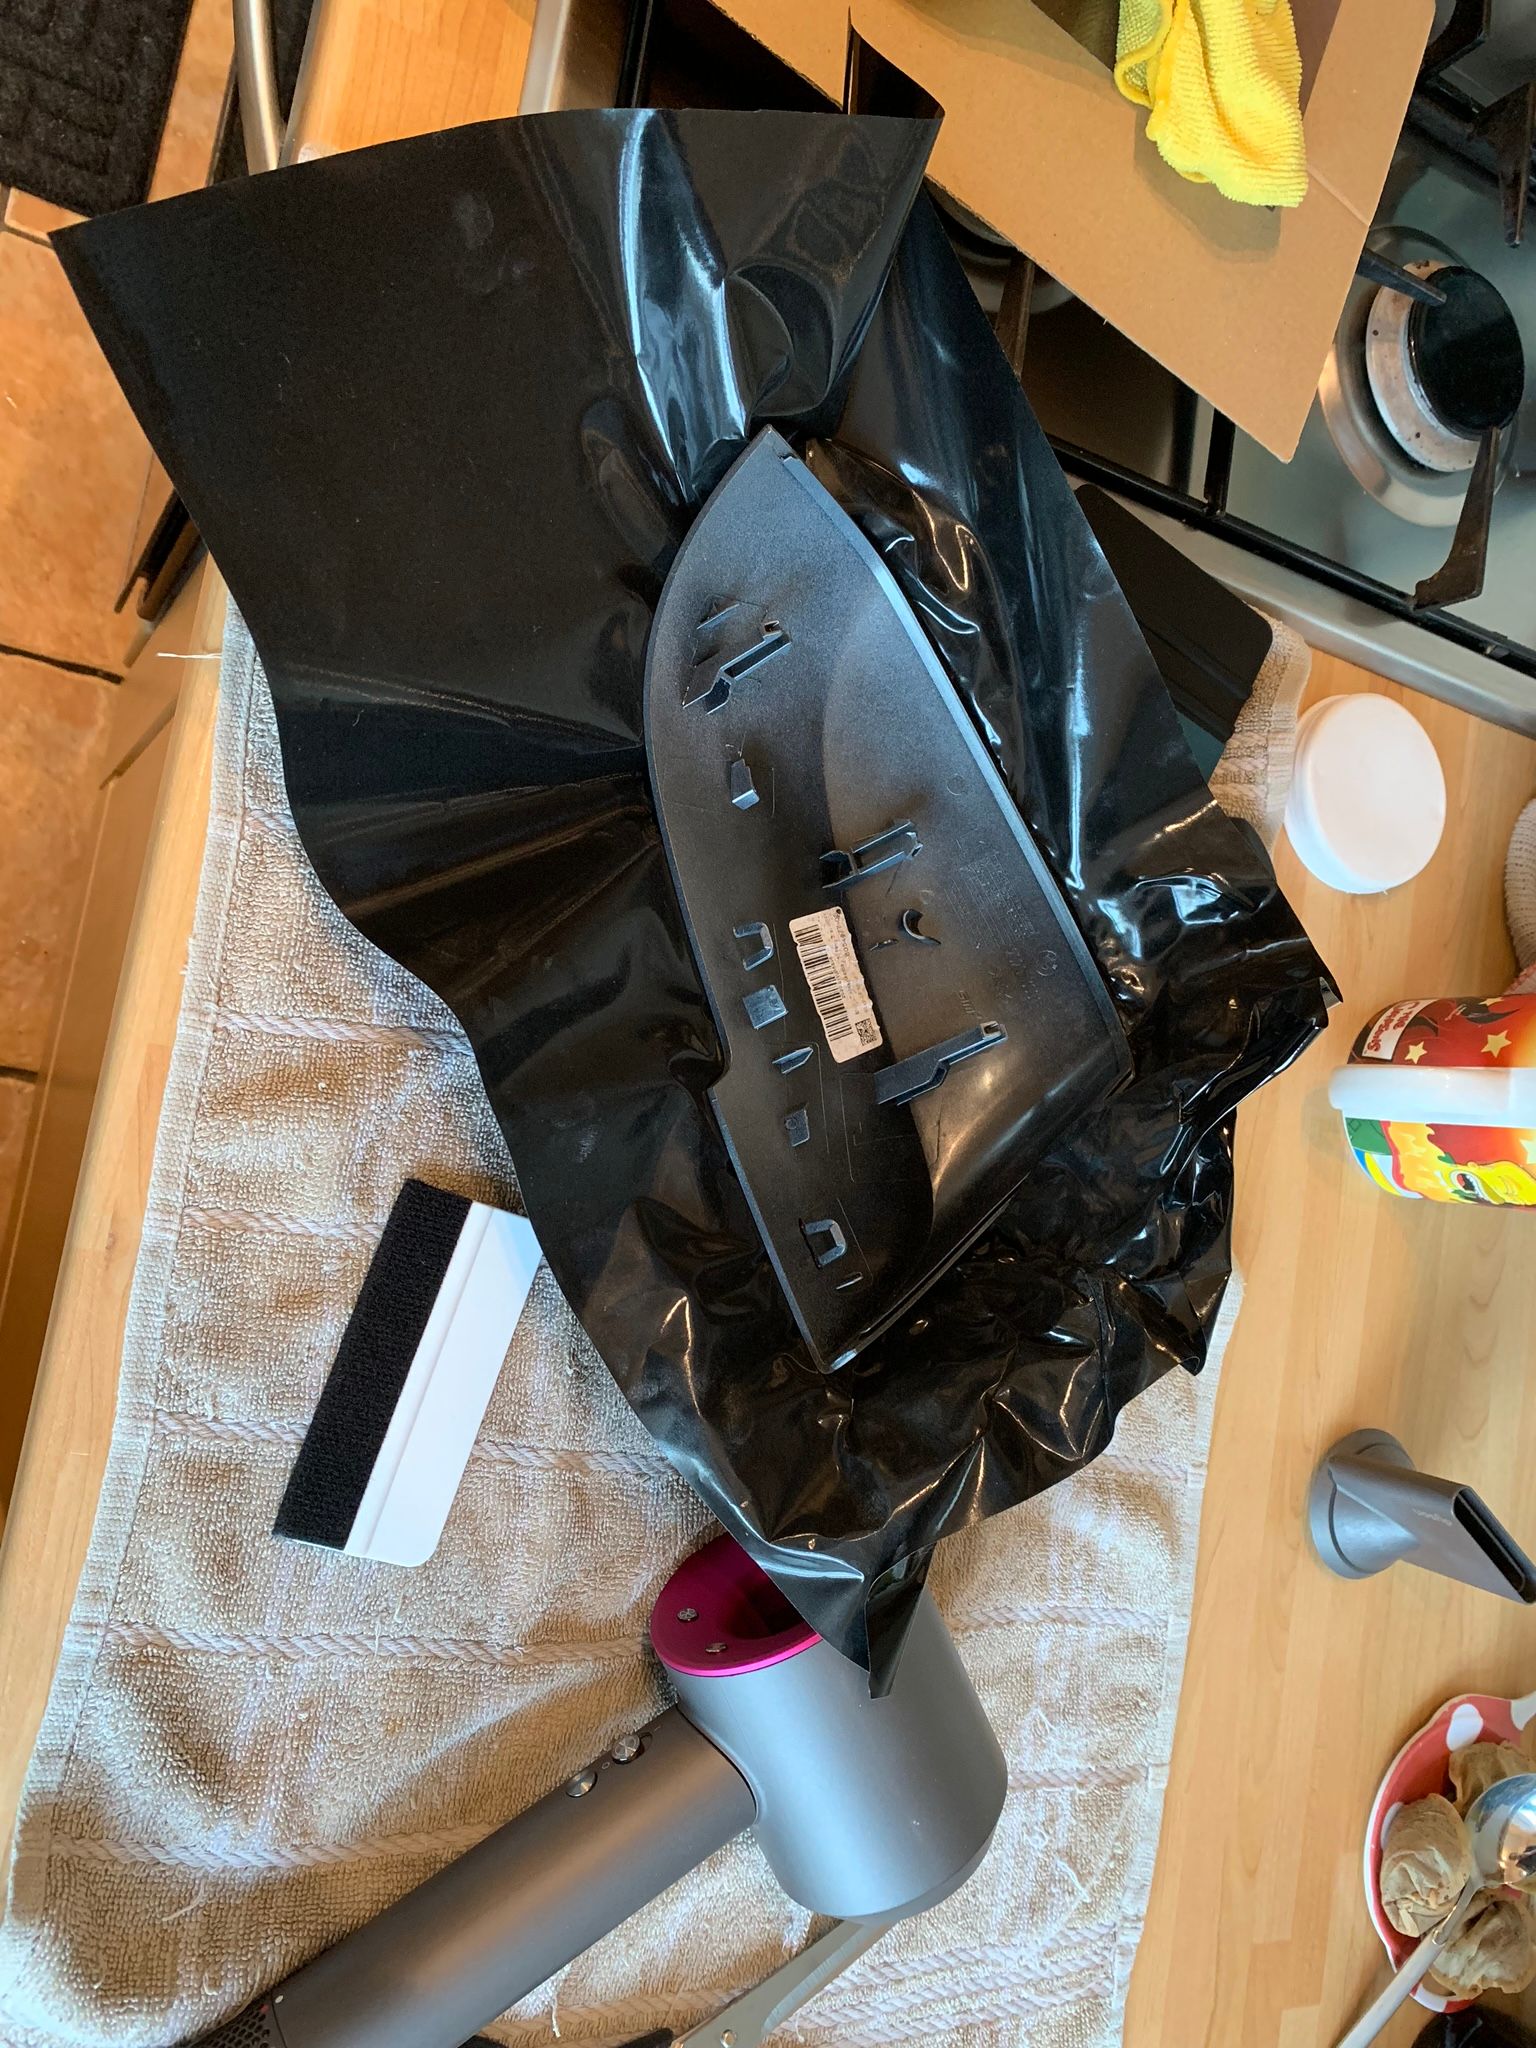
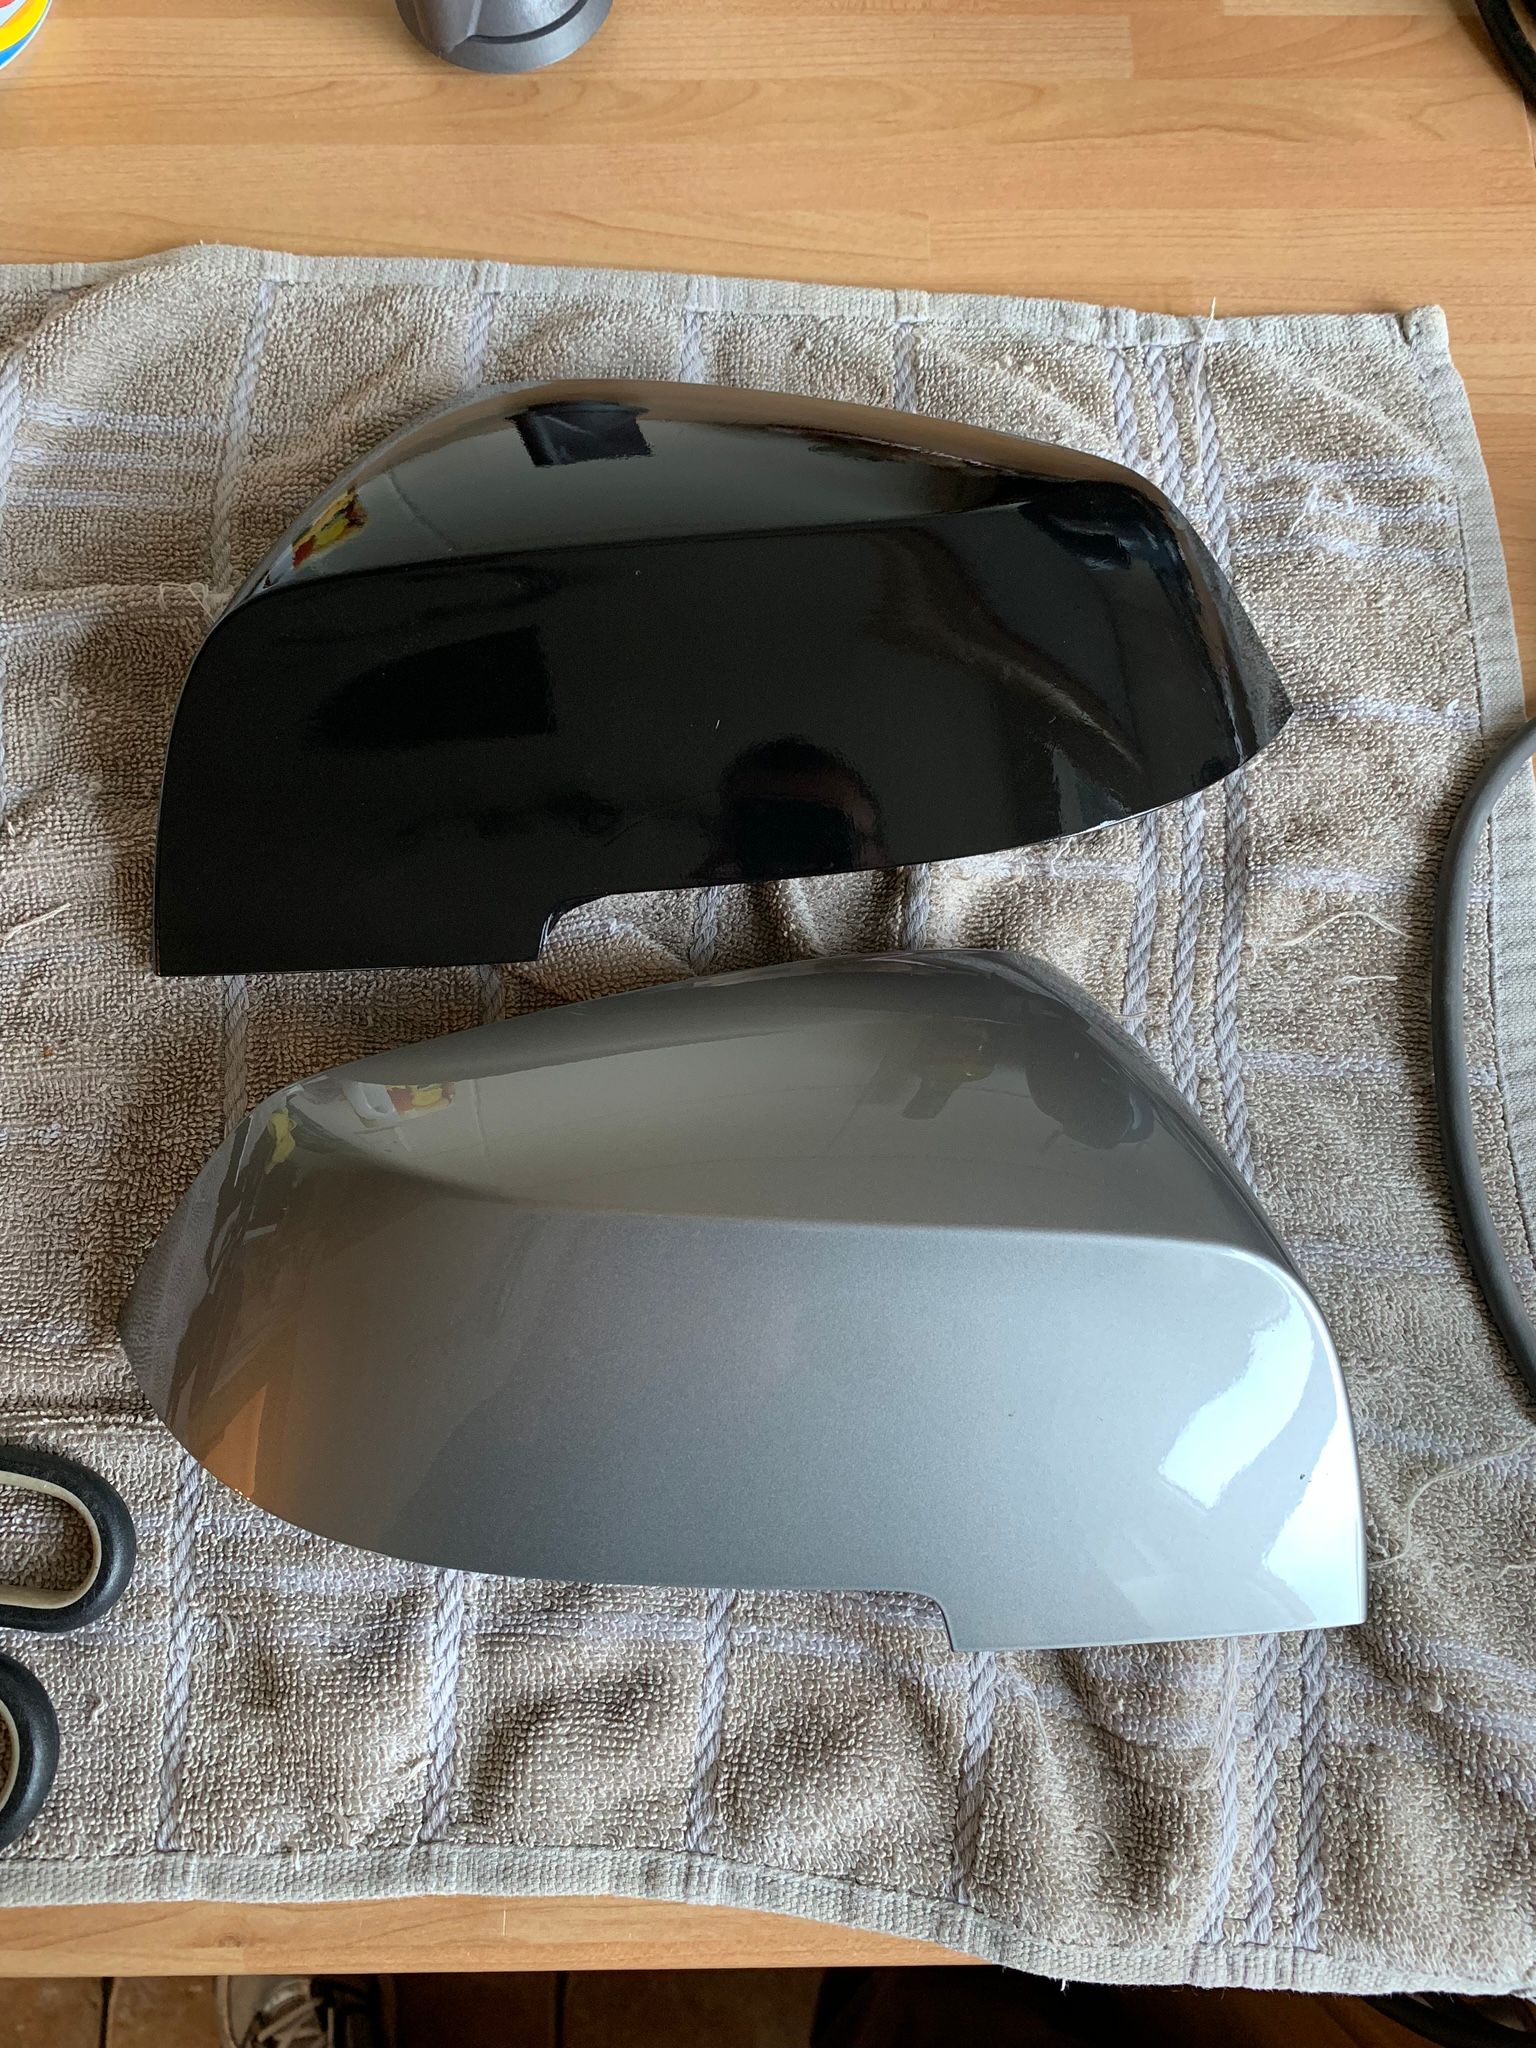
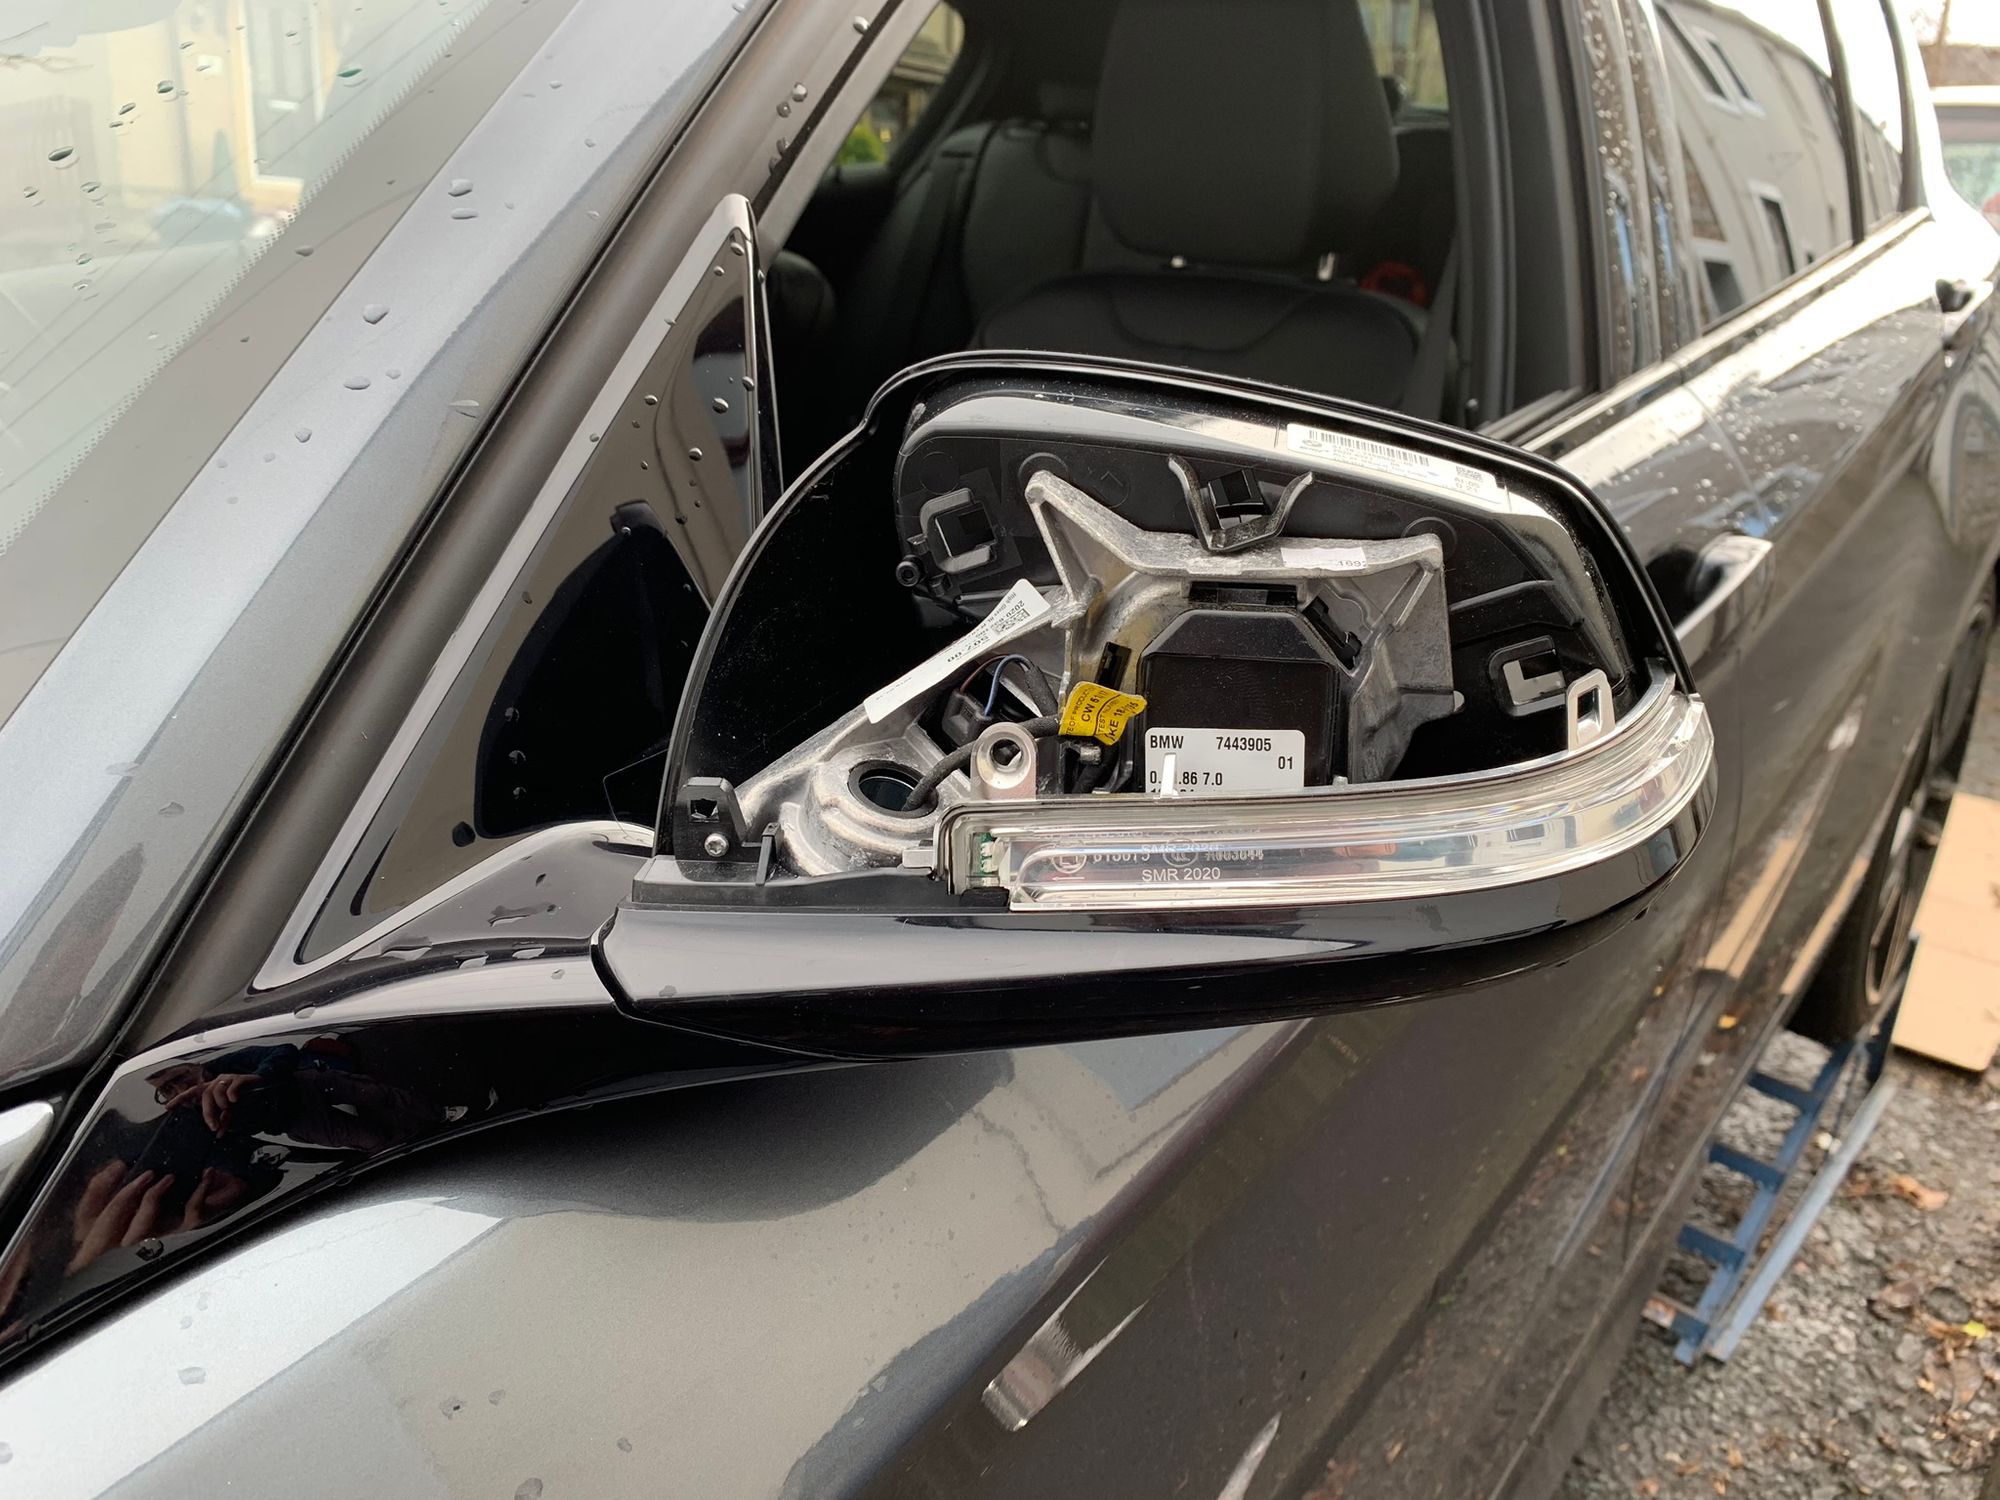
A great option to change the looks of your car is vinyl wrapping. You can change the colour of your entire car and whilst I did consider it, I like the original Mineral Grey too much. I did want to remove some of the silver trim though so I bought a roll of 3M gloss black vinyl and got to work on wrapping some trim pieces. It can be a little tricky to get started but the vinyl wrap is cheap so you can have a couple of attempts if needed. It's also fully reversible so if you make a mistake, or decide you don't like it in the future, it just peels off with a little heat applied. First up was the wing mirror housings which are easy to pop off and wrap.
The other thing that got the gloss black treatment was the canards, or front fins as they are sometimes called.
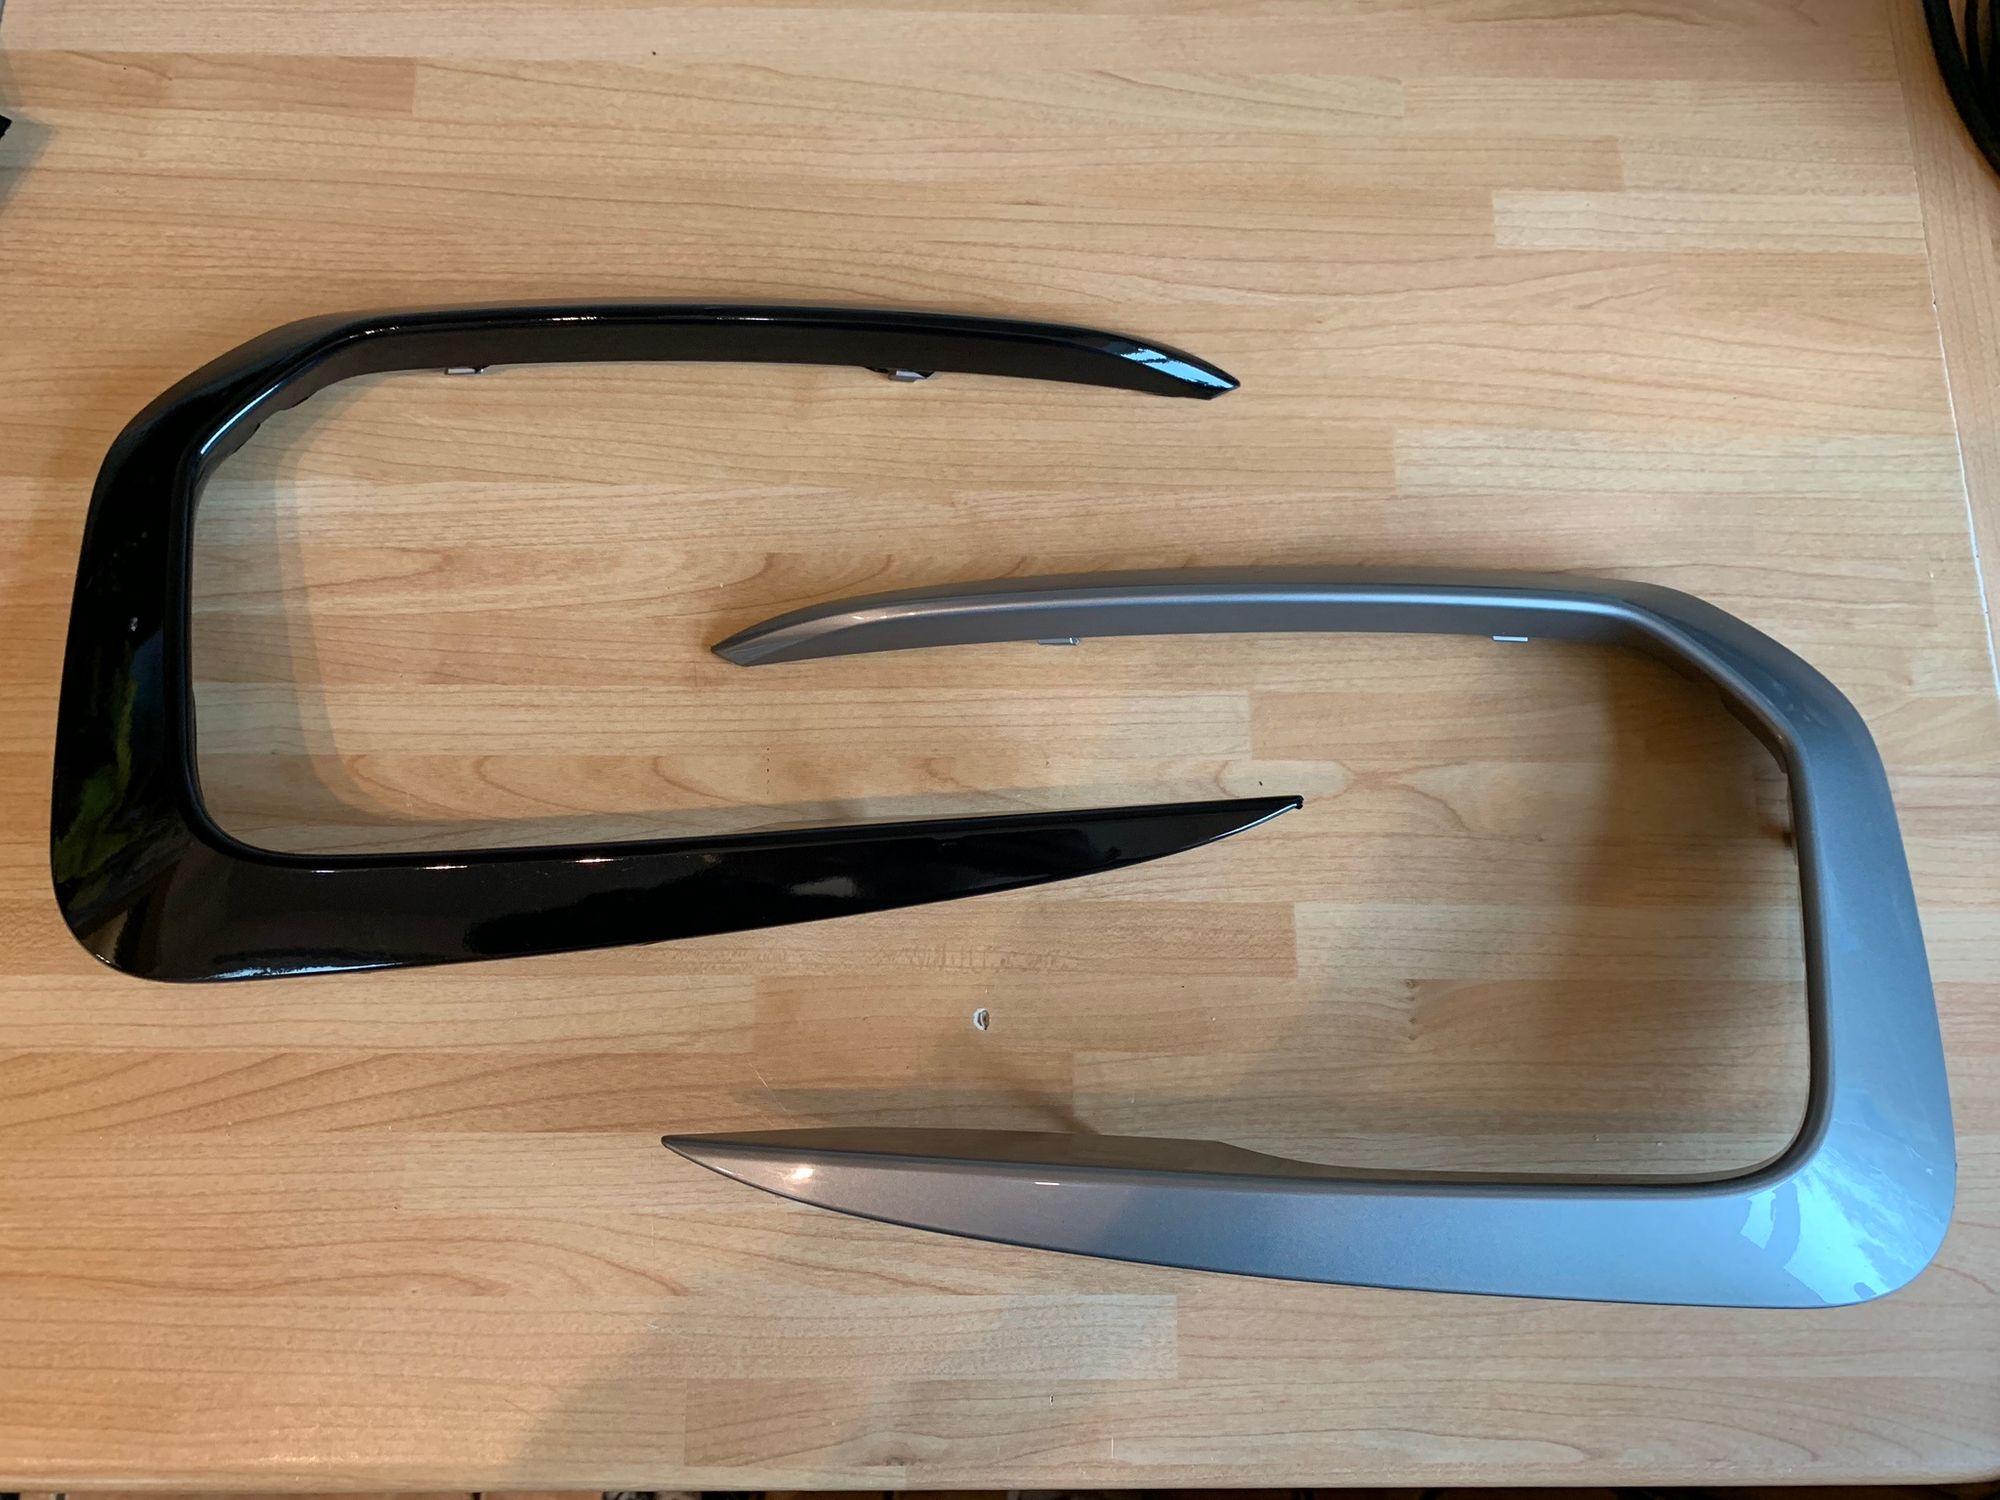
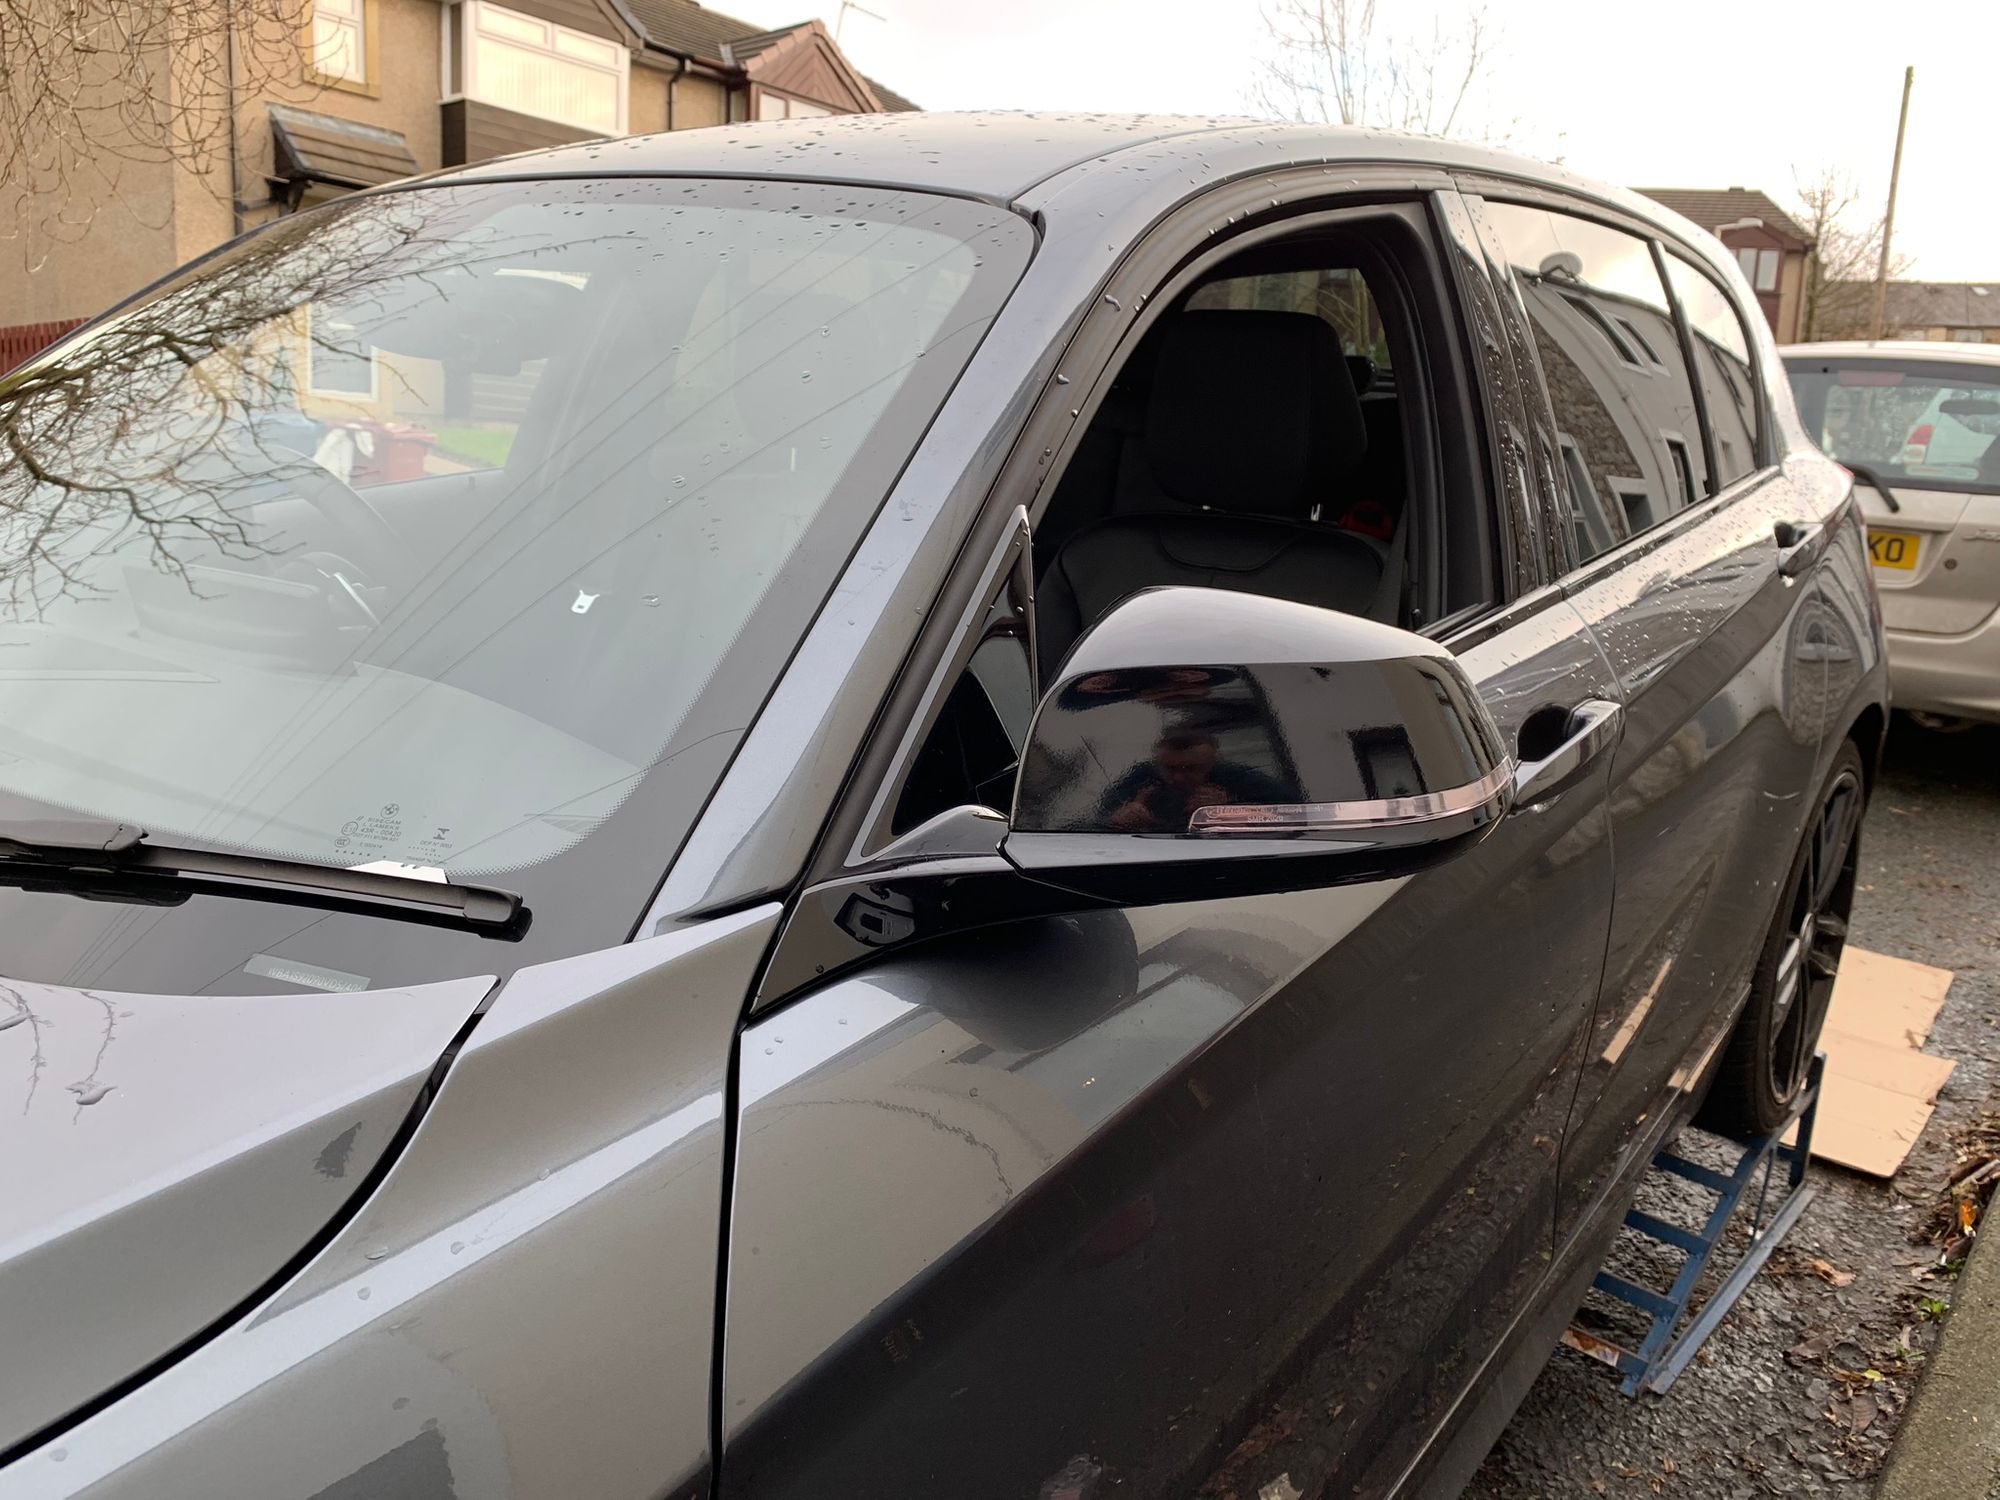
I much prefer the look with those two trim items in black instead of silver, it seems to fit a lot more with the Shadow Edition theme of gloss black around the car. Given that the grille and wheels come with a gloss black option, I'm surprised these parts don't and only come in Ferric Grey. Still, a quick, cheap and easy mod to customise the car so I'm happy!
Maxton Designs Body Kit
Carrying on with the aesthetics and the final modification for Part 1, the next thing was to install a body kit. A body kit is a quick and easy way to bring some significant changes to the look of a car without having to do too much serious work. They're usually relatively cheap and often simple to fit with either adhesive or simple screws/bolts depending on the part. The kit I chose makes the car appear lower to the ground, which gives it a more aggressive look, but without modifying the suspension and potentially compromising the quality of the ride. The gloss black colour I chose also fits in really well with the Shadow Edition theme. Here all of the parts for the body kit.
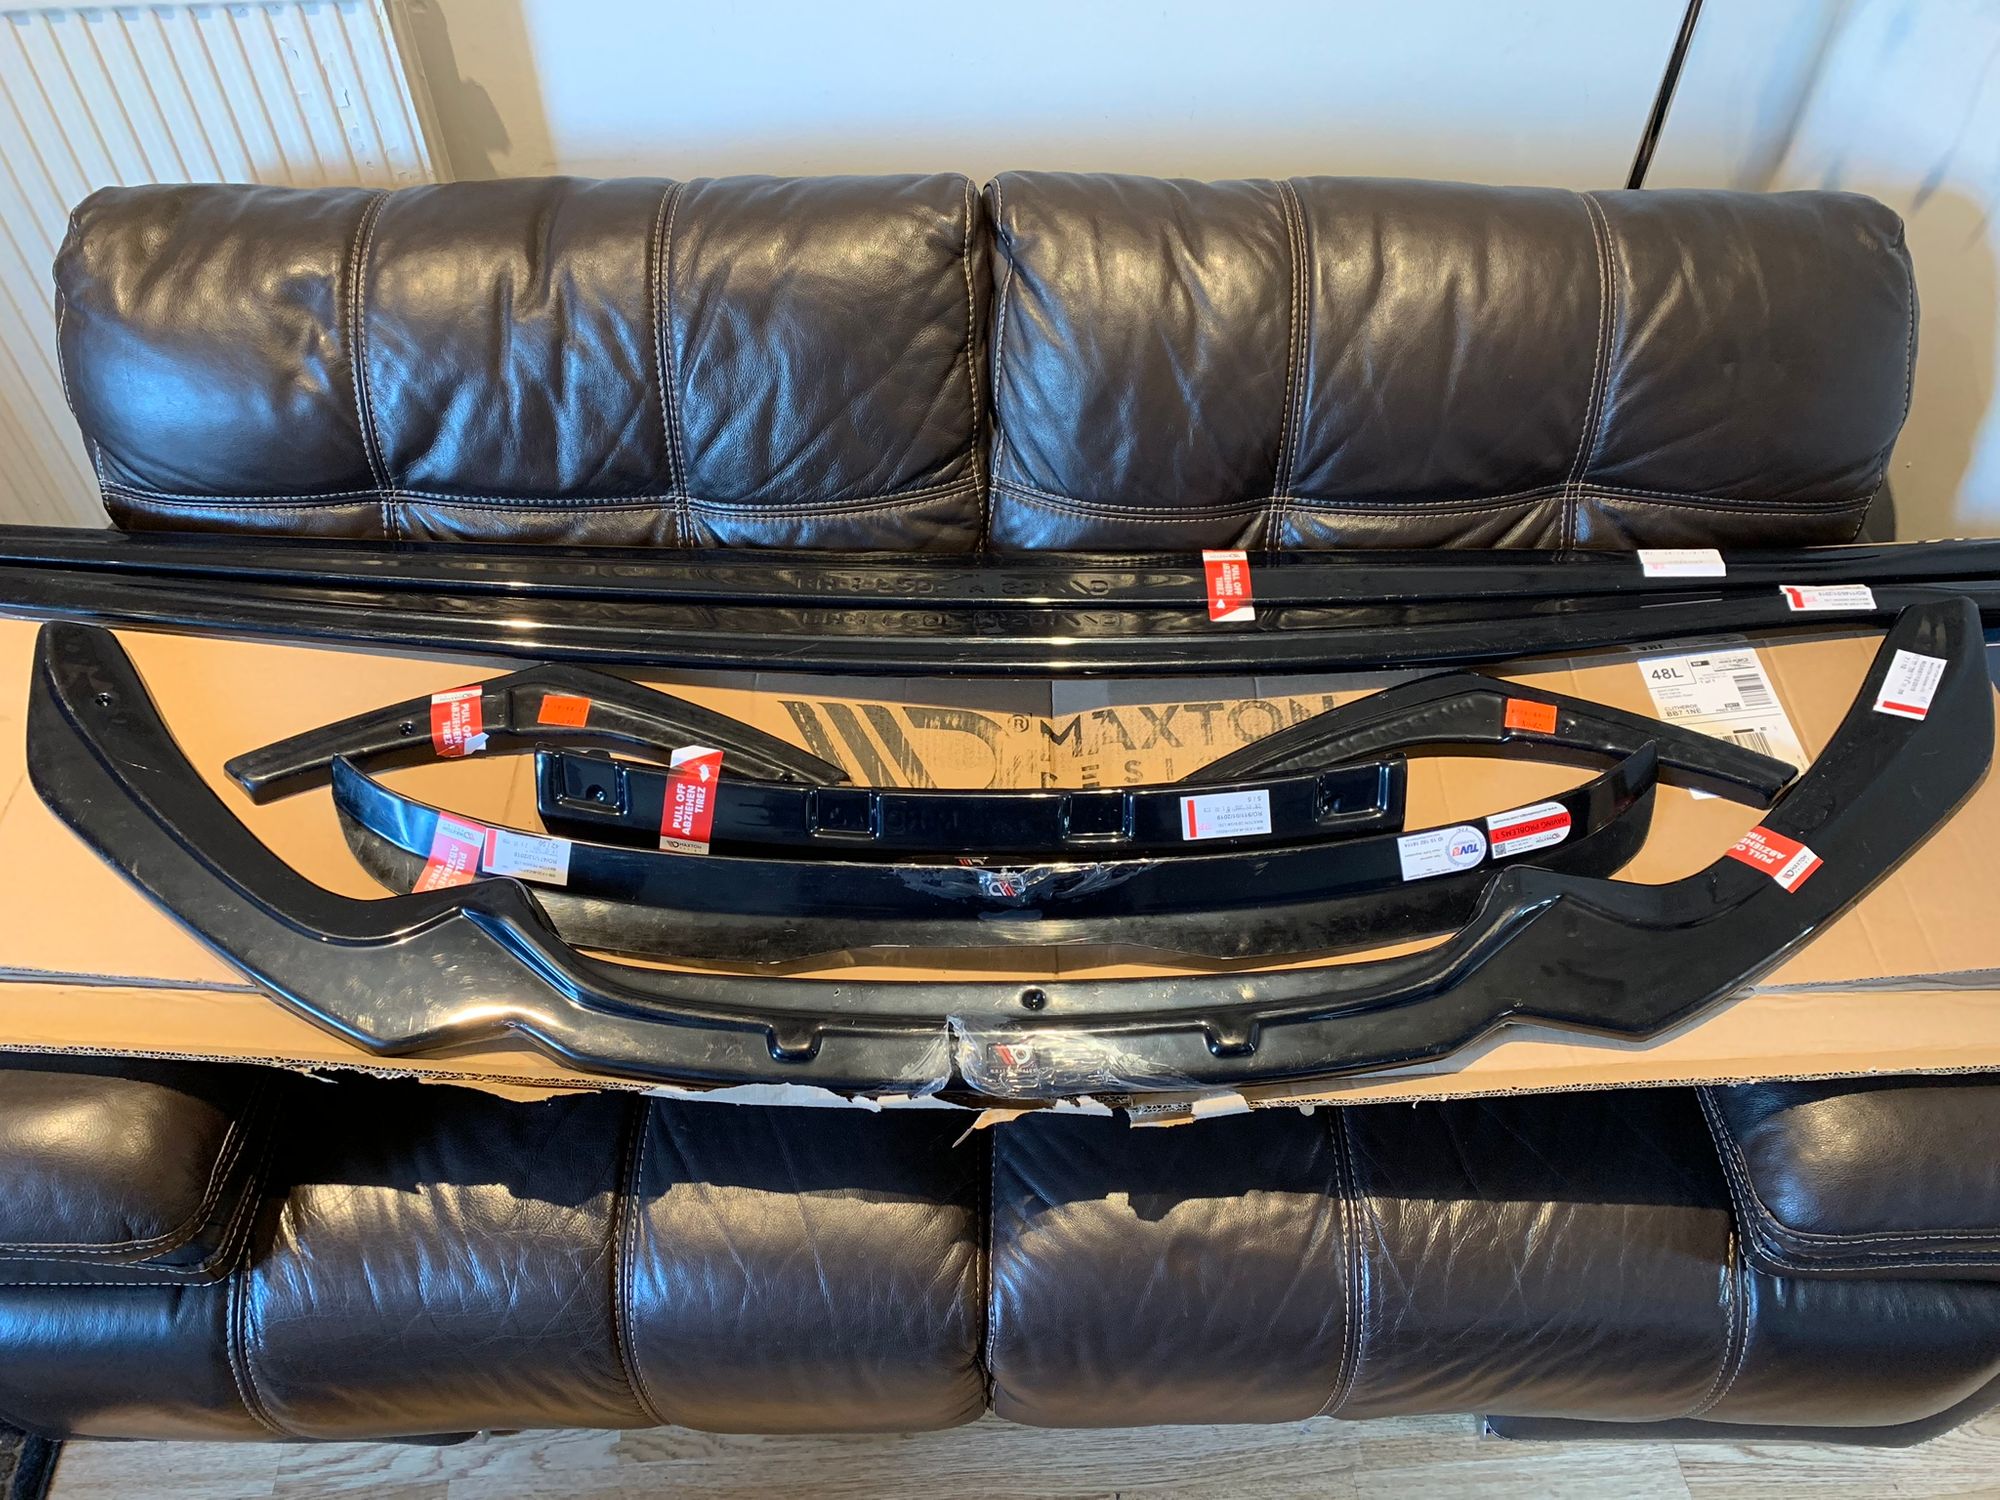
In there we have the front splitter which attaches to the bottom of the front bumper, side skirts which go under the doors on each side, rear central splitter and rear side splitters which go along the rear bumper and spoiler cap which sits along the edge of the boot lid. Whilst this is quite easily a DIY job in terms of the skills and tools needed, it can be made significantly easier with a proper ramp to get the car in the air and work from underneath it. I took it to a friend at a local garage and had him do the work for me and here's the finished product.
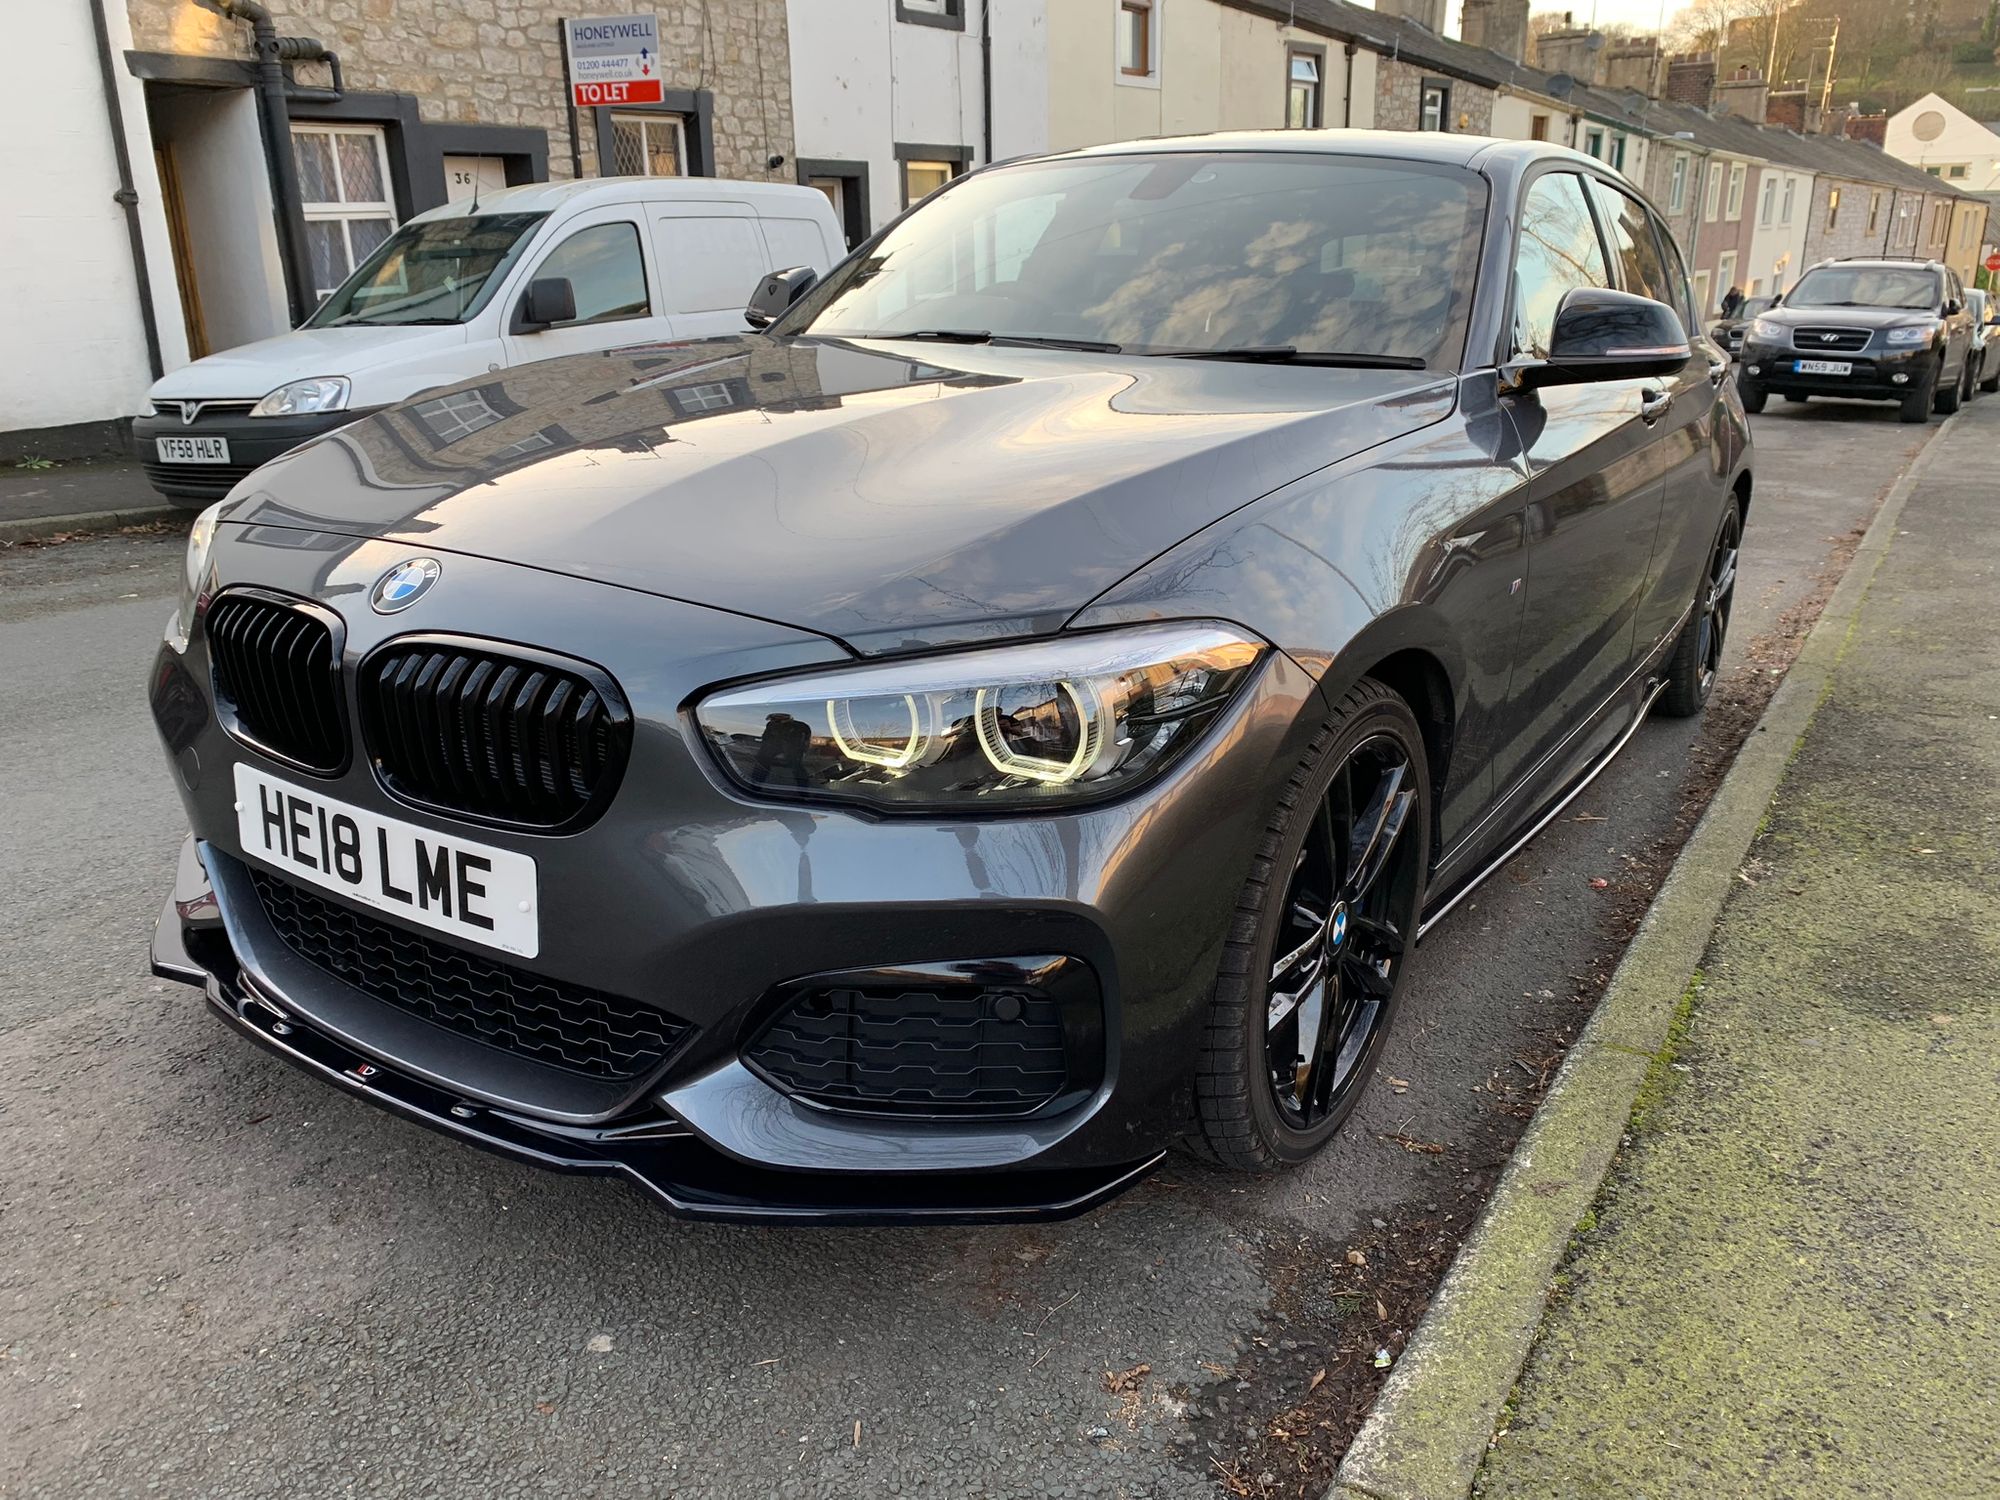
you can see the kit now wrapped around the bottom of the car and it does quite significantly change the look. Overall it looks lower to the ground and the front end does look a lot more aggressive with that splitter protruding out.
More to come!
Whilst that's everything for Part 1, I think I've already made some significant changes to the aesthetics of the car and started to personalise it. Without spending a lot of money I've managed to give the car a much more aggressive look and take out a few of the silver trim items I wasn't fond of. There's a list of the parts and where I got them below if you want some inspiration for your own project! Coming up in Part 2 are a few more minor cosmetic modifications and the start of the performance modifications! Stay tuned... (see what I did there? ;)
Parts
Here's a list of all the parts I mentioned in Part 1 and where you can grab them.
Motech Performance Red Stop/Start Button
AutoID Carbon Fibre Rear Diffuser
Maxton Designs Rear Central Splitter
Maxton Designs Rear Side Splitters
View all of the other blog posts here: The BMW M140i Project Series