
Digging into the 7th part of this series now and it's time to visit the chassis and handling again. Making a car go fast isn't just about more power, which is great for going in a straight line, but also about cornering which is just as important. On top of that I'm going to do some more software based reprogramming on the transmission, so read on!
The Series
After already making some really noticeable improvements to the handling of the car in previous parts of this series, I wanted to push a little further in the handling department. When you make handling improvements to a car it is really awesome to sit in the driver's seat and actually feel them translate into real differences when enjoying driving. Coupled with the improvements to handling will be some improvements to the ZF 8HP automatic transmission to make gear changes a lot snappier.
Further chassis improvements
After retrofitting the brace from the F21 in Part 4, there was a very notable improvement in the handling of the car. The brace neutralised a lot of the 'squirm' from the back of the car when under hard acceleration which made it feel so much more planted and predictable. Any small amount of flex in the chassis would result in the car pulling one way or the other and it makes applying the power more hesitant as you're not exactly sure what the back of the car is doing, it's not the best. With the improvements from the F21 brace I wanted to go further with a full brace kit which involves following a similar principle of making the chassis more rigid, but in more locations.
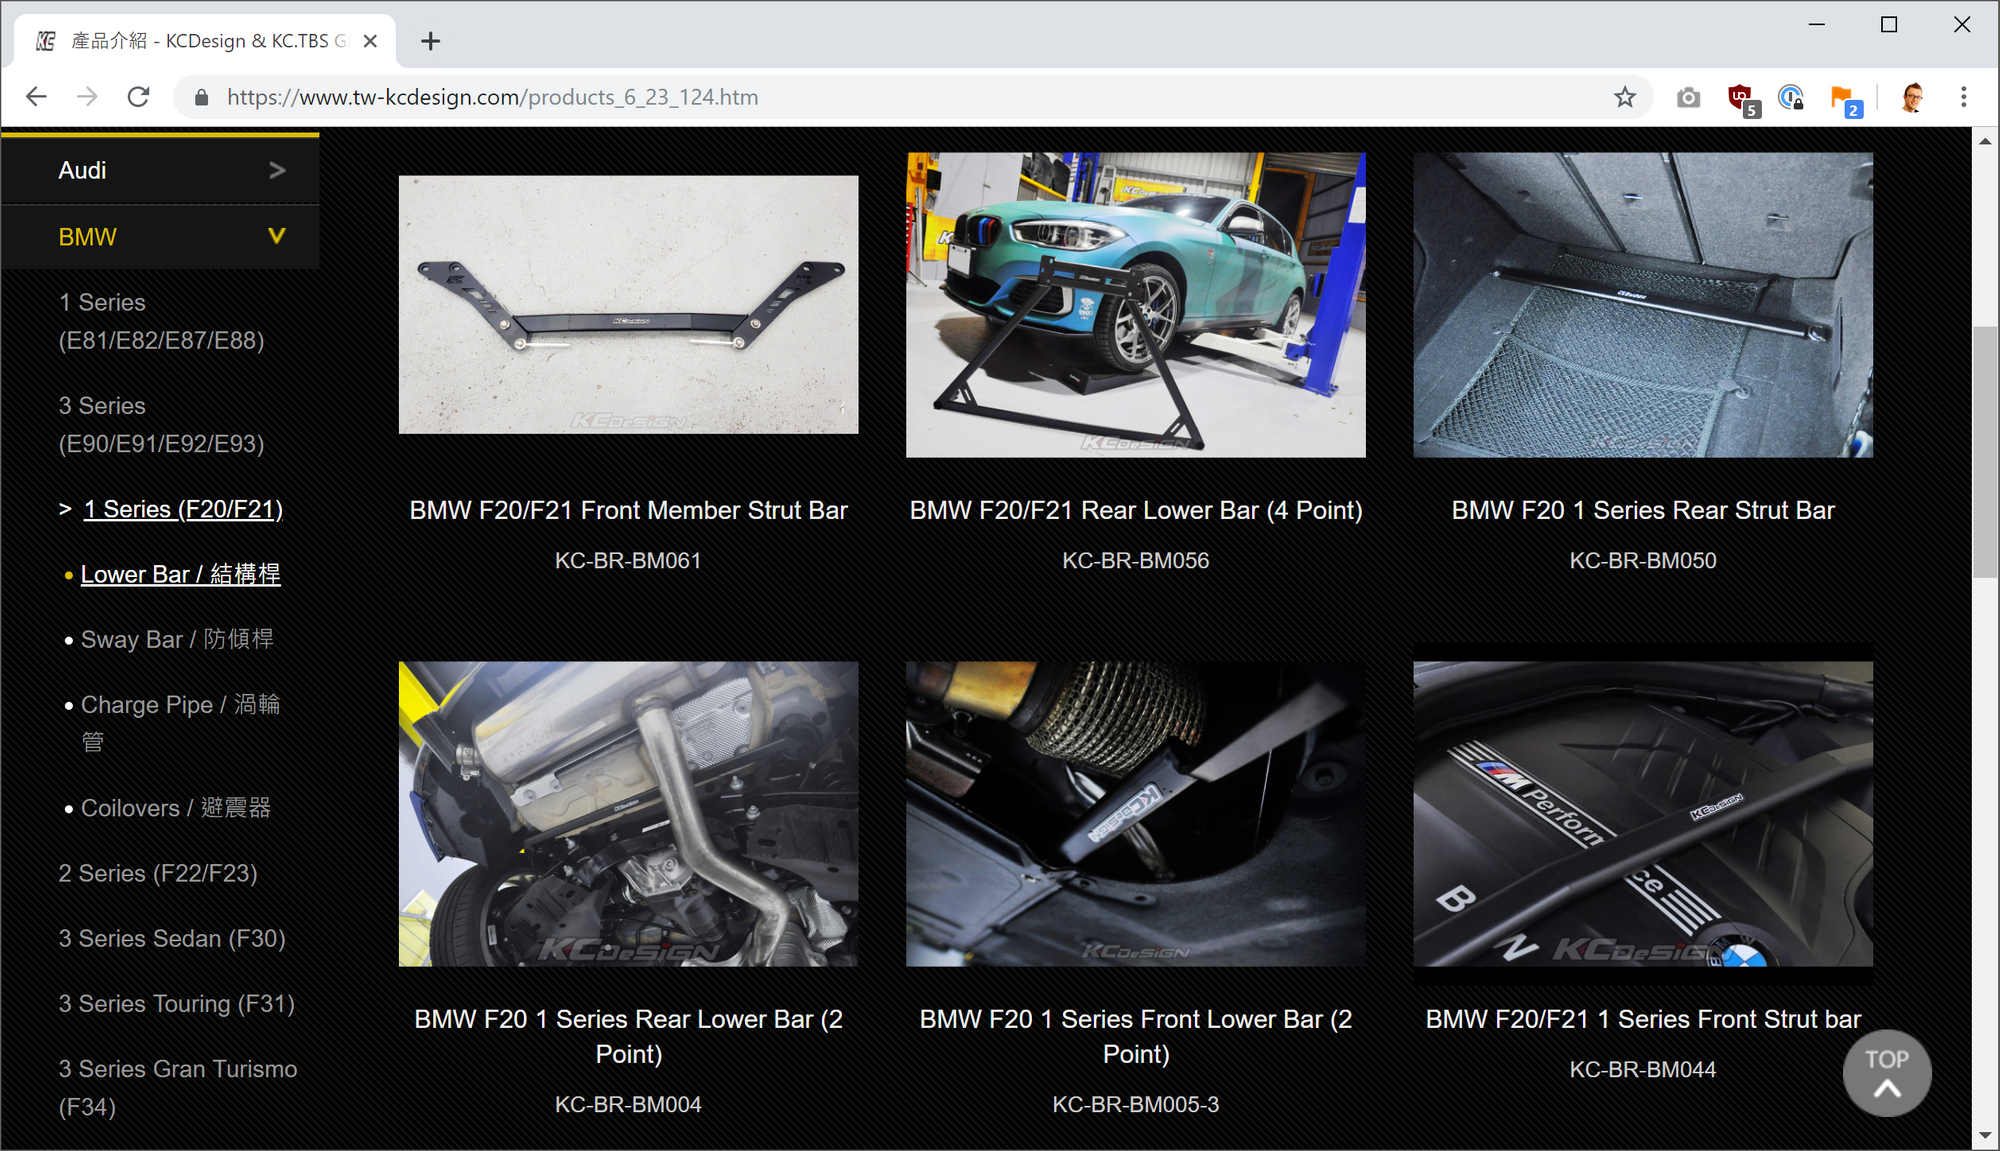
KC Design, based in Taiwan, make various different braces for the F20 including their own version of the F21 that I bought from BMW. I decided if I was going to be ordering from them and paying for the international shipping I may as well go all in and get the entire brace kit. You can see the brace kit on their website here and it includes options for:
Front slam panel brace (Front Member Strut Bar)
F21 replacement brace (Rear Lower Bar)
Boot floor brace (Rear Strut Bar)
Rear subframe brace (Rear Lower Bar)
Front underbody brace (Front Lower Bar)
Front strut brace (Front Strut Bar)
I decided to go for everything except the rear lower bar as I already have the F21 transplant brace mentioned above but the goal here is to stiffen up the rear even more and improve the steering at the front too. This is a lot of chassis bracing to add to the car and the kit is any good, the changes should be noticeable.
The process of fitting any of these parts isn't too complicated and can be boiled down to removing some bolts, put the new brace in place and put the bolts back. That's all a brace requires for fitting, but the problem is getting to some of the places where they need fitting, like under the car! For this the car needs to go on a lift (which means buying a good friend of mine yet more beers) and then we hear the dreaded phrase that makes my wallet cry: "While you're in there".
This phrase is often muttered by car enthusiasts and makes absolute, 100% sense, but inevitably costs you more money. If you're putting the car on a lift or doing a job that required removing a lot of components and a lot of labour, there are other little tasks you can do "while you're in there". As a quick example, let's say you were to take 2 hours dismantling parts of the engine to replace a single part, and right next to it is another cheap part that you could replace as preventative maintenance. Would you replace it? If that cheap part fails in the future it's going to be very expensive to replace because of the hours of labour, but if you replace it "while you're in there" it only costs the price of the part as you're already there! See how this gets more expensive quite quickly? The reason I haven't shown any pictures of fitting the braces yet is that I decided to do something else... while you're in there...
Powerflex Bushes
Given that I had the car in the air and I was working on and around suspension components to fit the brace kit, my "while you're in there" job was a set of new Powerflex Bushes. A 'bush' is a rubber cushion that sits between two metal components that are bolted together in the suspension system. Rather than have a hard joint between two metal parts that are bolted together, the rubber bush acts as a cushion and allows for a smooth ride with less banging and bumping translating through the mounting point. Great for a smooth ride, but rubber parts have flex, and flex can result in less precise handling and we remember the aim of this section, right?
Powerflex make either full replacement bushes, or, what I went for, bush inserts. The inserts sit inside the spaces inside the original bushes which allow the bush to flex and move. By filling those spaces you make the bush more rigid, resulting in better handling and a firmer ride.

Whilst it's true the bushes (or inserts) are more rigid and give better handling, they do make the car a little less forgiving on the comfort side of things. With less things to 'squish' and absorb/cushion bumps, you're going to feel those bumps just a little bit more but the improvement in how the car handles is more than worth it. Another thing I have working in my favour is that the car has adaptive dampers. When adjusting driving modes between Eco, Comfort, Sport, Sport+, Traction and Kill Me Now (DSC Off), not only does the ECU adjust things like throttle response, steering response and power output, it can also adjust how hard the suspension is. This means if I want a nice comfortable ride I can put the car in Eco mode and barely feel bumps on the road or I can put it in Sport+ and it will handle like a GoKart!
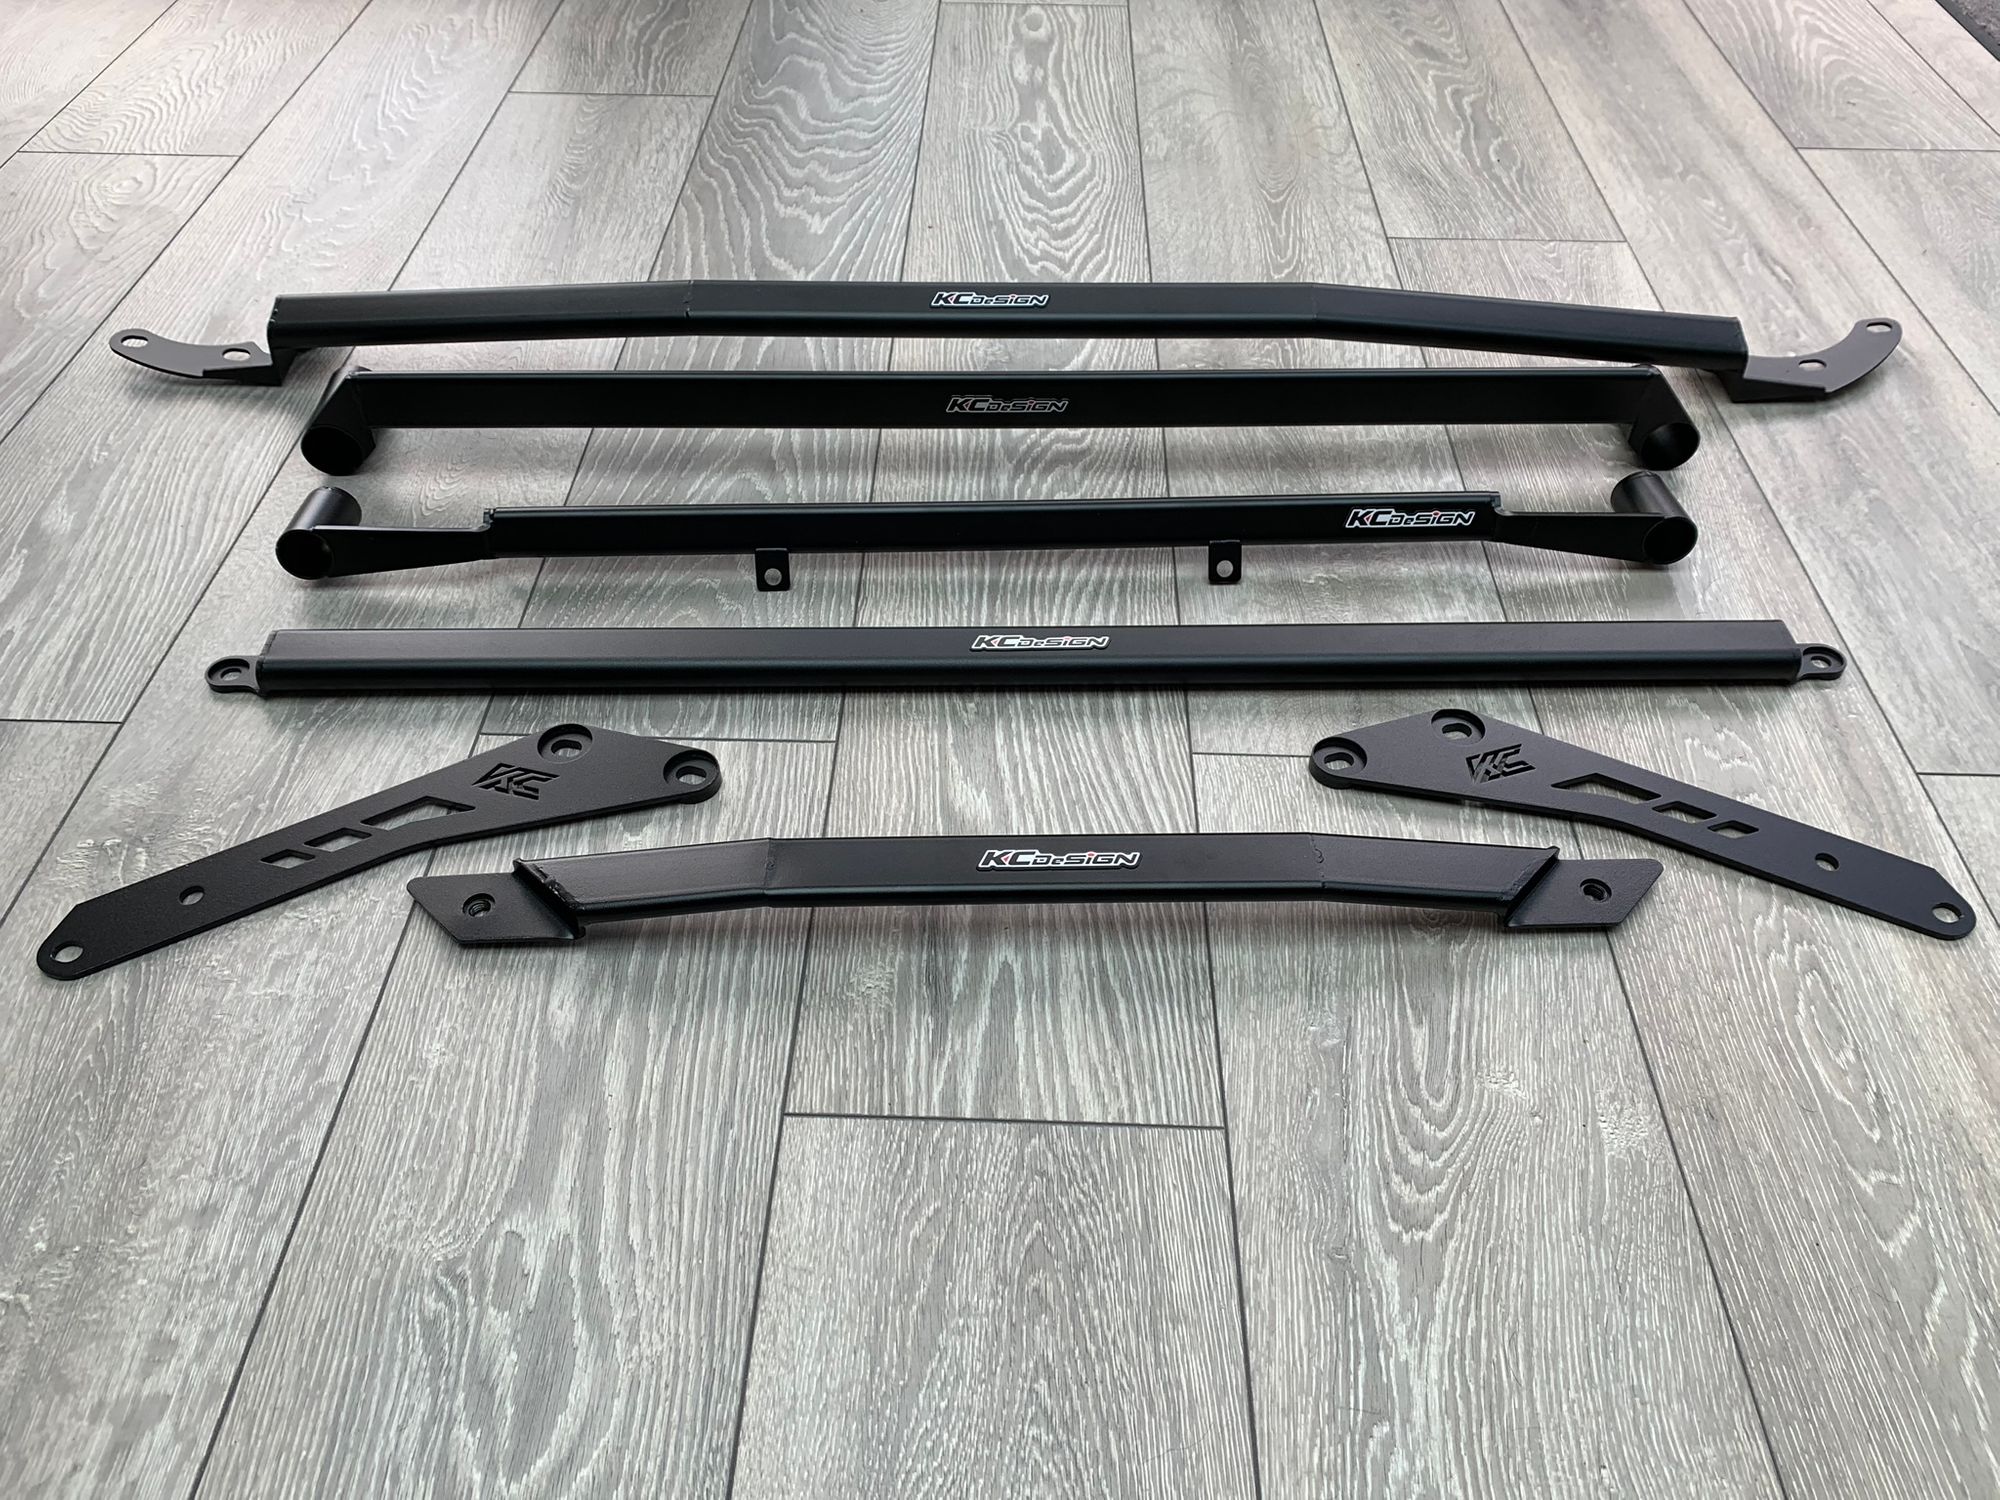
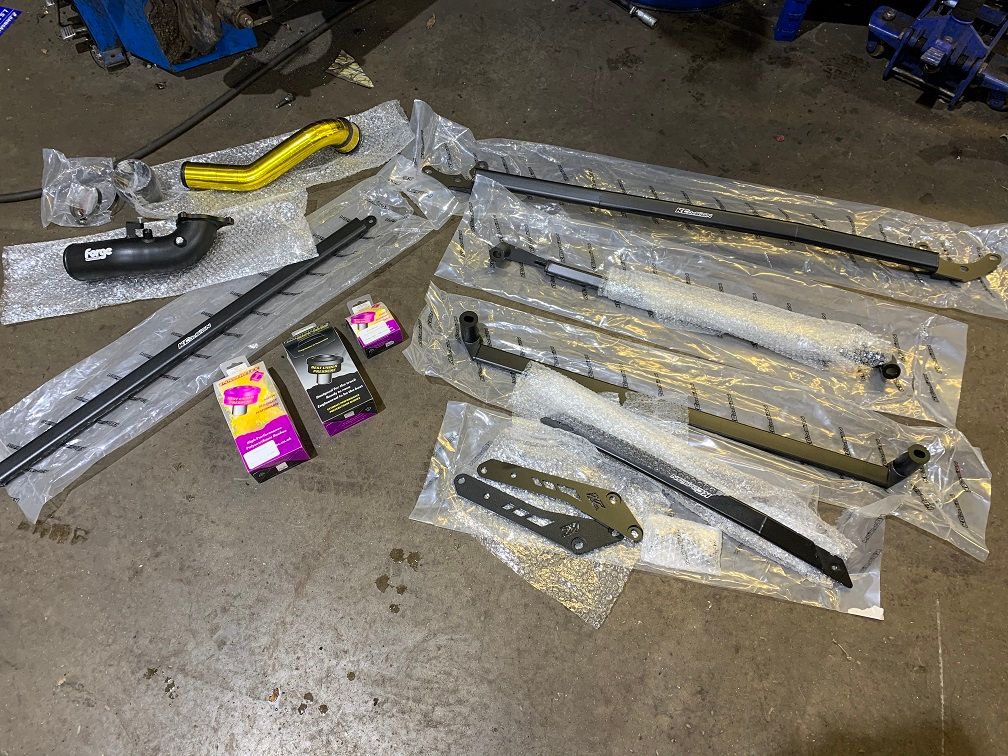
Fitting bush inserts is a little easier than fitting whole new bushes as you don't need to remove the old bushes, you just slide the inserts into the existing bushes. "You just slide them in", he says... Here's the KC Design chassis brace kit, the Powerflex Bushes and some other components I will talk about in a future post all ready to be installed.
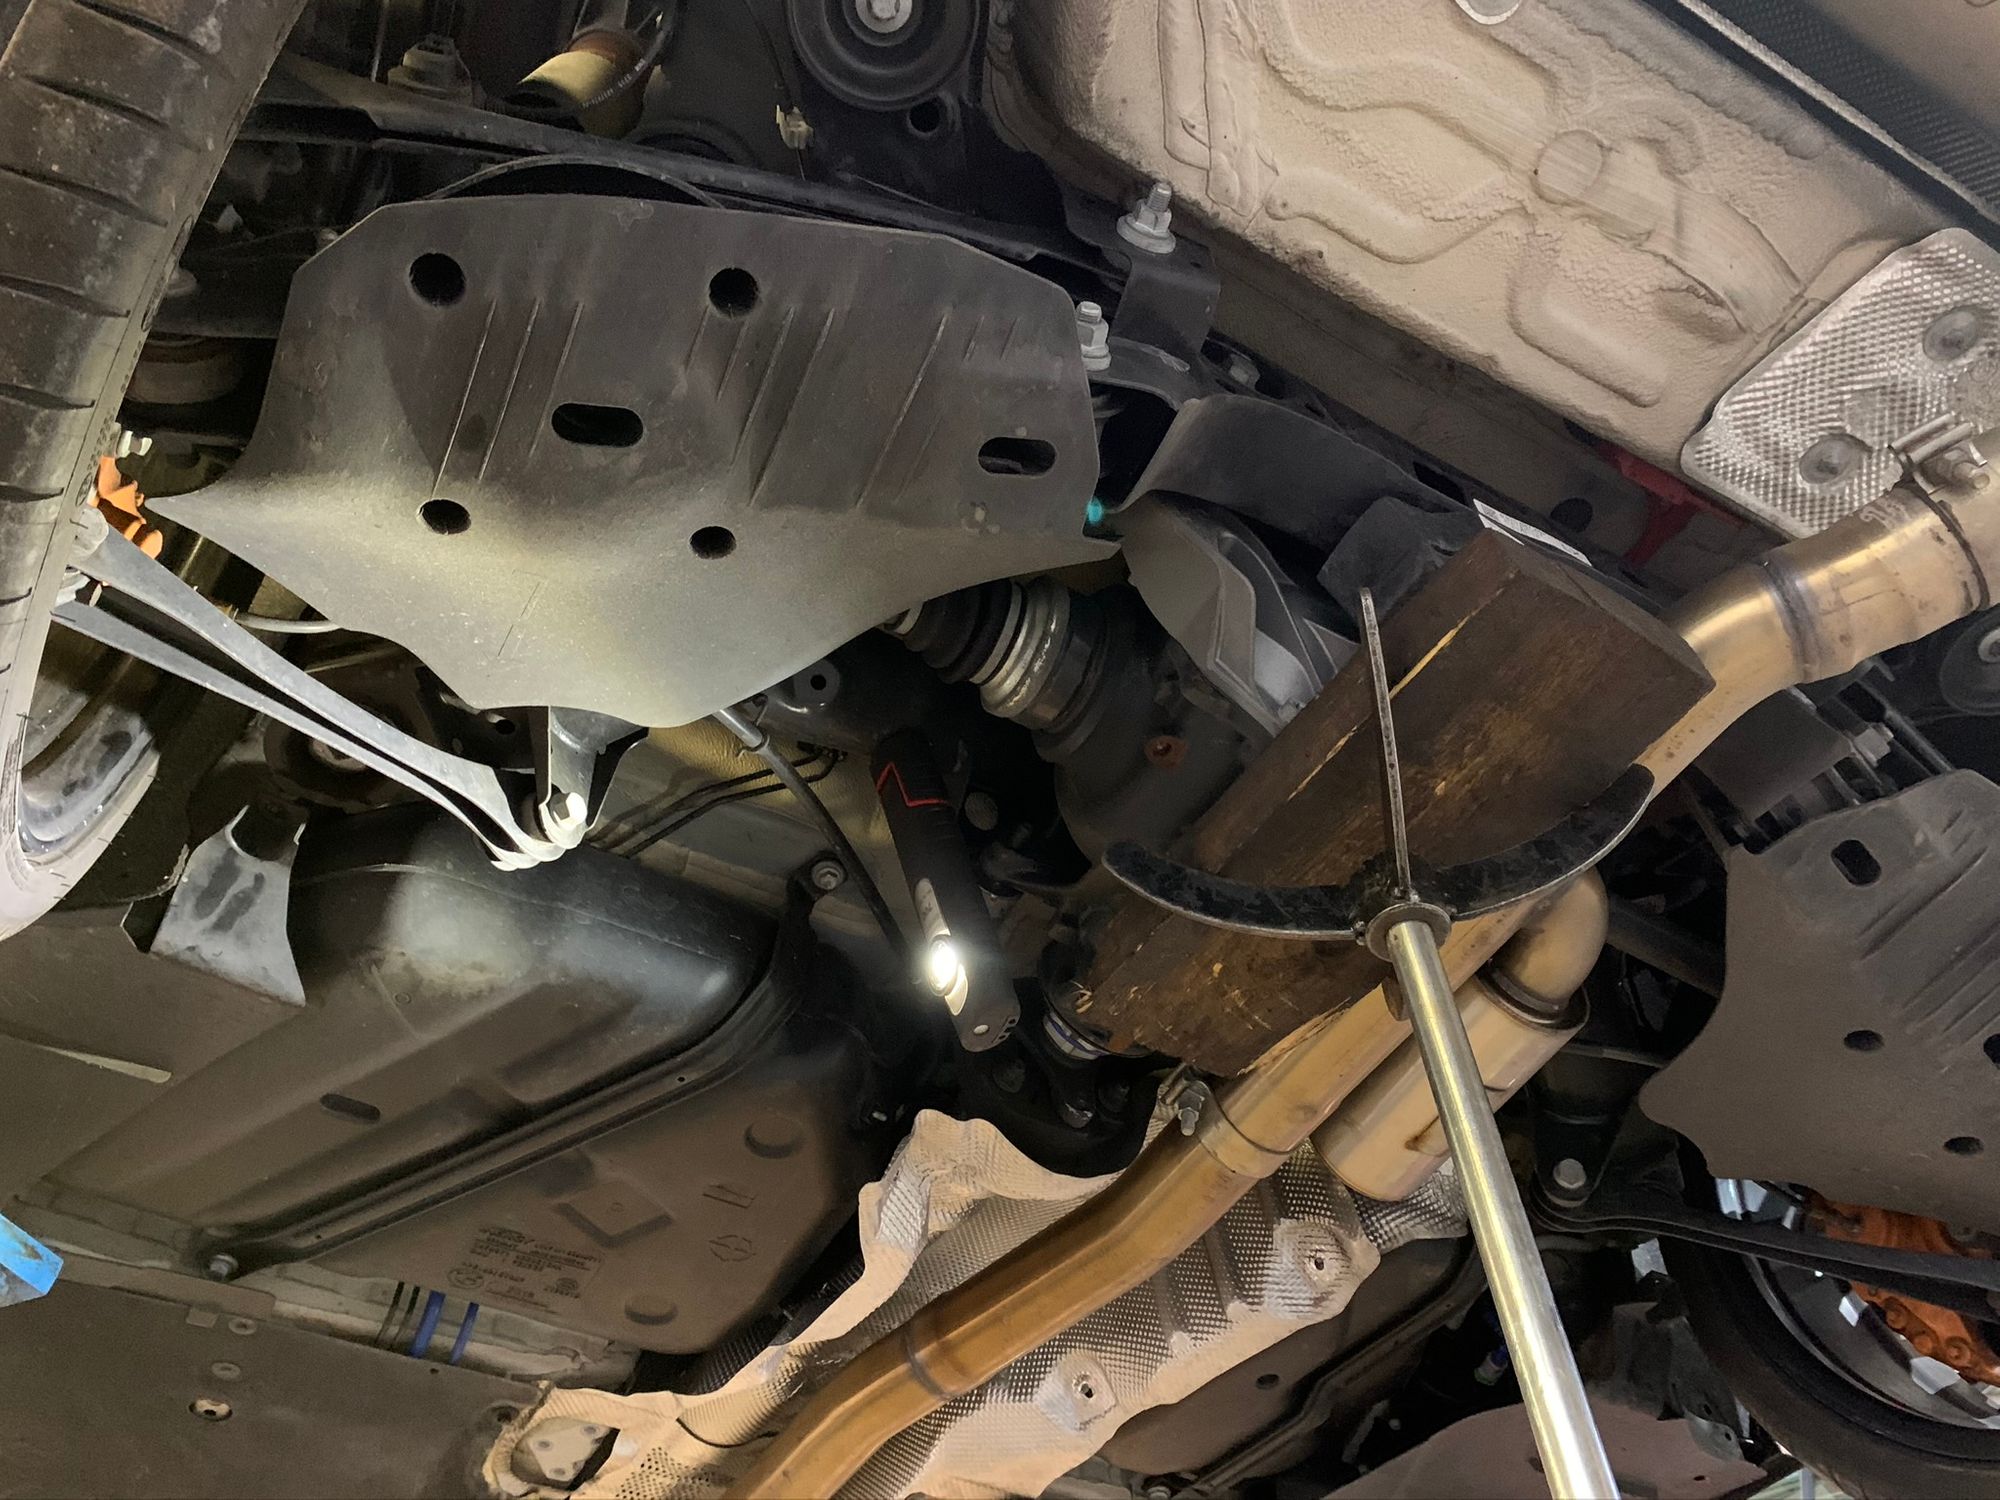
The reason we needed the car on the lift was to fit the braces on the underside of the car and to fit some of them we also needed to drop the rear subframe. To do this we used a transmission jack to take the weight of the subframe whilst unbolting it, lowering it a few cm, installing the new bushes and then refitting it. Here you can see us dropping the LSD to fit the new bushes too.
To see what I mean about bush inserts, you can see the front of the bush insert here first and then a shot from the rear where we've slid the insert into the original bush.
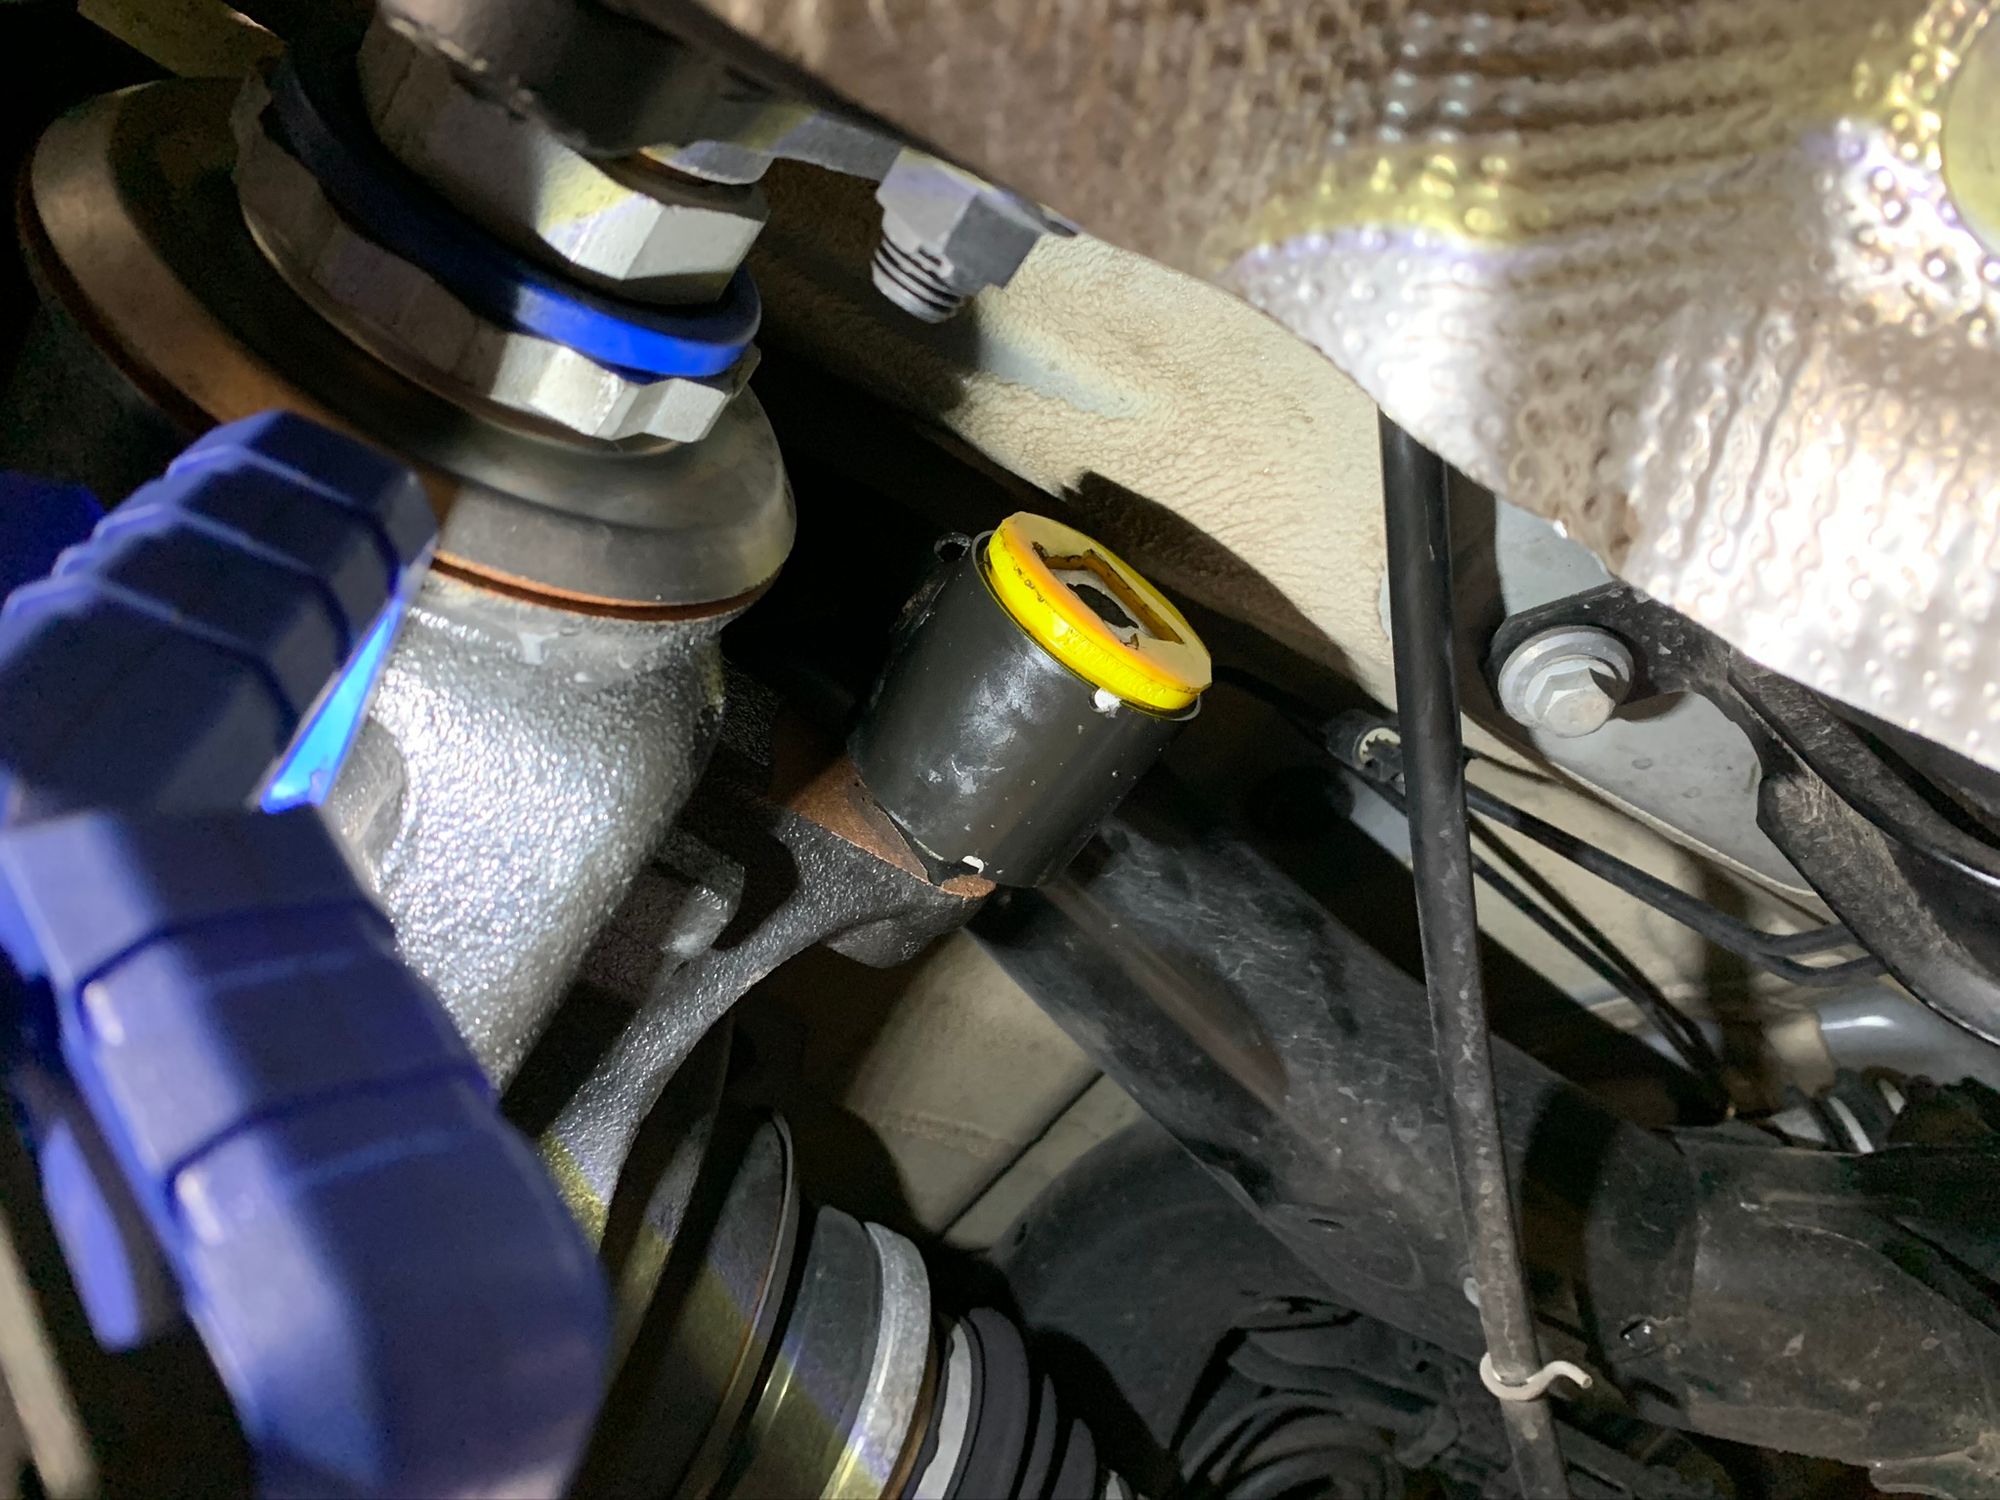

You can get a much better idea for what inserts look like on that last picture there as the yellow piece is the new insert that's slid all the way into the original bush. Here's a before and after shot I got of the rear subframe inserts too. You can see the big gap before the insert is in place and the insert installed after, filling that gap.

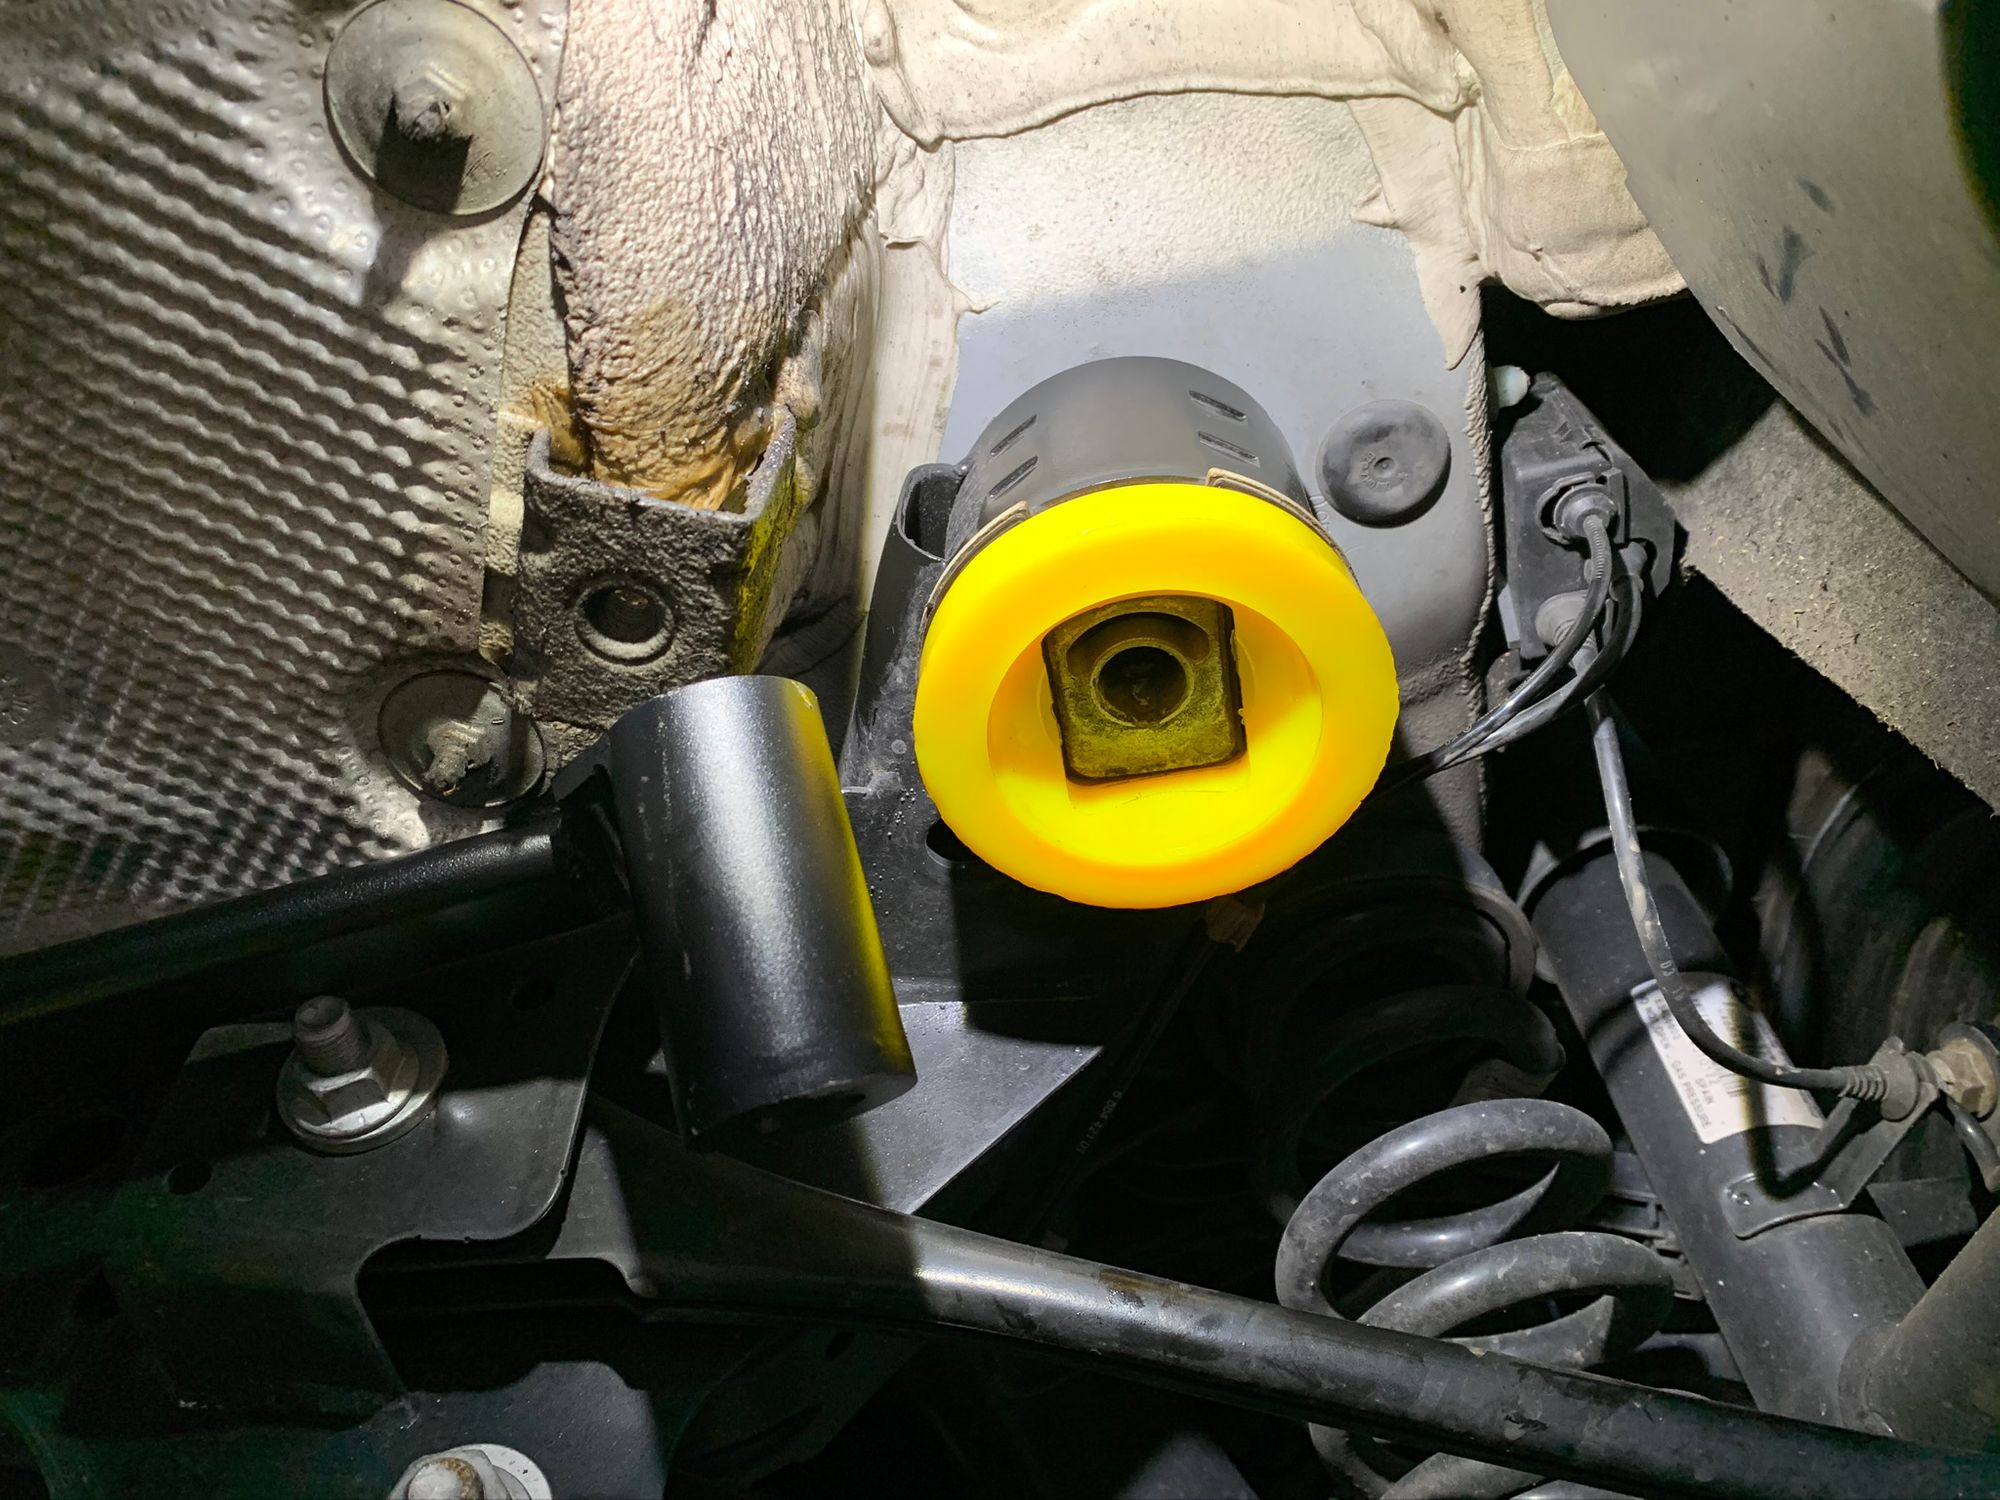
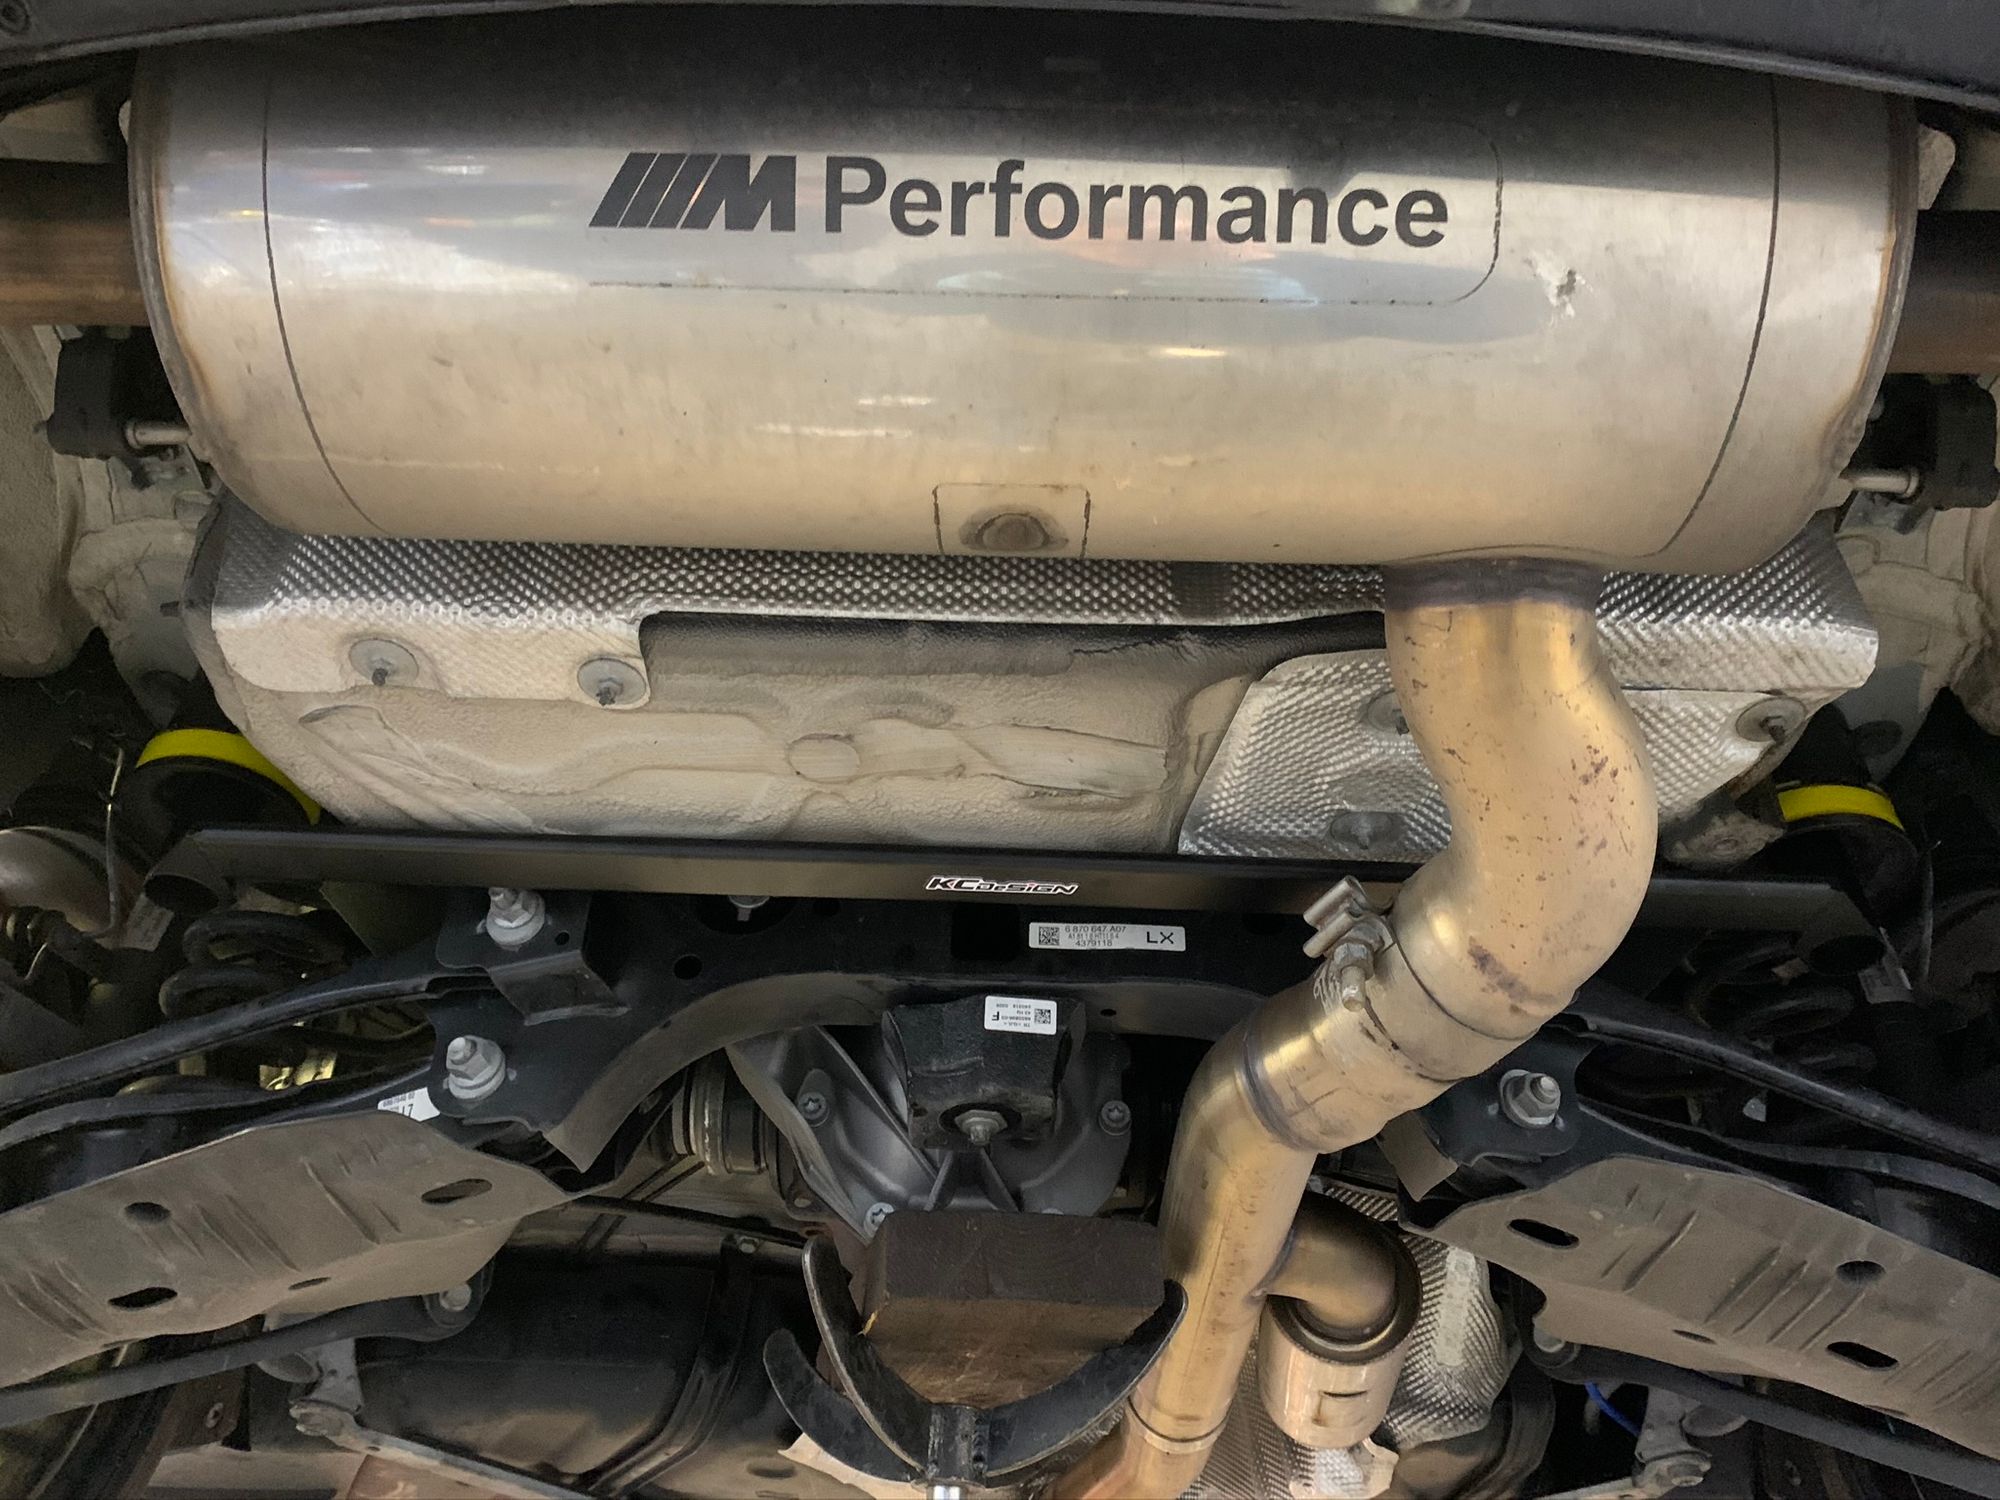
The KC Design braces were fitting back into most of the things we were unbolted and in the example of the subframe bushes there, here is the finished shot with the bolts and the brace in place too. You can see the yellow inserts on each side of this shot.
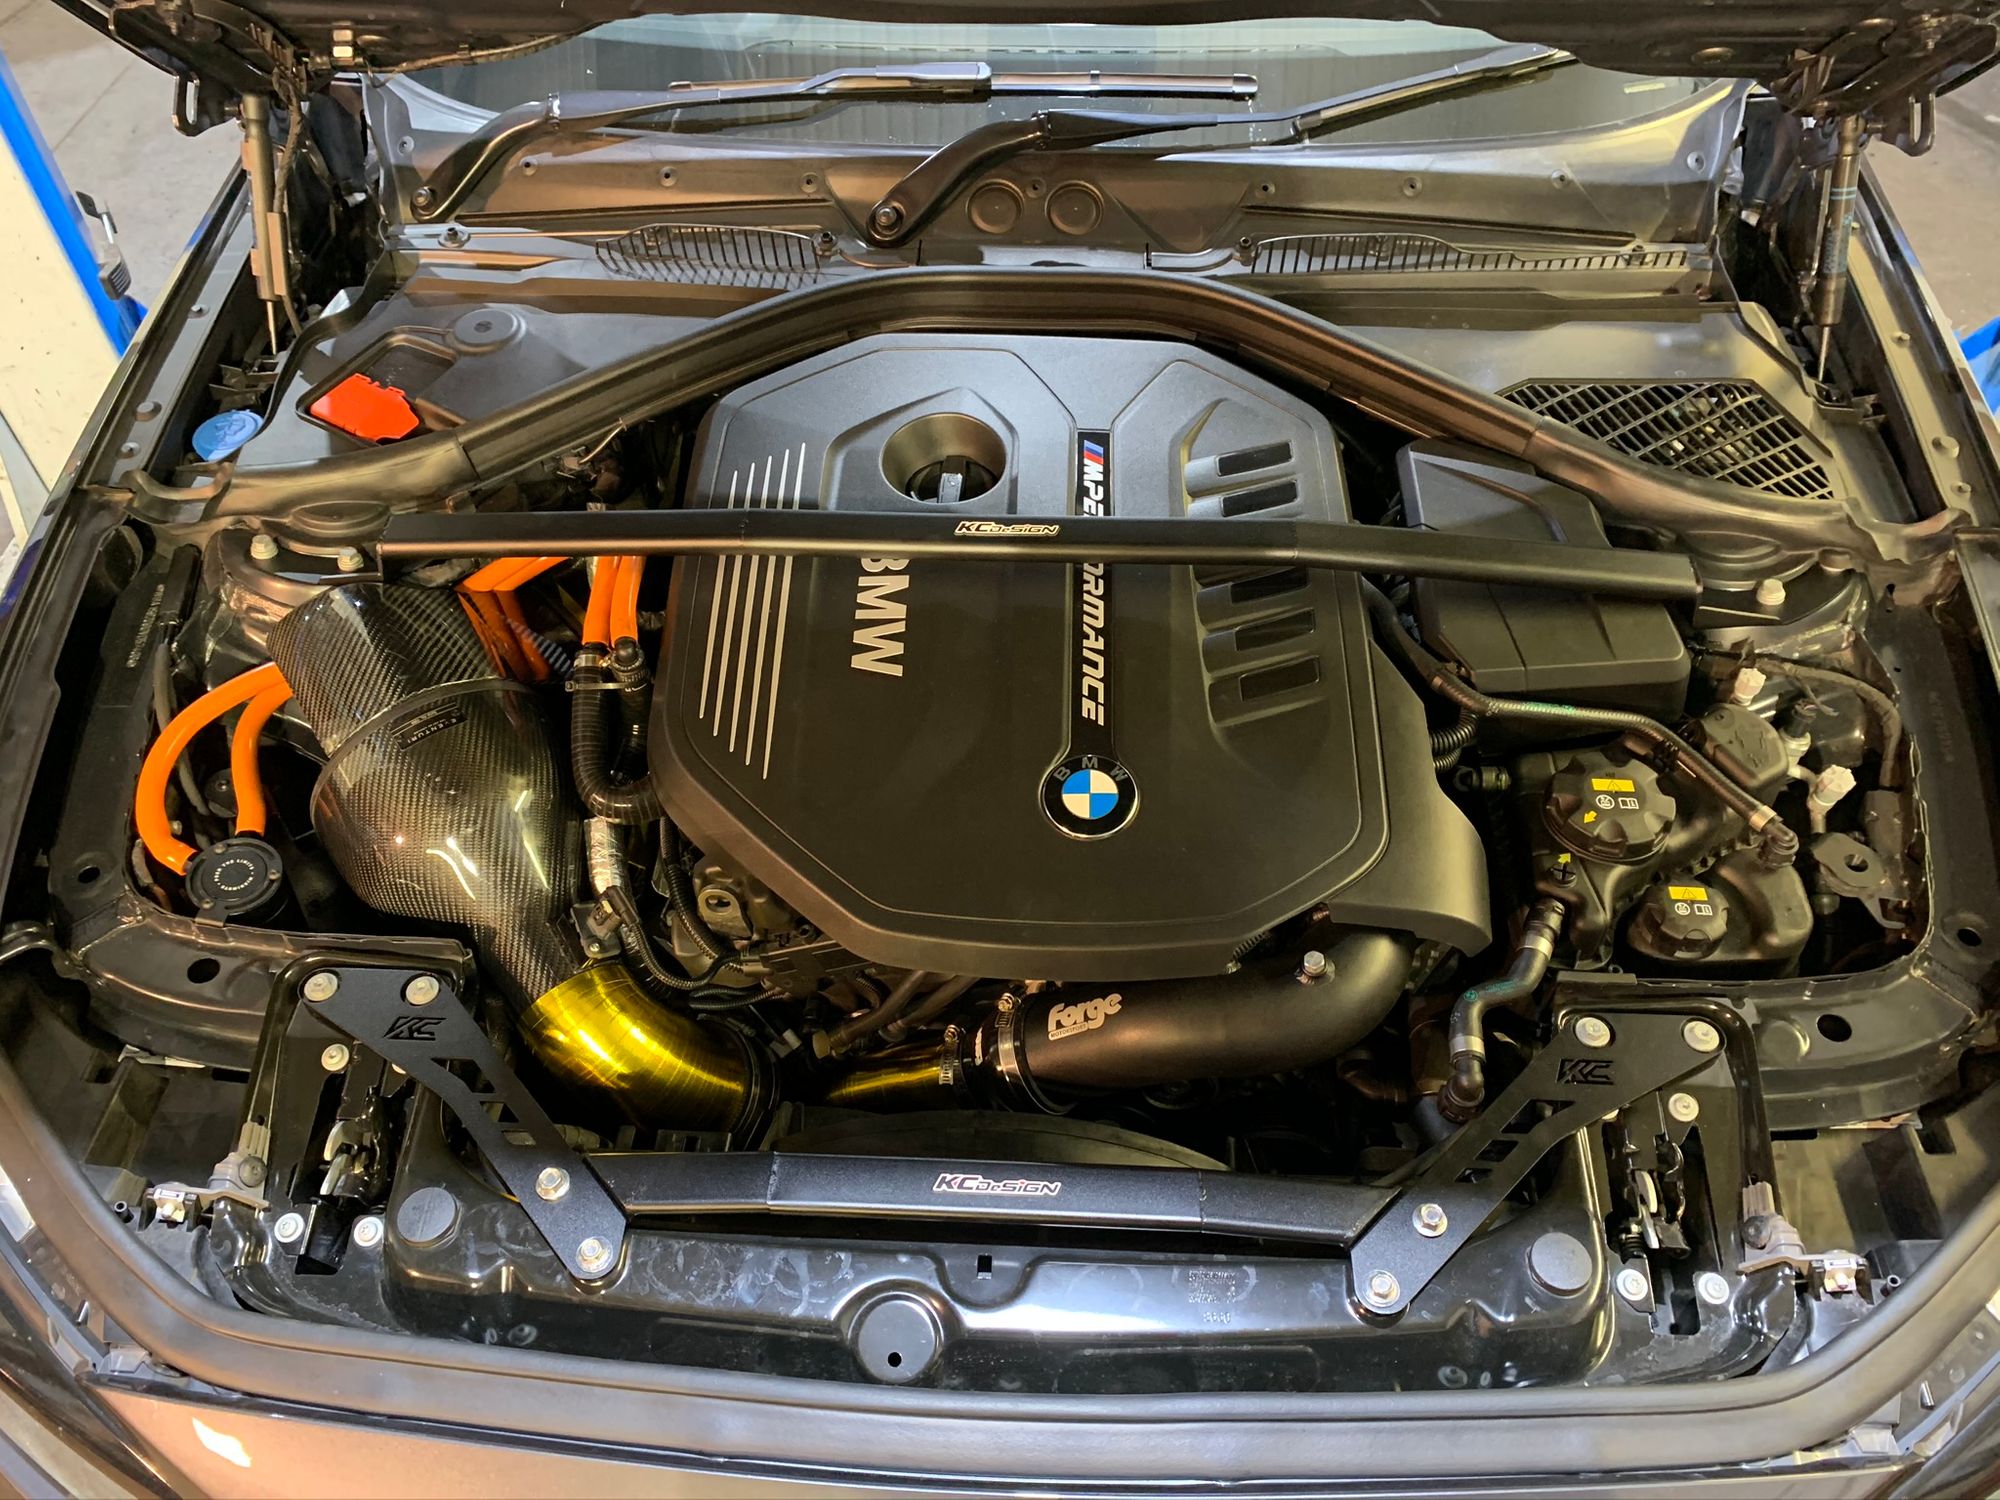
Things like the strut brace and slam panel were easy to do, of course because they're just under the bonnet (hood).

All said and done this was a few hours of work with some relatively simple parts really. Braces and bush inserts are just little bits of metal and rubber if you think about it, but wow do they make a difference. I can see the casual driver not liking these particular changes, they really do highlight imperfections in the road surface a lot more, but if you're interested in really feeling what's going on between the car and the road then these are an absolute must. I find myself unable to explain exactly how this has changed the car but things feel a lot tighter, a lot more precise and a lot more predictable.
Remapping the gearbox
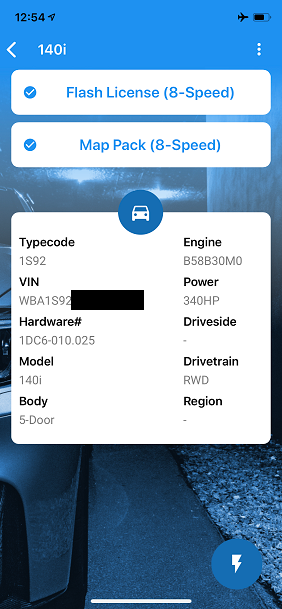
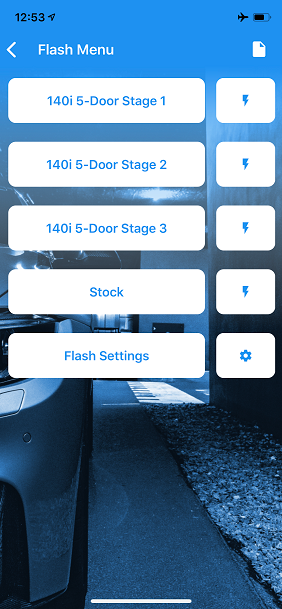
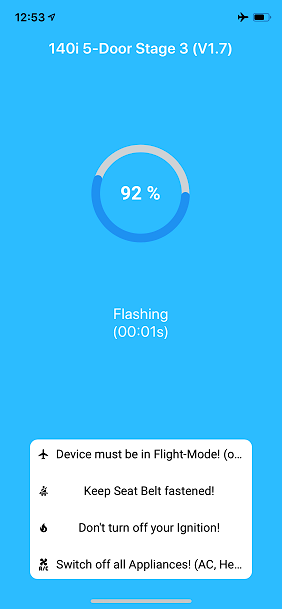
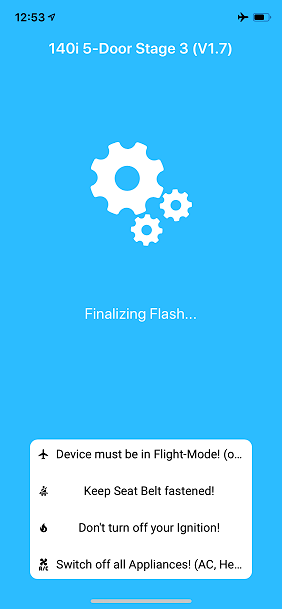
The final section for this part of the series and it's another software modification that will make big changes to the car. As a fairly substantial mechanical component, the transmission has it's own ECU to control it and it's own set of software, configuration and parameters. As I mentioned at the start of the series I went for the 8-speed ZF 8HP45 automatic over the 6-speed manual so there's a lot of room for tweaking and improvement on the auto box. The 8HP45 is no slouch either and the same gearbox can be found in other cars like the BMW 7 Series with the N74 engine, a twin-turbo V12 putting out 563bhp/664lb/ft (420kW/900Nm), and even the Lamborghini Urus! Because of the desire to build in volumes, the gearbox in my car has many applications and as you can see from the power figures, it's capable of handling a hefty amount of power. Now, car savvy readers will be quick to point out that in the higher power applications the 8HP45 will have different clutch packs and be rated as an 8HP70 or 8HP75 (max torqgue of 450Nm, 700Nm and 750Nm respectively), but it's not just about the max torque the transmission can take. The two biggest things I was looking to alter were the shift points (the rpm in each gear at which the transmission will shift gear) and the shift speed (the amount of time it takes to shift from one gear to the next). For this, I grabbed a copy of xHP FlashTool and got myself ready to start flashing the ECU in my gearbox!
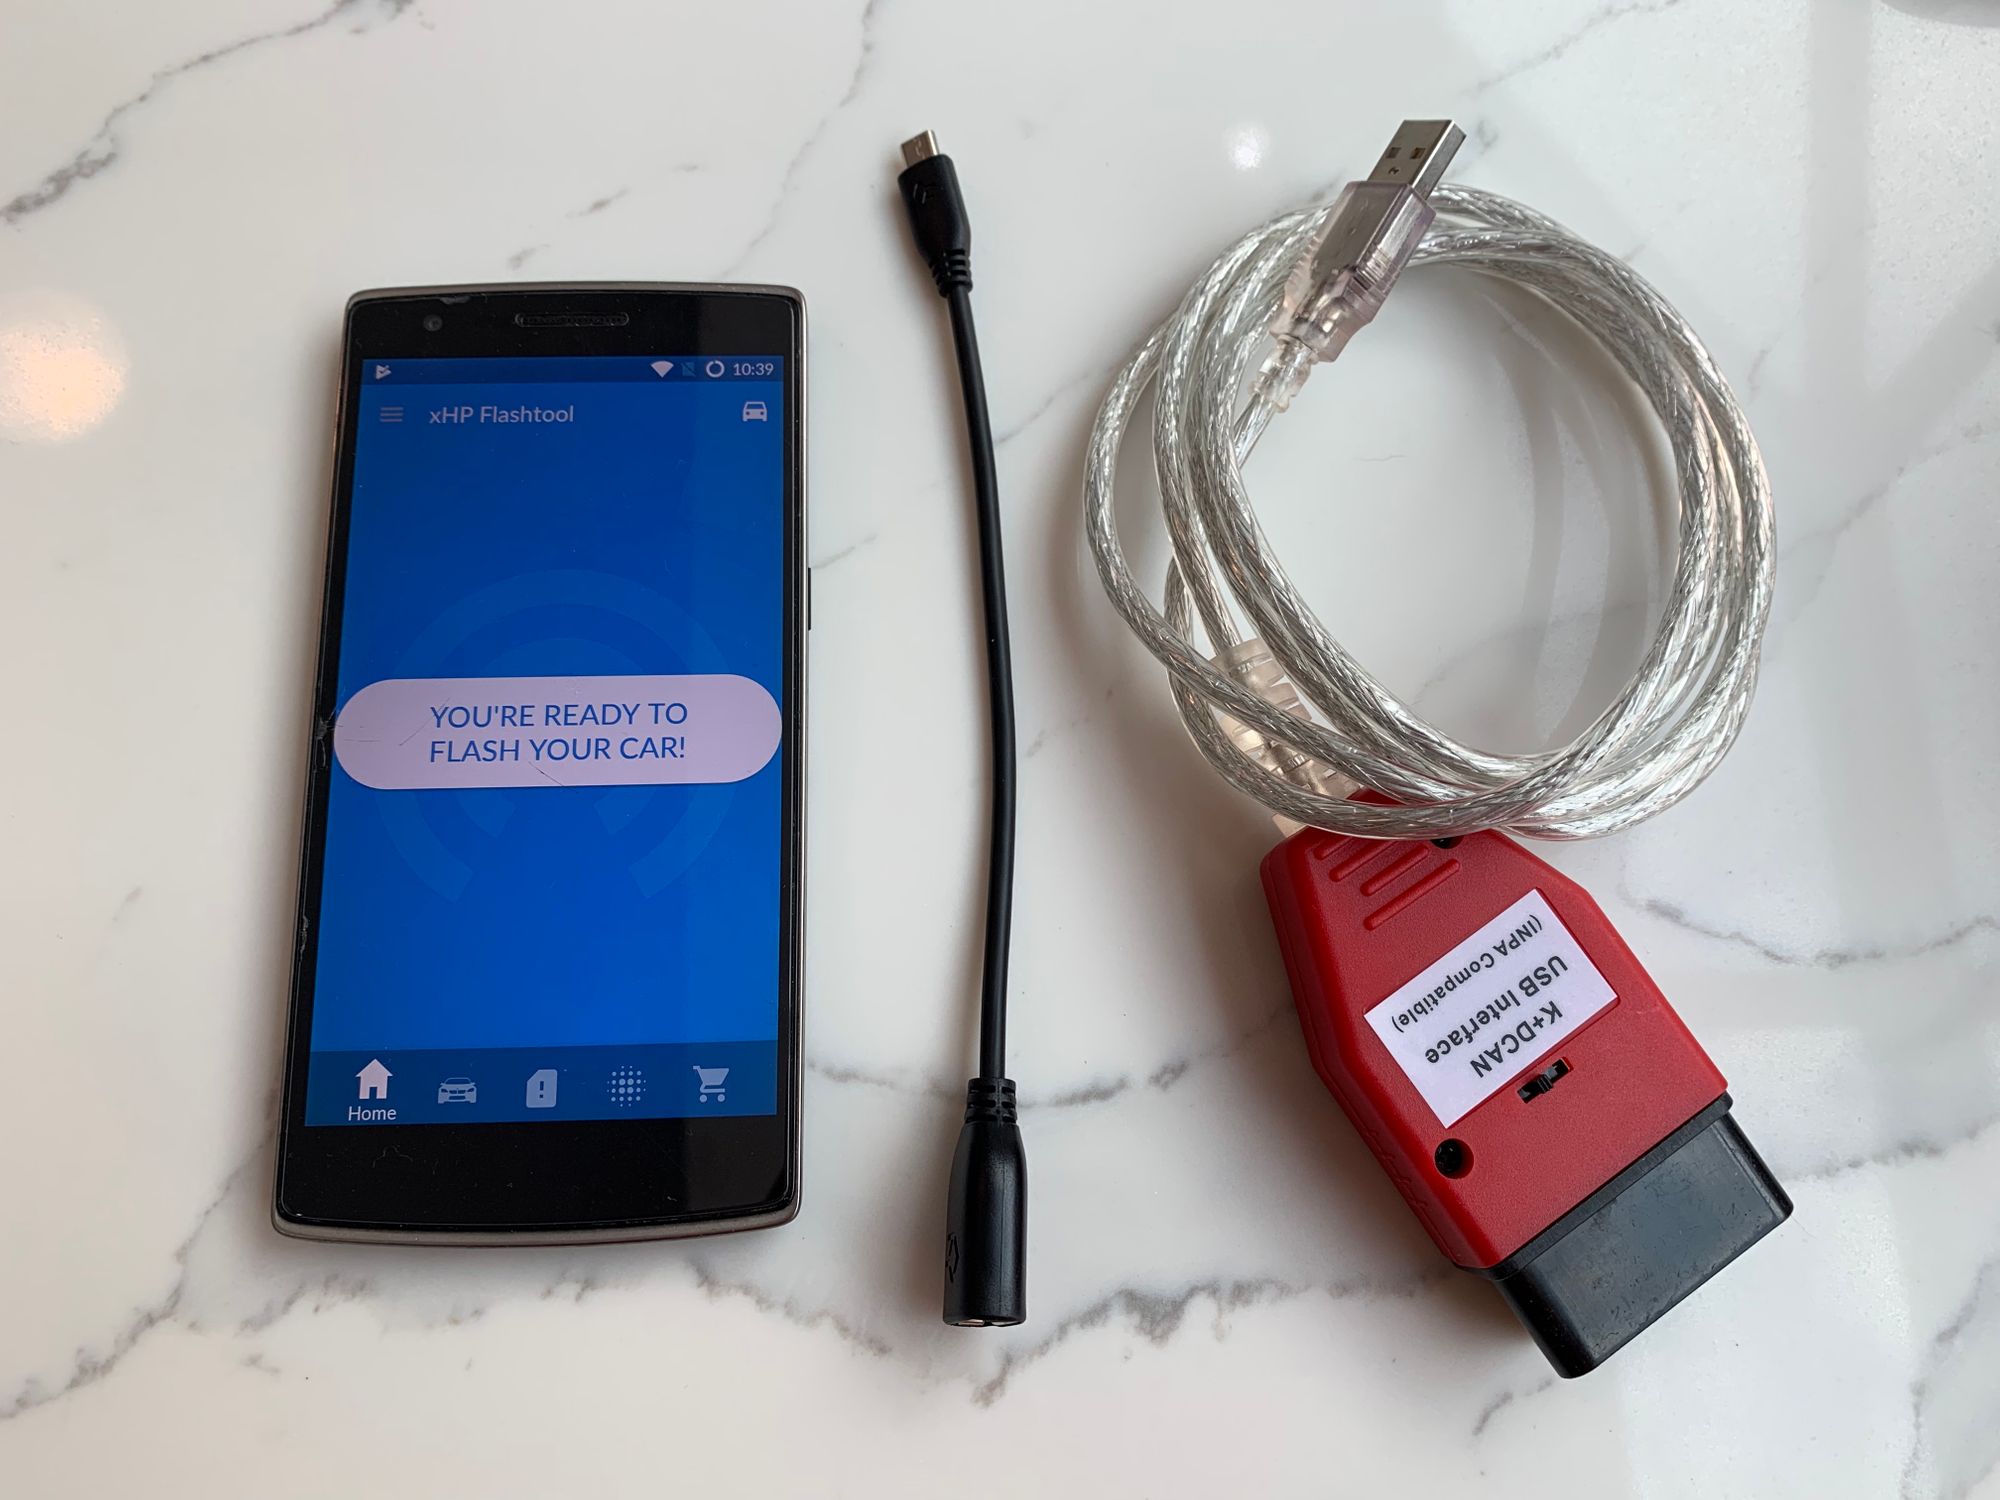
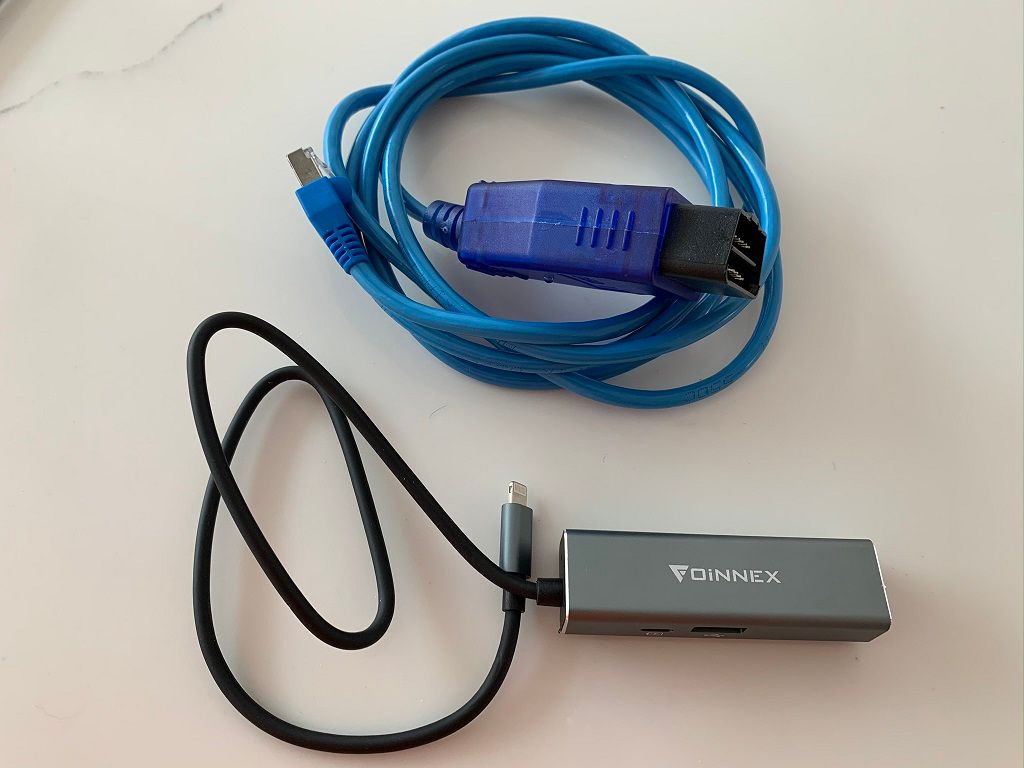
Using xHP FlashTool is really simple and the full software pack was only ~$350 all in which includes the Stage 1, Stage 2 and Stage 3 maps. You need a phone running a modern version of Android, a USB OTG cable and K+DCAN USB cable to get started (they're all linked in the Parts section below). It's simply a case of hooking it up to the car, selecting the map you want to flash and letting it do the job. The great thing is that since I first flashed my transmission the xHP team have added support for iPhone too. You can see above I was using an old OnePlus phone I had lying around but now you can do it from your iPhone with a Lightning to Ethernet adapter and an Ethernet to OBDII cable which I purchased back in Part 4.
I started out with the Stage 1 map as I wanted a gentle introduction and to do some testing before I started pushing it too hard. It also meant that I could see the difference between each stage and understand how each one was changing the car. As with tuning a car there are different 'stages' for the transmission tune too with each having their own level of modification from standard. Here's my overview of working my way through the xHP Stage 1, Stage 2 and Stage 3 map.
Stage 1
The Stage 1 map itself made quite a significant difference from standard and I could immediately tell that the behaviour of the transmission had changed. There was one visual difference that I quite liked and it was that the car now displays the gear when in auto mode. Instead of just displaying 'D' whilst I'm driving it will display 'D1..D2.....D8' so I get a little more feedback in terms of what the car is doing. For the mechanical changes, they were very noticeable! Adapting for the higher torque output of the engine now that it's been tuned, when cruising in Eco or Comfort mode the car will now shift gears at much lower RPM and also cruise at lower RPM too. Leveraging that extra torque results in a nicer driving experience and better fuel economy too.
Stage 2
After I'd put just over 100 miles on the Stage 1 map, it was time to bump up to Stage 2 and woah, did that change things... This new map adapted the shift points in Sport mode and above to be far more aggressive and leverage the longer power and torque curves of the Stage 1 tuned engine. Not only that but it increases the shift speed so the gear changes are even faster and even under hard acceleration, the shifts are now so close to being instantaneous you can barely feel when the car shifts gear! A lot of people are critical of a slushbox (a slang term for an auto gearbox with a torque converter) because they aren't responsive enough, instead many car enthusiasts prefer a Dual-Clutch Transmission because a DCT will shift faster and more precisely. Honestly, I've driven both and only the most keen of car enthusiasts would be able to tell the difference when you drive it now. It's just that good and all credit to ZF on making a great transmission, this is the closest I've felt to a DCT without actually having a DCT and it also doesn't have some of the limitations of a DCT.
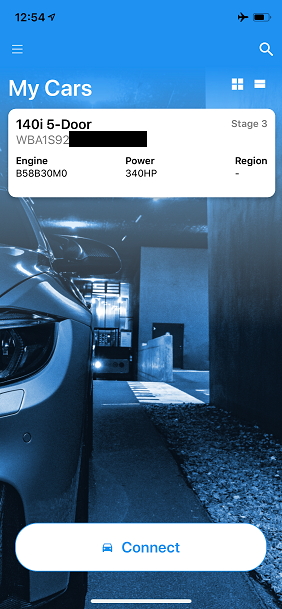
Stage 3
Being completely serious for just a moment, I wasn't sure how things could get better over Stage 2. Seriously, it just didn't seem likely or even possible. But it happened! The Stage 3 map pushes the gearbox to perform at the top end of its limit and the shifts are even faster. Sat on wide open throttle and letting the car pull through the gears, you just can't tell when it's shifting, there is just this relentless pull. The response time on the paddles is reduced too so that in manual mode, by the time you've let go of the paddle it's already shifted up or down, you can't beat it. The Stage 3 map has completely transformed the car and that's no exaggeration. It's still soft enough in Comfort mode but put it in Sport+ and it's like a wild animal chomping at the gears. Phenomenal.
I can see why the car doesn't come with the Stage 3 map from BMW, because honestly most people would find those modes far too aggressive on the shifts. The upshift and downshift are not smooth by any measurement but they're not supposed to be, you want the gear as fast as possible, you're not looking for comfort. The xHP Flash Tool is just an app on my iPhone with a cable and it's staggering how much it can change the car. Beyond the standard Stage 1/2/3 Maps that you can get, you can customise a whole bunch of things with the transmission.
- Shift points can be manually set in each gear for both the upshift and downshift.
- Enable rev-matching and throttle blips on downshifts.
- Set custom Launch Control parameters with Torque Scaling.
- Max RPM for individual gears.
- Take off in 2nd gear instead of 1st.
- Custom torque limits for each gear.
If you have a car that is xHP compatible I'd recommend checking it out. You take a backup of the stock map on the car so you can flash it back at any time and then feel free to tinker with any of the 3 standard maps or the heap of other customisations. Flashing is just a case of hooking up to the car and takes about 60s!

Ok, I think that's enough to call it for another part in the series but I did want to really drive home the value of tools like xHP and BM3 that I talked about back in Part 4. The ability to so easily, quickly and cheaply make such huge changes to the car is truly awesome and if you're looking for a little extra out of your car, they're definitely the first thing to check out.
More to come!
Looking to the next part in the series and the engine is finally ready for the Stage 2 tune and a lot more power! With more power comes the need for better grip so the wheels and tyres will be getting quite the upgrade too, stay tuned!
Parts
Here's the list of parts used in Part 7 and where you can get them:
Powerflex Rear Subframe Front Bush Insert
Powerflex Rear Subframe Rear Bush Insert
Powerflex Rear Diff Front Bush Insert
View all of the other blog posts here: The BMW M140i Project Series