
Following the recent announcement of my new service, https://securityheaders.io, I thought I'd cover some more of the security based HTTP response headers out there and look at how to harden your existing HTTP response headers.
Introduction
HTTP Response headers are name-value pairs of strings sent back from a server with the content you requested. They are typically used to transfer technical information like how a browser should cache content, what type of content it is, the software running on the server and much, much more. Increasingly, HTTP Response headers have been used to transmit security policies to the browser. By passing security policies back to the client in this fashion, hosts can ensure a much safer browsing experience for their visitors and also reduce the risk for everyone involved. Let's take a look at some more security based headers.
Additional Headers
The first step in hardening your HTTP response headers is looking at the additional headers you can utilise to make your site more secure. Outlined below, these headers give the browser more information about how you want it to behave with regards to your site. They can be used to deliver security policies, set configuration options and disable features of the browser you don't want enabled for your site. Once you have setup each header, check it using SecurityHeaders.io.
Content Security Policy
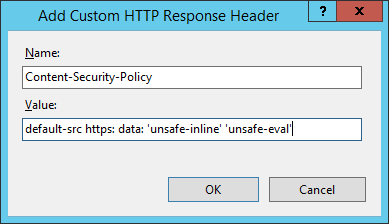
The CSP header allows you to define a whitelist of approved sources of content for your site. By restricting the assets that a browser can load for your site, like js and css, CSP can act as an effective countermeasure to XSS attacks. I have covered CSP in a lot more detail in my blog Content Security Policy - An Introduction. Here is a basic policy to enforce TLS on all assets and prevent mixed content warnings.
NginX:
add_header Content-Security-Policy "default-src https: data: 'unsafe-inline' 'unsafe-eval'" always;
Apache:
Header always set Content-Security-Policy "default-src https: data: 'unsafe-inline' 'unsafe-eval'"
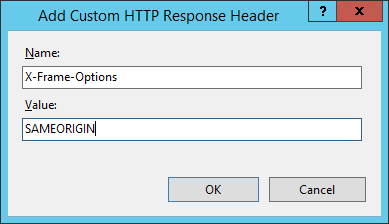
For Windows Servers open up the IIS Manager, select the site you want to add the header to and select 'HTTP Response Headers'.
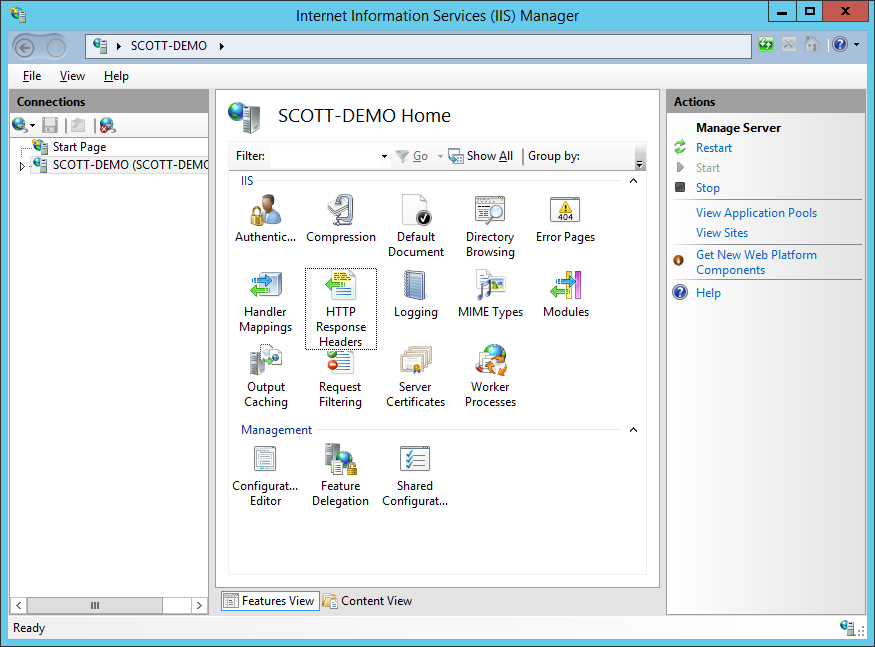
Click the add button in the 'Actions' pane and then input the details for the header.
CSP has a huge number of features that I've outlined in the blog mentioned above and you can also use my CSP Analyser and CSP Builder over on report-uri.io to help you create a tailored policy for your site.
HTTP Strict Transport Security
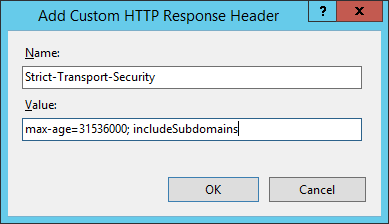
Sites have always heavily relied on a 301/302 redirect to take users from browsing over HTTP to HTTPS. With browsers defaulting to HTTP when you type in an address like scotthelme.co.uk, this has previously been the only way. HSTS allows you to tell a browser that you always want a user to connect using HTTPS instead of HTTP. This means any bookmarks, links or addresses the user types will be forced to use HTTPS, even if they specify HTTP. Read more in my blog on HSTS - The Missing Link In Transport Layer Security and check out HSTS Preloading too. This policy will enforce TLS on your site and all subdomains for a year.
NginX:
add_header Strict-Transport-Security "max-age=31536000; includeSubdomains" always;
Apache:
Header always set Strict-Transport-Security "max-age=31536000; includeSubDomains"
IIS:
HTTP Public Key Pinning
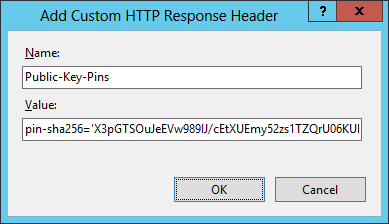
The great thing about SSL/TLS certificates is that you can buy a certificate from any trusted Certificate Authority and the browser will happily accept it. The problem with this is that when a Certificate Authority is compromised, an attacker can issue themselves an SSL/TLS certificate for your site and the browser will accept this rogue certificate as it came from a trusted Certificate Authority. HPKP allows you to protect yourself by providing a whitelist of cryptographic identities that the browser should trust. Whilst HSTS says the browser must always use HTTPS, HPKP says the browser should only ever accept a specific set of certificates. Read more on my blog about HTTP Public Key Pinning.
NginX:
add_header Public-Key-Pins "pin-sha256='X3pGTSOuJeEVw989IJ/cEtXUEmy52zs1TZQrU06KUKg='; pin-sha256='MHJYVThihUrJcxW6wcqyOISTXIsInsdj3xK8QrZbHec='; pin-sha256='isi41AizREkLvvft0IRW4u3XMFR2Yg7bvrF7padyCJg='; includeSubdomains; max-age=2592000" always;
Apache:
Header always set Public-Key-Pins "pin-sha256='X3pGTSOuJeEVw989IJ/cEtXUEmy52zs1TZQrU06KUKg='; pin-sha256='MHJYVThihUrJcxW6wcqyOISTXIsInsdj3xK8QrZbHec='; pin-sha256='isi41AizREkLvvft0IRW4u3XMFR2Yg7bvrF7padyCJg='; includeSubdomains; max-age=2592000"
IIS:
X-Frame-Options
The X-Frame-Options header (RFC), or XFO header, protects your visitors against clickjacking attacks. An attacker can load up an iframe on their site and set your site as the source, it's quite easy: <iframe src="https://scotthelme.co.uk"></iframe>. Using some crafty CSS they can hide your site in the background and create some genuine looking overlays. When your visitors click on what they think is a harmless link, they're actually clicking on links on your website in the background. That might not seem so bad until we realise that the browser will execute those requests in the context of the user, which could include them being logged in and authenticated to your site! Troy Hunt has a great blog on Clickjack attack – the hidden threat right in front of you. Valid values include DENY meaning your site can't be framed, SAMEORIGIN which allows you to frame your own site or ALLOW-FROM https://example.com/ which lets you specify sites that are permitted to frame your own site.
NginX:
add_header X-Frame-Options "SAMEORIGIN" always;
Apache:
Header always set X-Frame-Options "SAMEORIGIN"
IIS:
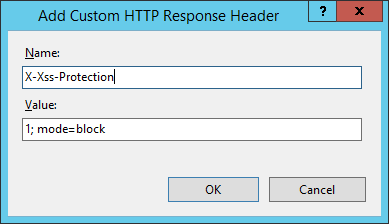
X-Xss-Protection
This header is used to configure the built in reflective XSS protection found in Internet Explorer, Chrome and Safari (Webkit). Valid settings for the header are 0, which disables the protection, 1 which enables the protection and 1; mode=block which tells the browser to block the response if it detects an attack rather than sanitising the script.
NginX:
add_header X-Xss-Protection "1; mode=block" always;
Apache:
Header always set X-Xss-Protection "1; mode=block"
IIS:
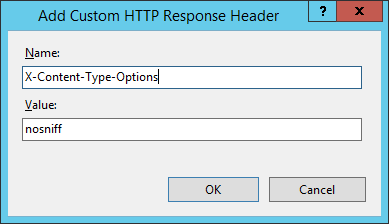
X-Content-Type-Options
Nice and easy to configure, this header only has one valid value, nosniff. It prevents Google Chrome and Internet Explorer from trying to mime-sniff the content-type of a response away from the one being declared by the server. It reduces exposure to drive-by downloads and the risks of user uploaded content that, with clever naming, could be treated as a different content-type, like an executable.
NginX:
add_header X-Content-Type-Options "nosniff" always;
Apache:
Header always set X-Content-Type-Options "nosniff"
IIS:
Removing Headers
The next step in hardening your HTTP response headers is looking at the headers that you can remove to reduce the amount of information you're divulging about your server and what's running on it. Servers will commonly reveal what software is running on them, what versions of the software are on there and what frameworks are powering it. Reducing the amount of information you divulge is always a benefit. I will look over some of the most common headers but you can always examine your own sites HTTP response headers to see if there are any more that you can remove using SecurityHeaders.io.
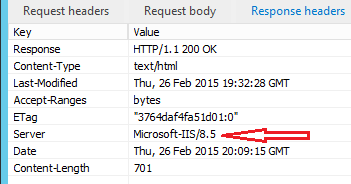
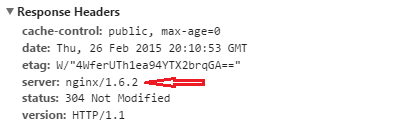
Server
The Server header is the most common header you will likely see on a site. Defined in the RFC
The Server response-header field contains information about the
software used by the origin server to handle the request. The field
can contain multiple product tokens (section 3.8) and comments
identifying the server and any significant subproducts. The product
tokens are listed in order of their significance for identifying the
application.
Designed to give information about the particular Web Server application being run on the server, common values point to Microsoft IIS, NginX or Apache. However, the RFC does go on to state
Note: Revealing the specific software version of the server might
allow the server machine to become more vulnerable to attacks
against software that is known to contain security holes. Server
implementors are encouraged to make this field a configurable
option.
Despite that, many vendors don't make it that easy to change the value of the header or, ideally, remove it completely.
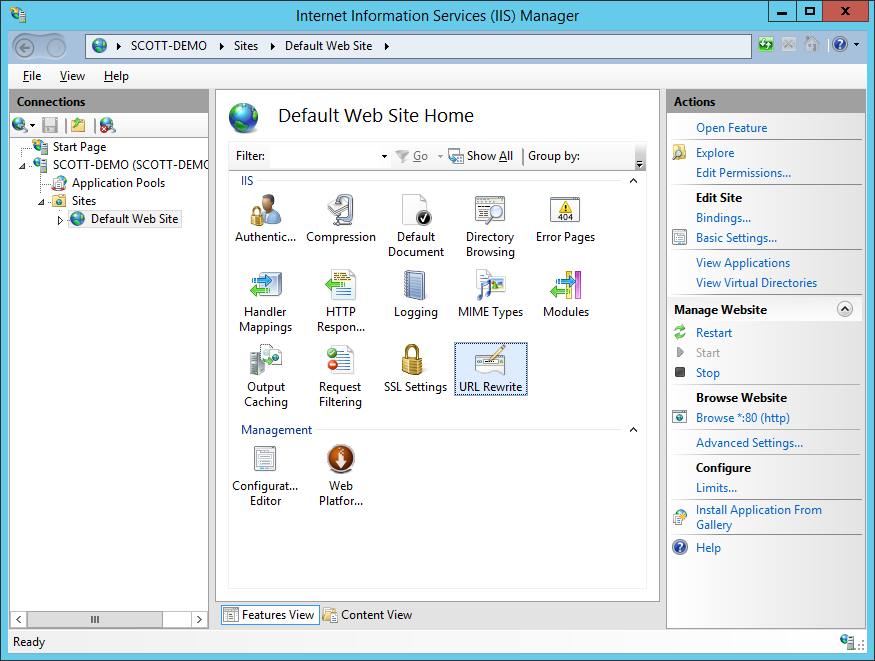
IIS
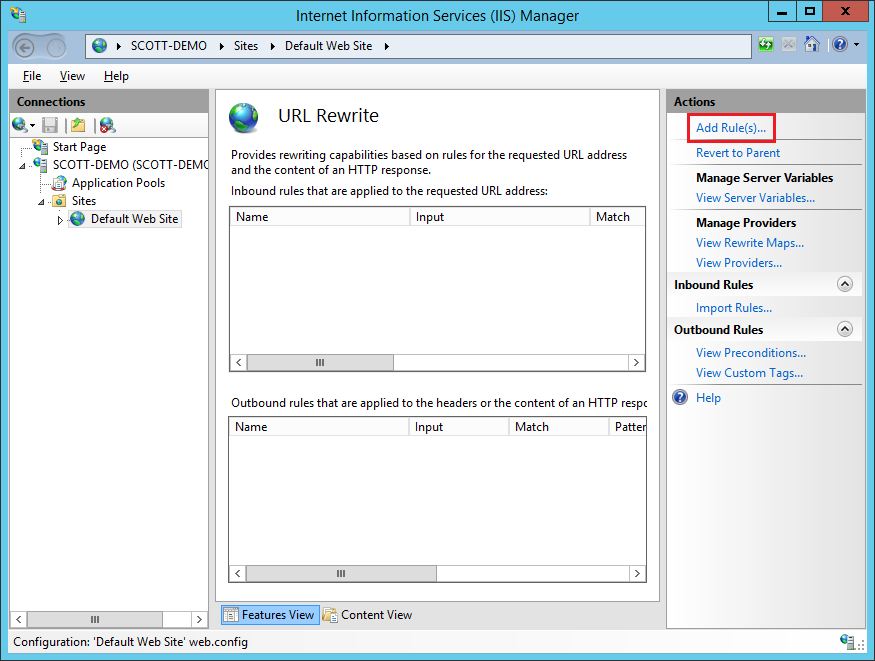
For IIS, this looks a little long winded, but it's just a lot of pictures really! The first thing you need is the URL-Rewrite extension. Once installed, head to the IIS Manager and select your site, then URL Rewrite.
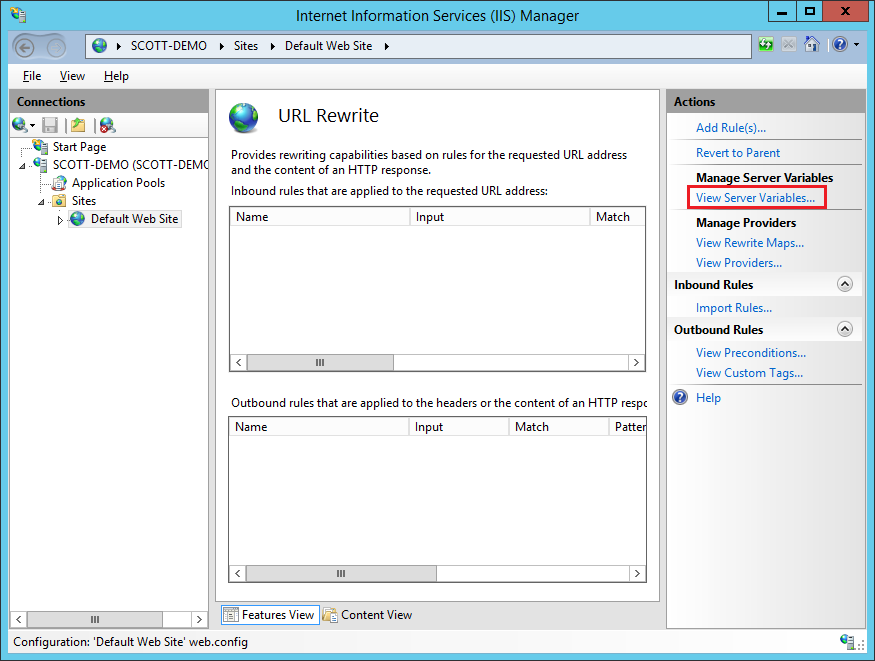
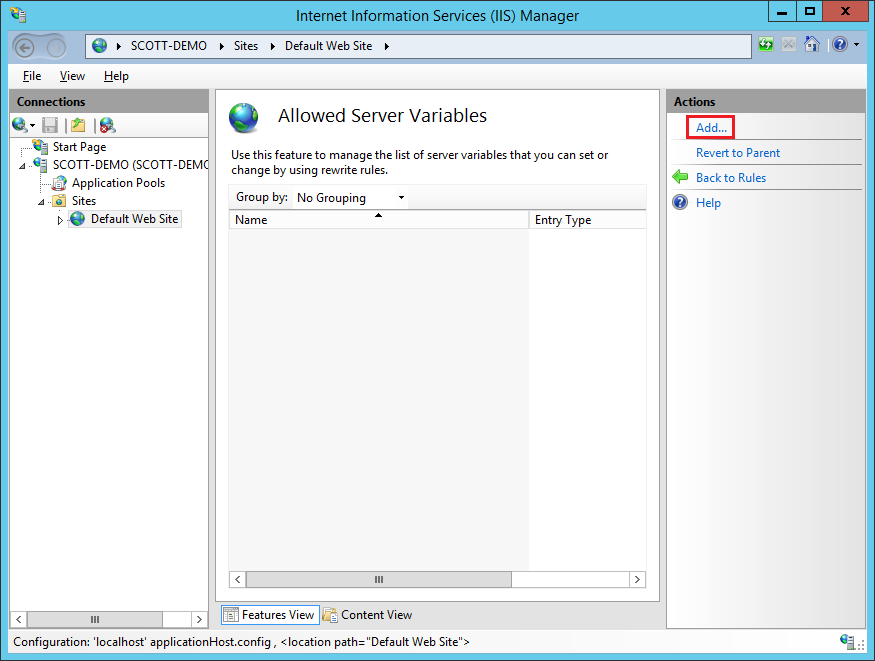
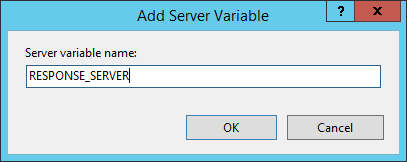
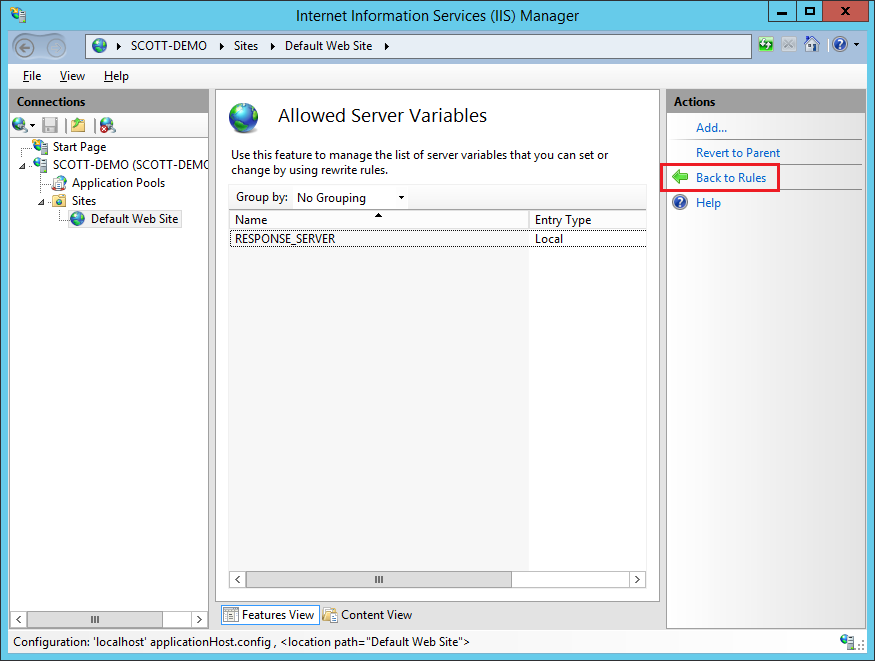
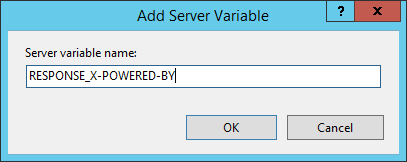
Select Server Variables and then add a new Server Variable called RESPONSE_SERVER.
Once you have your new server variable, go back to the rules page, add a new rule and select a blank outbound rule.
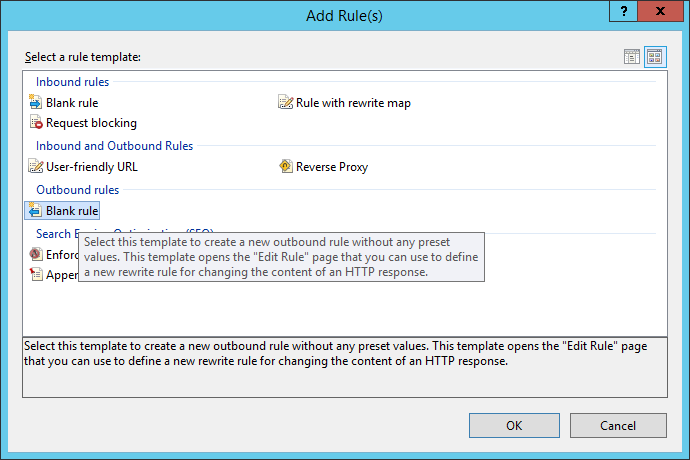
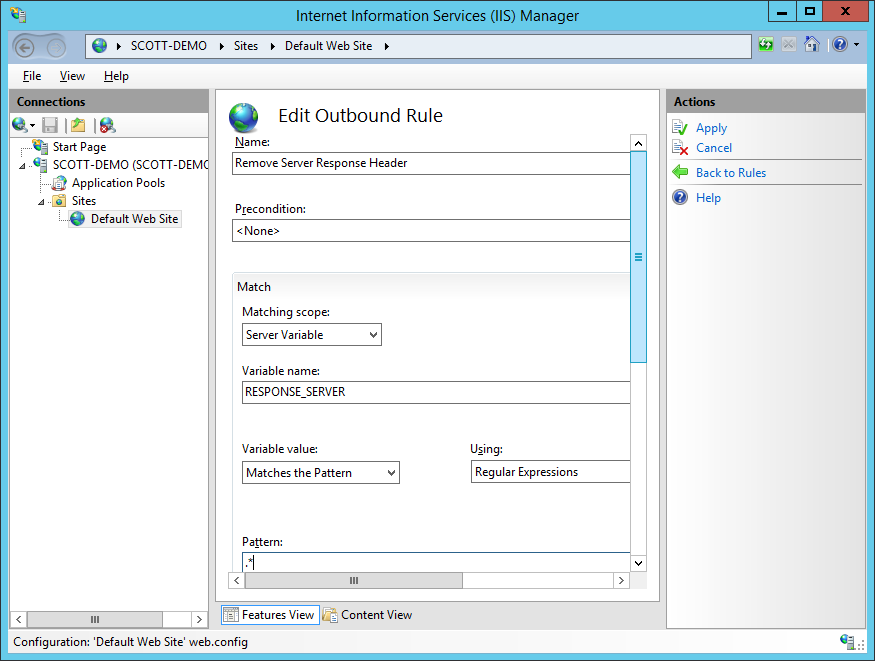
Give the rule a name, set the Matching Scope to Server Variable, the Variable name is RESPONSE_SERVER and set the Pattern to .* to match any content. Hit Apply to create your new rule.
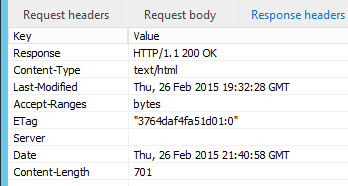
These changes will now remove the content of the Server response header, so it will look something like this.
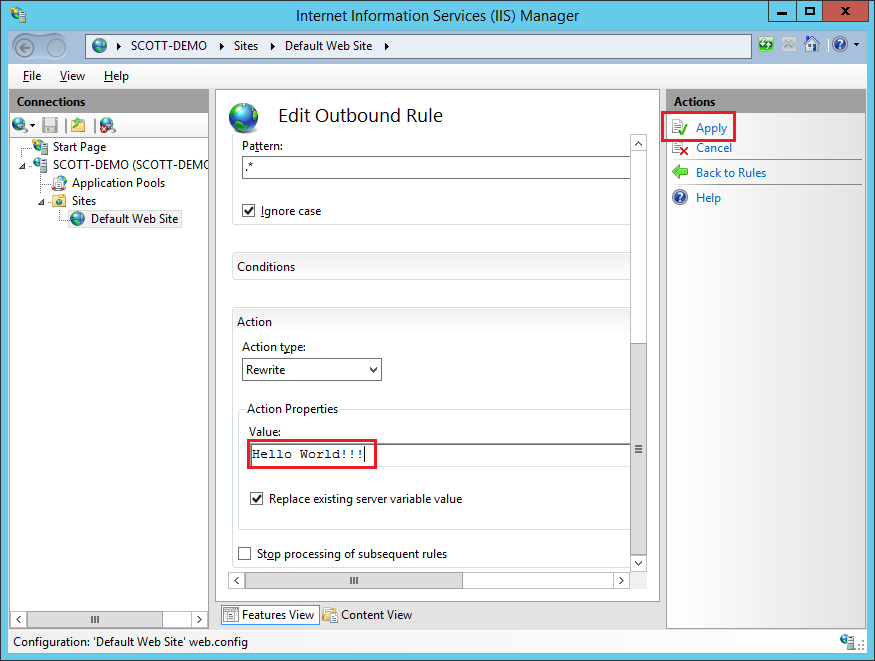
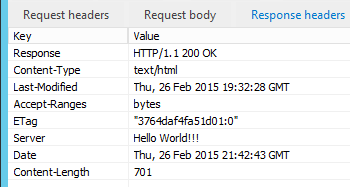
If you like, you can edit the rule and scroll further down to give the header some content.
NginX
Unfortunately, changing the value of the Server header on NginX isn't quite that easy. You will need to download the NginX source, make 2 changes and then compile it.
cd ~
wget http://nginx.org/download/nginx-1.7.10.tar.gz
tar -xzvf nginx-1.7.10.tar.gz
nano nginx-1.7.10/src/http/ngx_http_header_filter_module.c
Once you have the source file open, you need to make the following changes, from this:
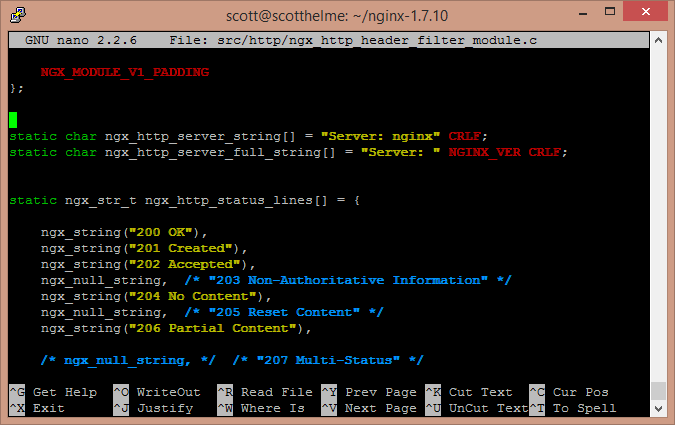
To this:
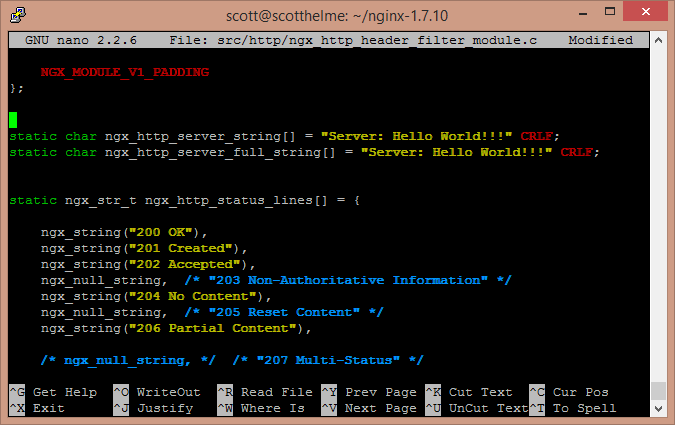
Once you've made the changes and saved them you will need to compile and install NginX. My blog on how PageSpeed contains information on how to compile NginX from source so I won't duplicate the information here.
Update: You can also use the server_tokens directive set to off in your nginx config or your vhost file. The directive can be set in the http, server or location context and will simply reduce the Server header to the value "nginx". It's not quite as effective as completely changing the header but doesn't require you to compile nginx from source.
server {
    ...
    server_tokens off;
}
X-Powered-By
The X-Powered-By header gives information on the technology that's supporting the Web Server. With typical values like ASP.NET or PHP/5.4.0, this is another piece of information that we can remove from public display.
ASP.NET
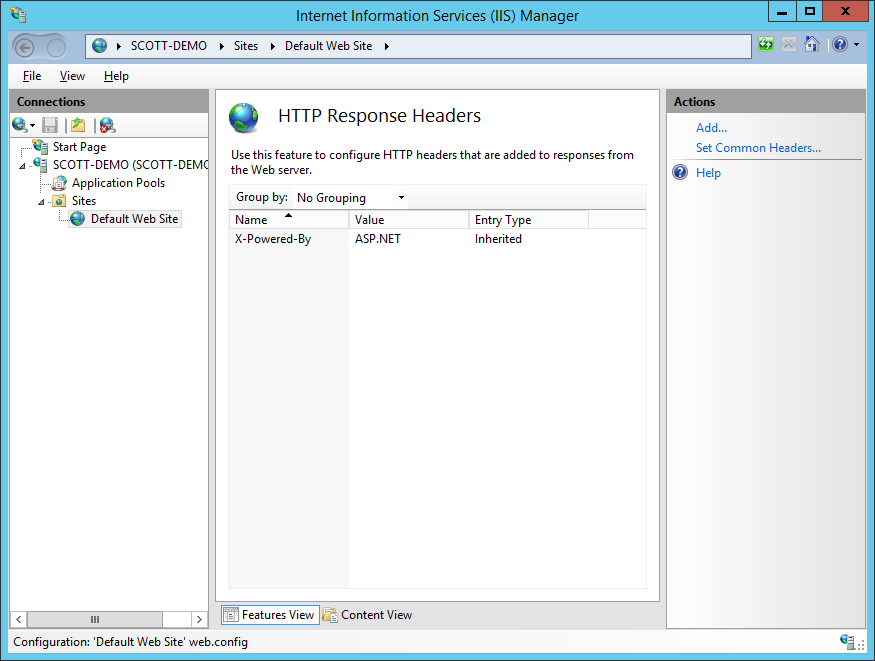
There are 2 possible ways you can remove or change the X-Powered-By header in IIS. The first, and easiest way is to check in the HTTP Response Headers section.

If the X-Powered-By header is present here, you can simply modify it's value or remove it.
The second method, like the server header, is to use the URL Rewrite module to remove or change the value. Follow the same steps for the server header, but substitue out the name of the server variable and the details in the creation of the rule.
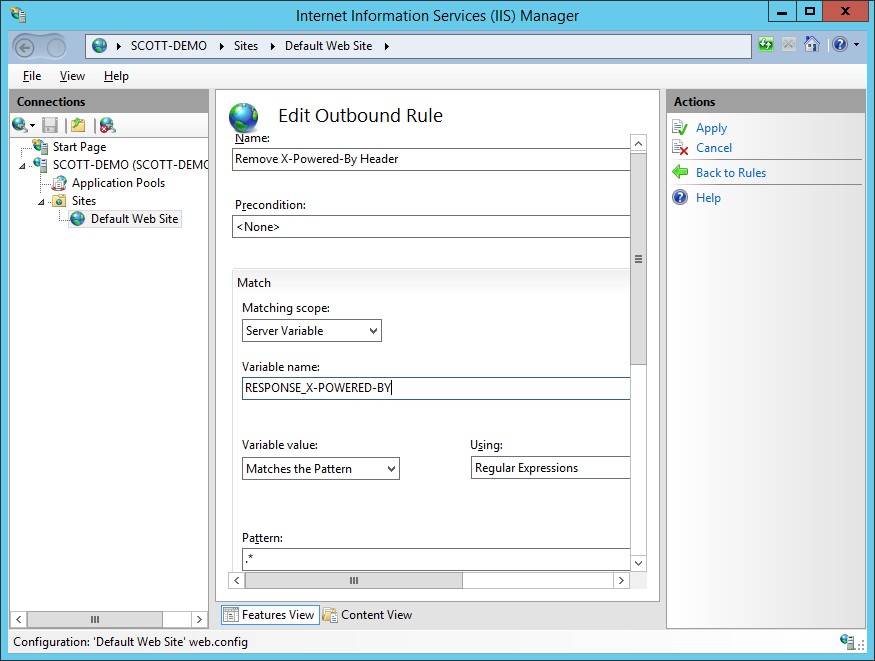
As before, that will either strip the content of the header or insert your custom content if you define any.
PHP
Nice and easy in PHP, all we need to do is edit one line of config and restart PHP.
sudo nano /etc/php5/fpm/php.ini
Locate the following line and change it from this:
expose_php = On
To this:
expose_php = Off
Save the changes to your ini file and restart PHP.
sudo service php5-fpm restart
X-AspNet-Version
The X-AspNet-Version header pretty much just does what it says on the tin. It discloses the specific version of Asp.NET you're running, so it has to go! Another really easy header to get rid of, it only requires a minor change in your web.config file.
<system.web>
<httpRuntime enableVersionHeader="false" />
</system.web>
After you've saved the changes, restart your site for them to take affect.
Checking your headers
You can use the developer tools in your browser to check your HTTP response headers, or head over to SecurityHeaders.io and scan your site to check them. You will get some nice feedback on the headers that are present and any that are missing that you could implement. Keep a regular check on your own site and sites that you visit to see if anything unexpected crops up in the future!