
I recently wrote about setting up a new CCTV system for my house using the UniFi Protect range and like all good bits of kit, it comes with a web interface. Using a web interface with that pesky 'http://' in the address just isn't my style so here's how to setup HTTPS on the UniFi Protect NVR.
UniFi Protect
You should check out my blog post on Securing my house with Ubiquiti's UniFi Protect range if you'd like to see my full setup but in this post I'm going to focus on the UniFi Protect NVR and setting up HTTPS. At the centre of my network is the UniFi Dream Machine Pro and I have another blog on Setting up HTTPS on the UDM Pro if you'd like to have things secured there too.
Setting up HTTPS
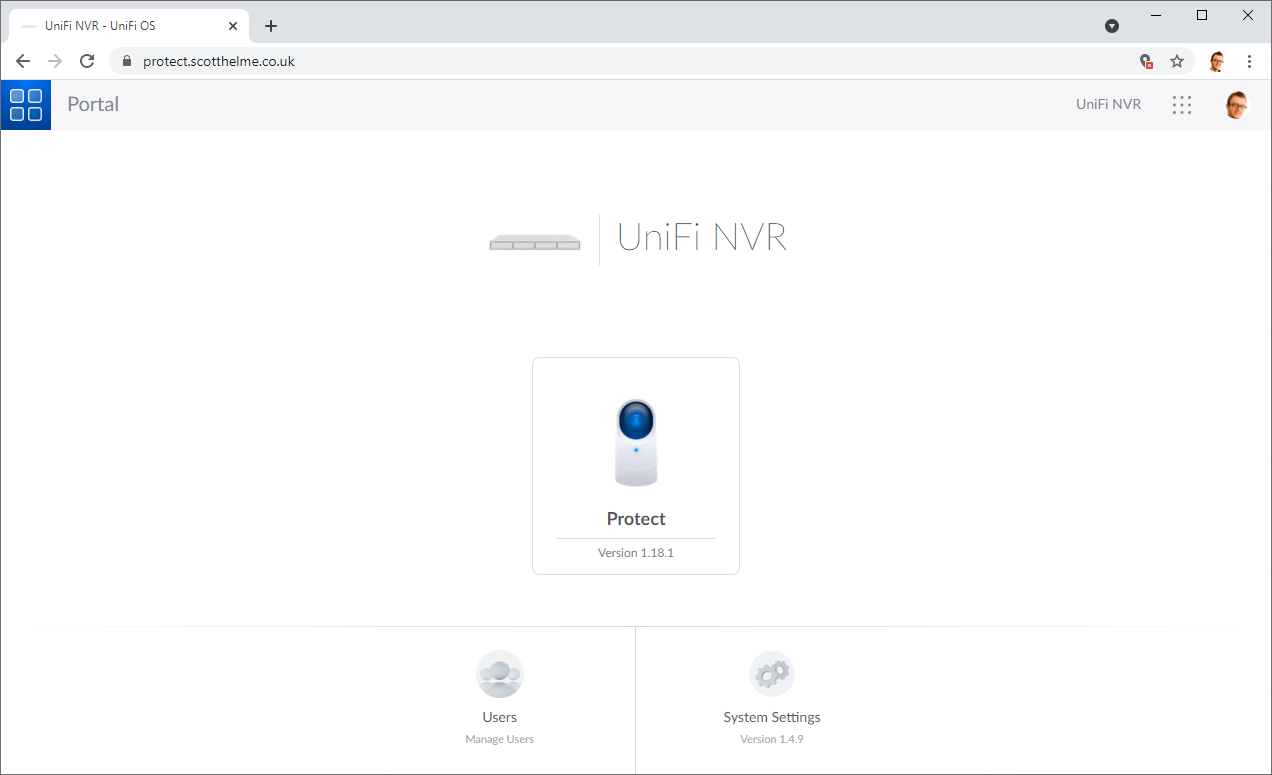
The first step is to acquire a certificate for the domain name that you're going to use on the NVR. I'm using protect.scotthelme.co.uk and, as one might expect, I'm using Let's Encrypt to provide my certificates.
I have a little server at home that I use for all of my certificate renewal purposes and it obtains and deploys certificates around my internal network as needed. How you decide to obtain and deploy your certificates is entirely your own choice and it doesn't matter how you want to do it, do it the way that works for you. Once you have your certificate, you will need the chain of leaf and intermediate/s in one file and the private key in another, in PEM format.
To do this, I'm using acme.sh with a Cloudflare API integration for domain control validation and it's as simple as:
/home/scott/acme.sh/acme.sh --issue --dns dns_cf -d protect.scotthelme.co.uk --force --keylength ec-256Once that command runs I need the files potect.scotthelme.co.uk.key and fullchain.cer to copy over to the NVR.
scp fullchain.cer root@192.168.1.170:/data/unifi-core/config/unifi-core.crt
scp protect.scotthelme.co.uk.key root@192.168.1.170:/data/unifi-core/config/unifi-core.key
Those two commands will copy the files over to the NVR in the correct locations and with the correct names. Once the new certificate and key file are in place, you need to restart the necessary services on the NVR.
ssh root@192.168.1.170 'unifi-protect restart'
ssh root@192.168.1.170 'unifi-core restart'
Once the services restart and come back up, there's one last step to access the NVR over HTTPS. You need to get the IP address of the NVR and make sure your chosen domain resolves to that IP address. You might add a local hosts entry on your device like 192.168.1.170 protect.scotthelme.co.uk, but I run my own local DNS server so I do it there.
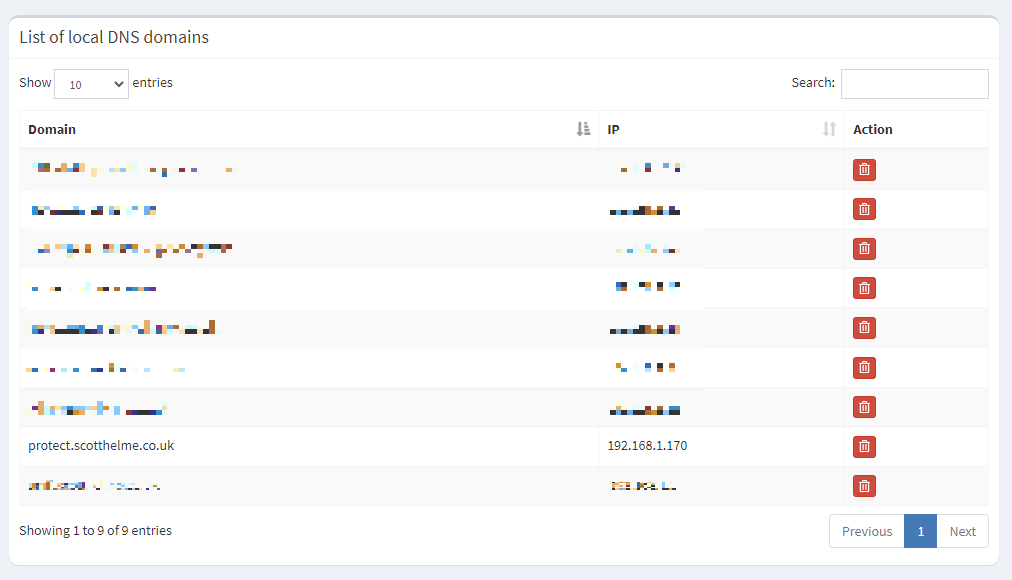
Whichever way you do it, once the protect.scotthelme.co.uk resolves to the correct IP address, you can navigate to it in the browser with HTTPS!
SSH Access
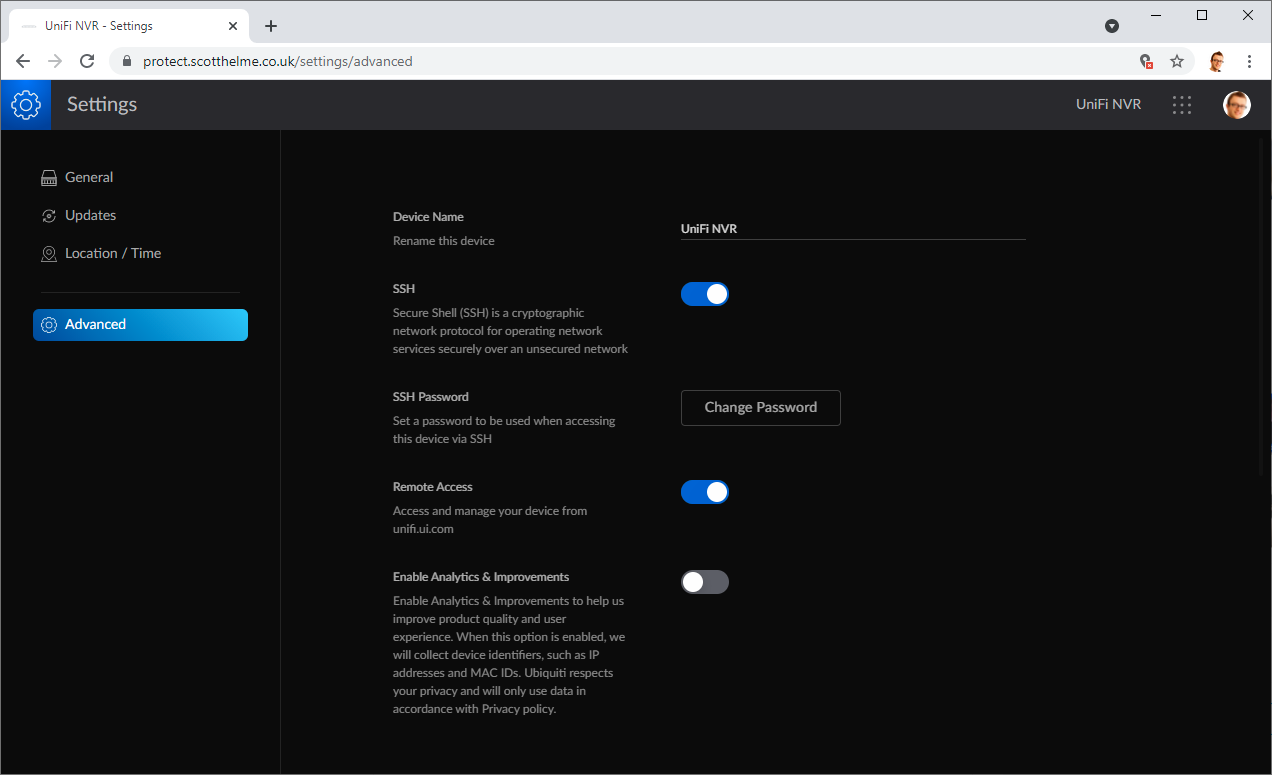
If you need to configure SSH access to your NVR, you can do that from the /settings/advanced menu section:
Once SSH access is setup and you have the above process in place, all you need to do is replace the certificate on a regular schedule once it's near expiration and you can continue to enjoy HTTPS on the web interface!